


This is one challenge for the summer holidays. It's a bit more time consuming and a lot more experimental. This one is better with team work. Up for the challenge? Our friend Jess put together this guide to Camera Obscura...
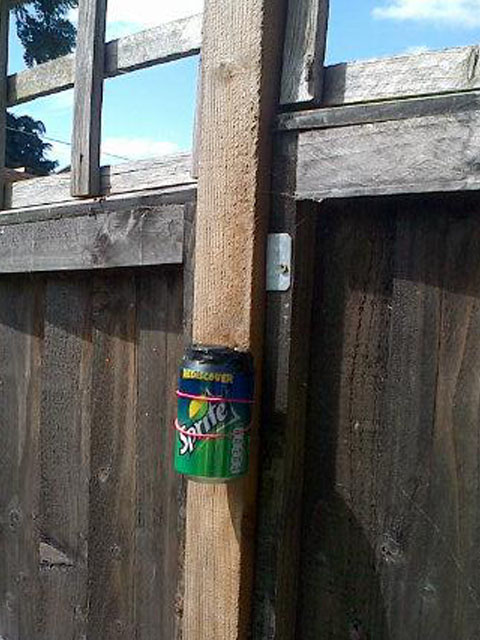
A camera obscura is a really easy and mind blowing experiment to try on a bright day. It’s like a big pinhole camera but the camera is a room in your house. They are simply created by blacking out a room on a sunny day, cutting a small hole in the window covering and boom, the outside world will be dancing, walking and flying all over your walls... but upside down.
In 5th Century China they were known as a ‘locked treasure room’ which I think is a very romantic notion and likely to get anyone intrigued and Leonardo Da Vinci had a bit of a dabble too. So you should just do it already.
Here is what you need to do:
Materials:
• Thick black-out plastic to cover window/s.
I advise garden centres / DIY stores but try and check availability first! Pond lining can be used and if it lets through light don’t worry get twice the amount of the size of your window and double it up.
• Scissors.
• Tape - ideally duct tape but parcel or masking tape will work.
Things to experiment with:
• Mirror.
• Magnifying glass.
• Someone’s reading glasses.
• Round photographic light reflector.
• White card.
• Anything else to hand that might reflect, focus, warp or be projected onto!
• Mirror.
• Magnifying glass.
• Someone’s reading glasses.
• Round photographic light reflector.
• White card.
• Anything else to hand that might reflect, focus, warp or be projected onto!
The Ideal Room:
• A plain white walled room.
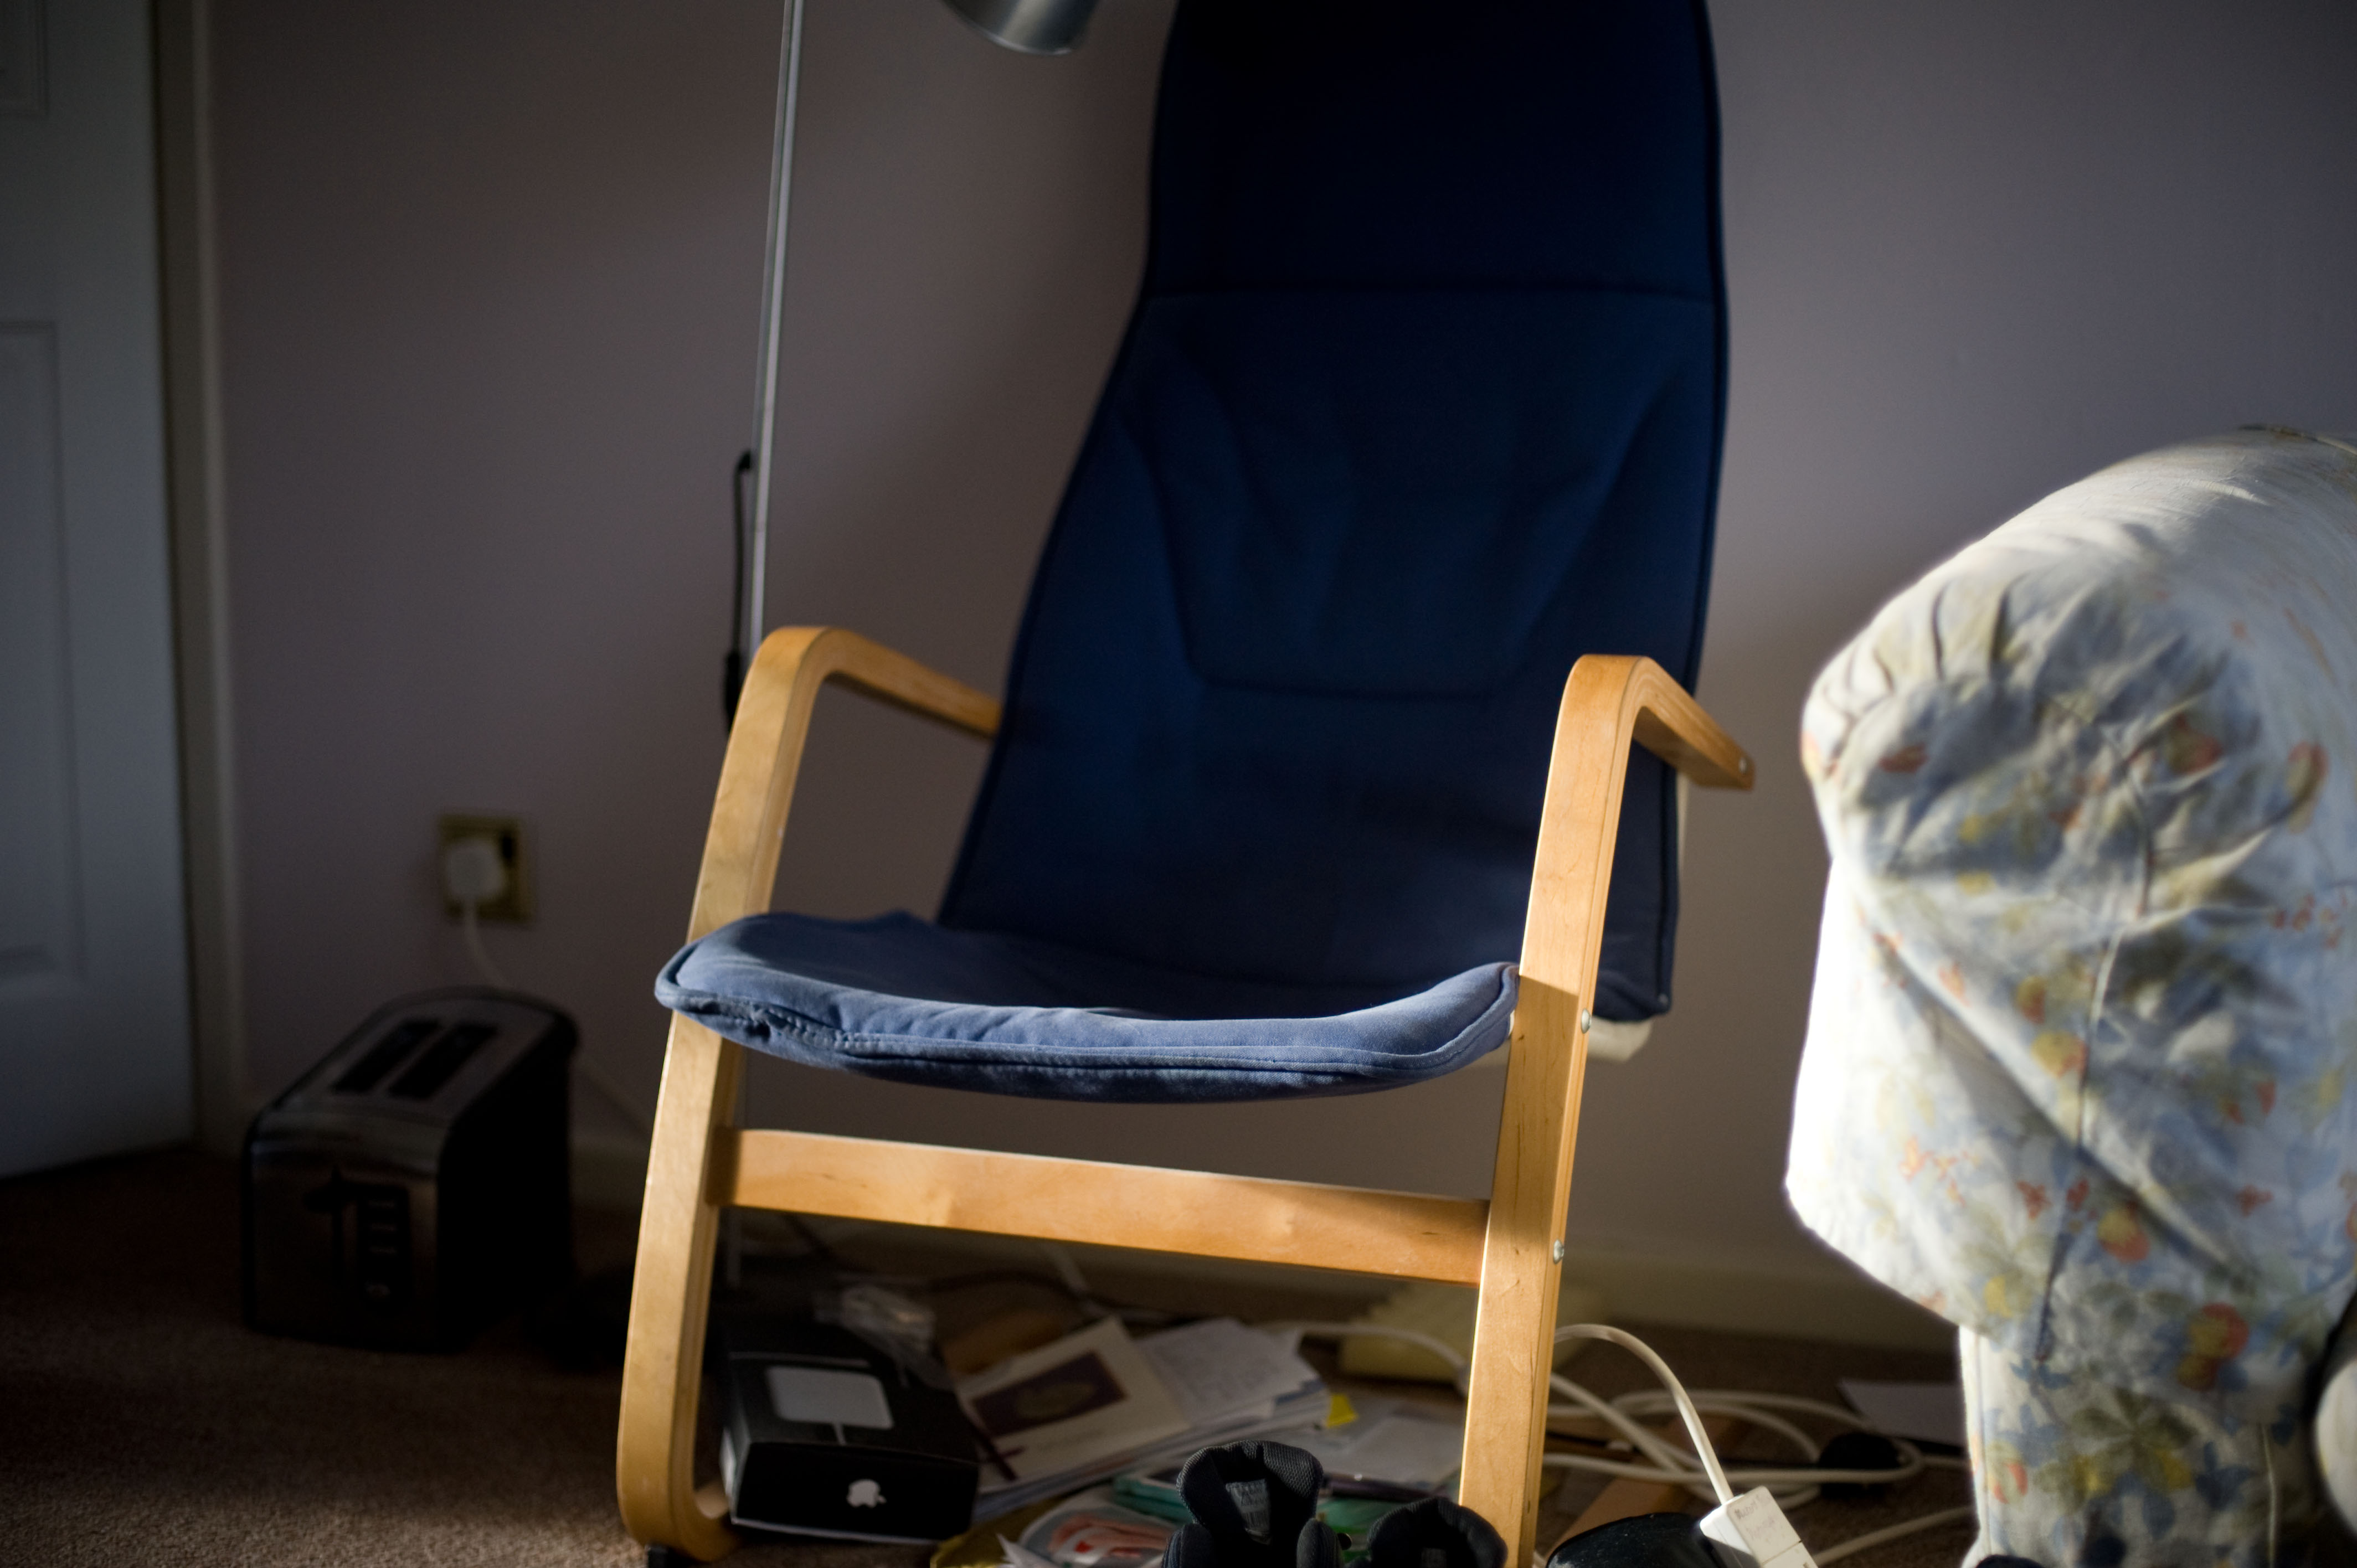
• As little furniture and wall decoration as possible.
• Big window with lots of light on a bright day.
• View from the window is diverse with a mixture of movement and colour. If you can include ground level you can get in on the action too.
• A plain white walled room.
• As little furniture and wall decoration as possible.
• Big window with lots of light on a bright day.
• View from the window is diverse with a mixture of movement and colour. If you can include ground level you can get in on the action too.
Making a camera obscura:
1. Choose your room.
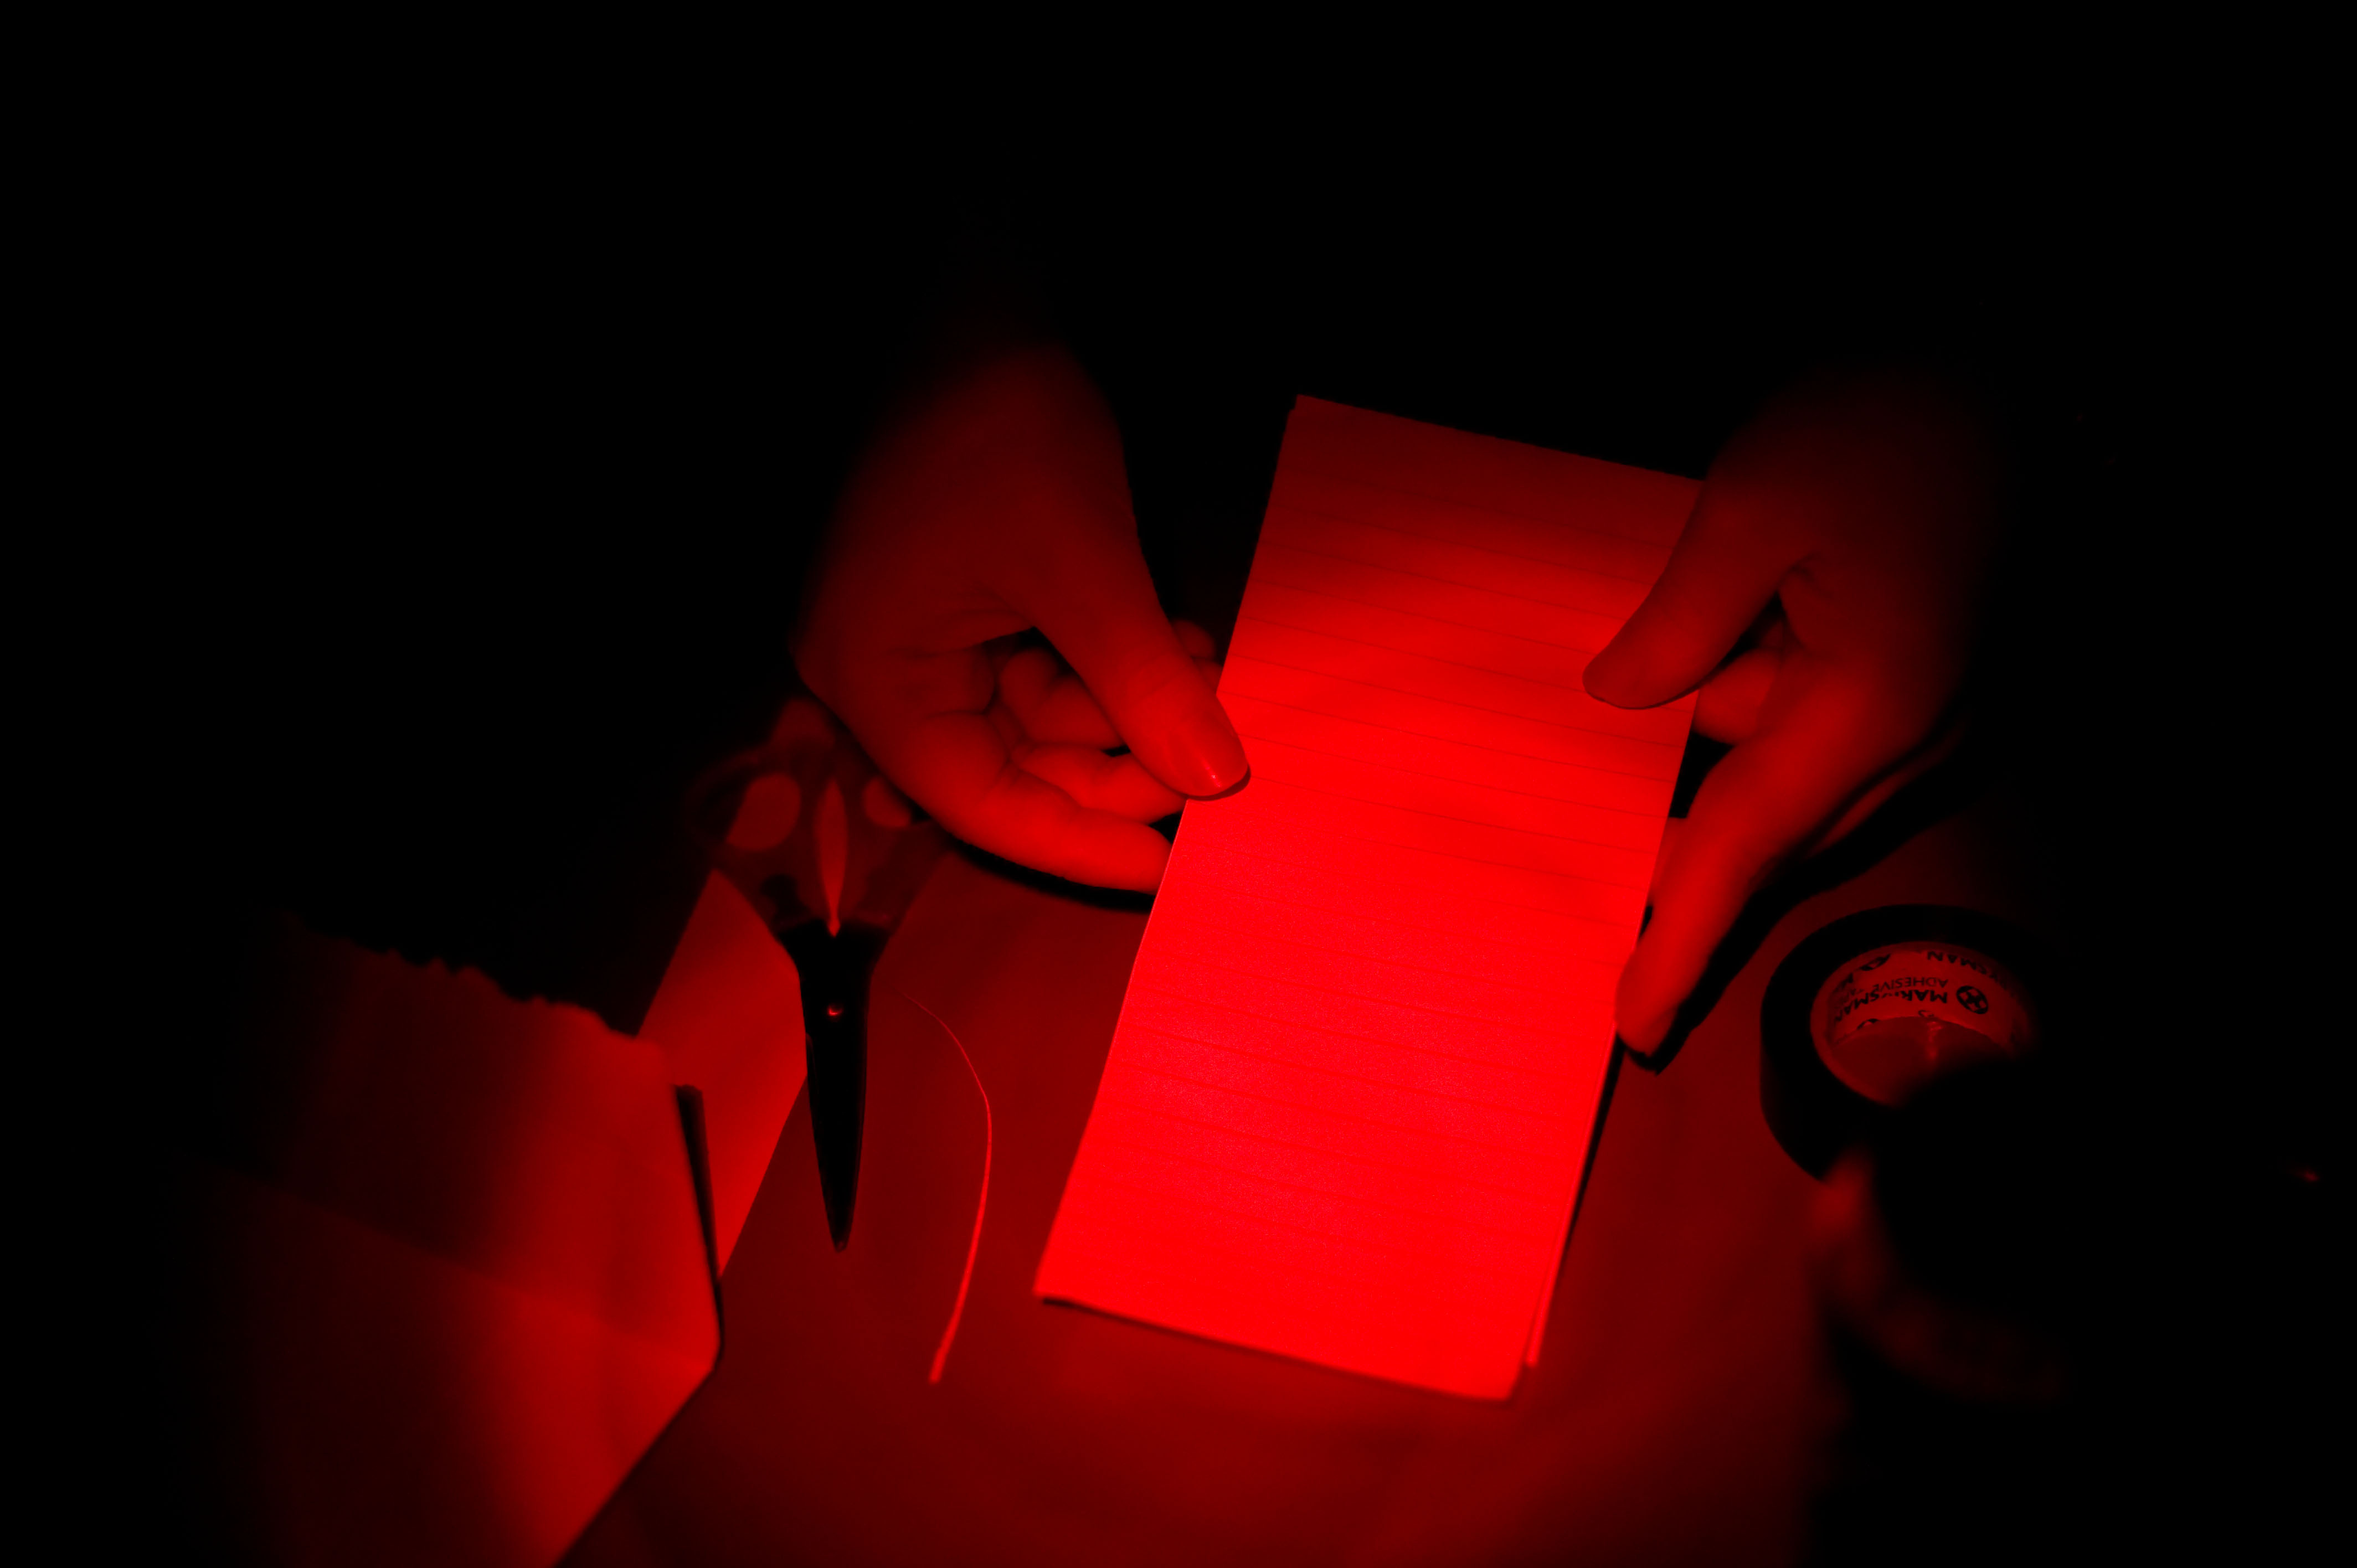
2. Black out the window/s in the room with black plastic and tape into place.
3. Cut a small round hole in the plastic in the middle of the window. Try a hole 3cm across to begin with.
4. This hole can be made bigger and even moved by taping up the hole and cutting it again somewhere else.
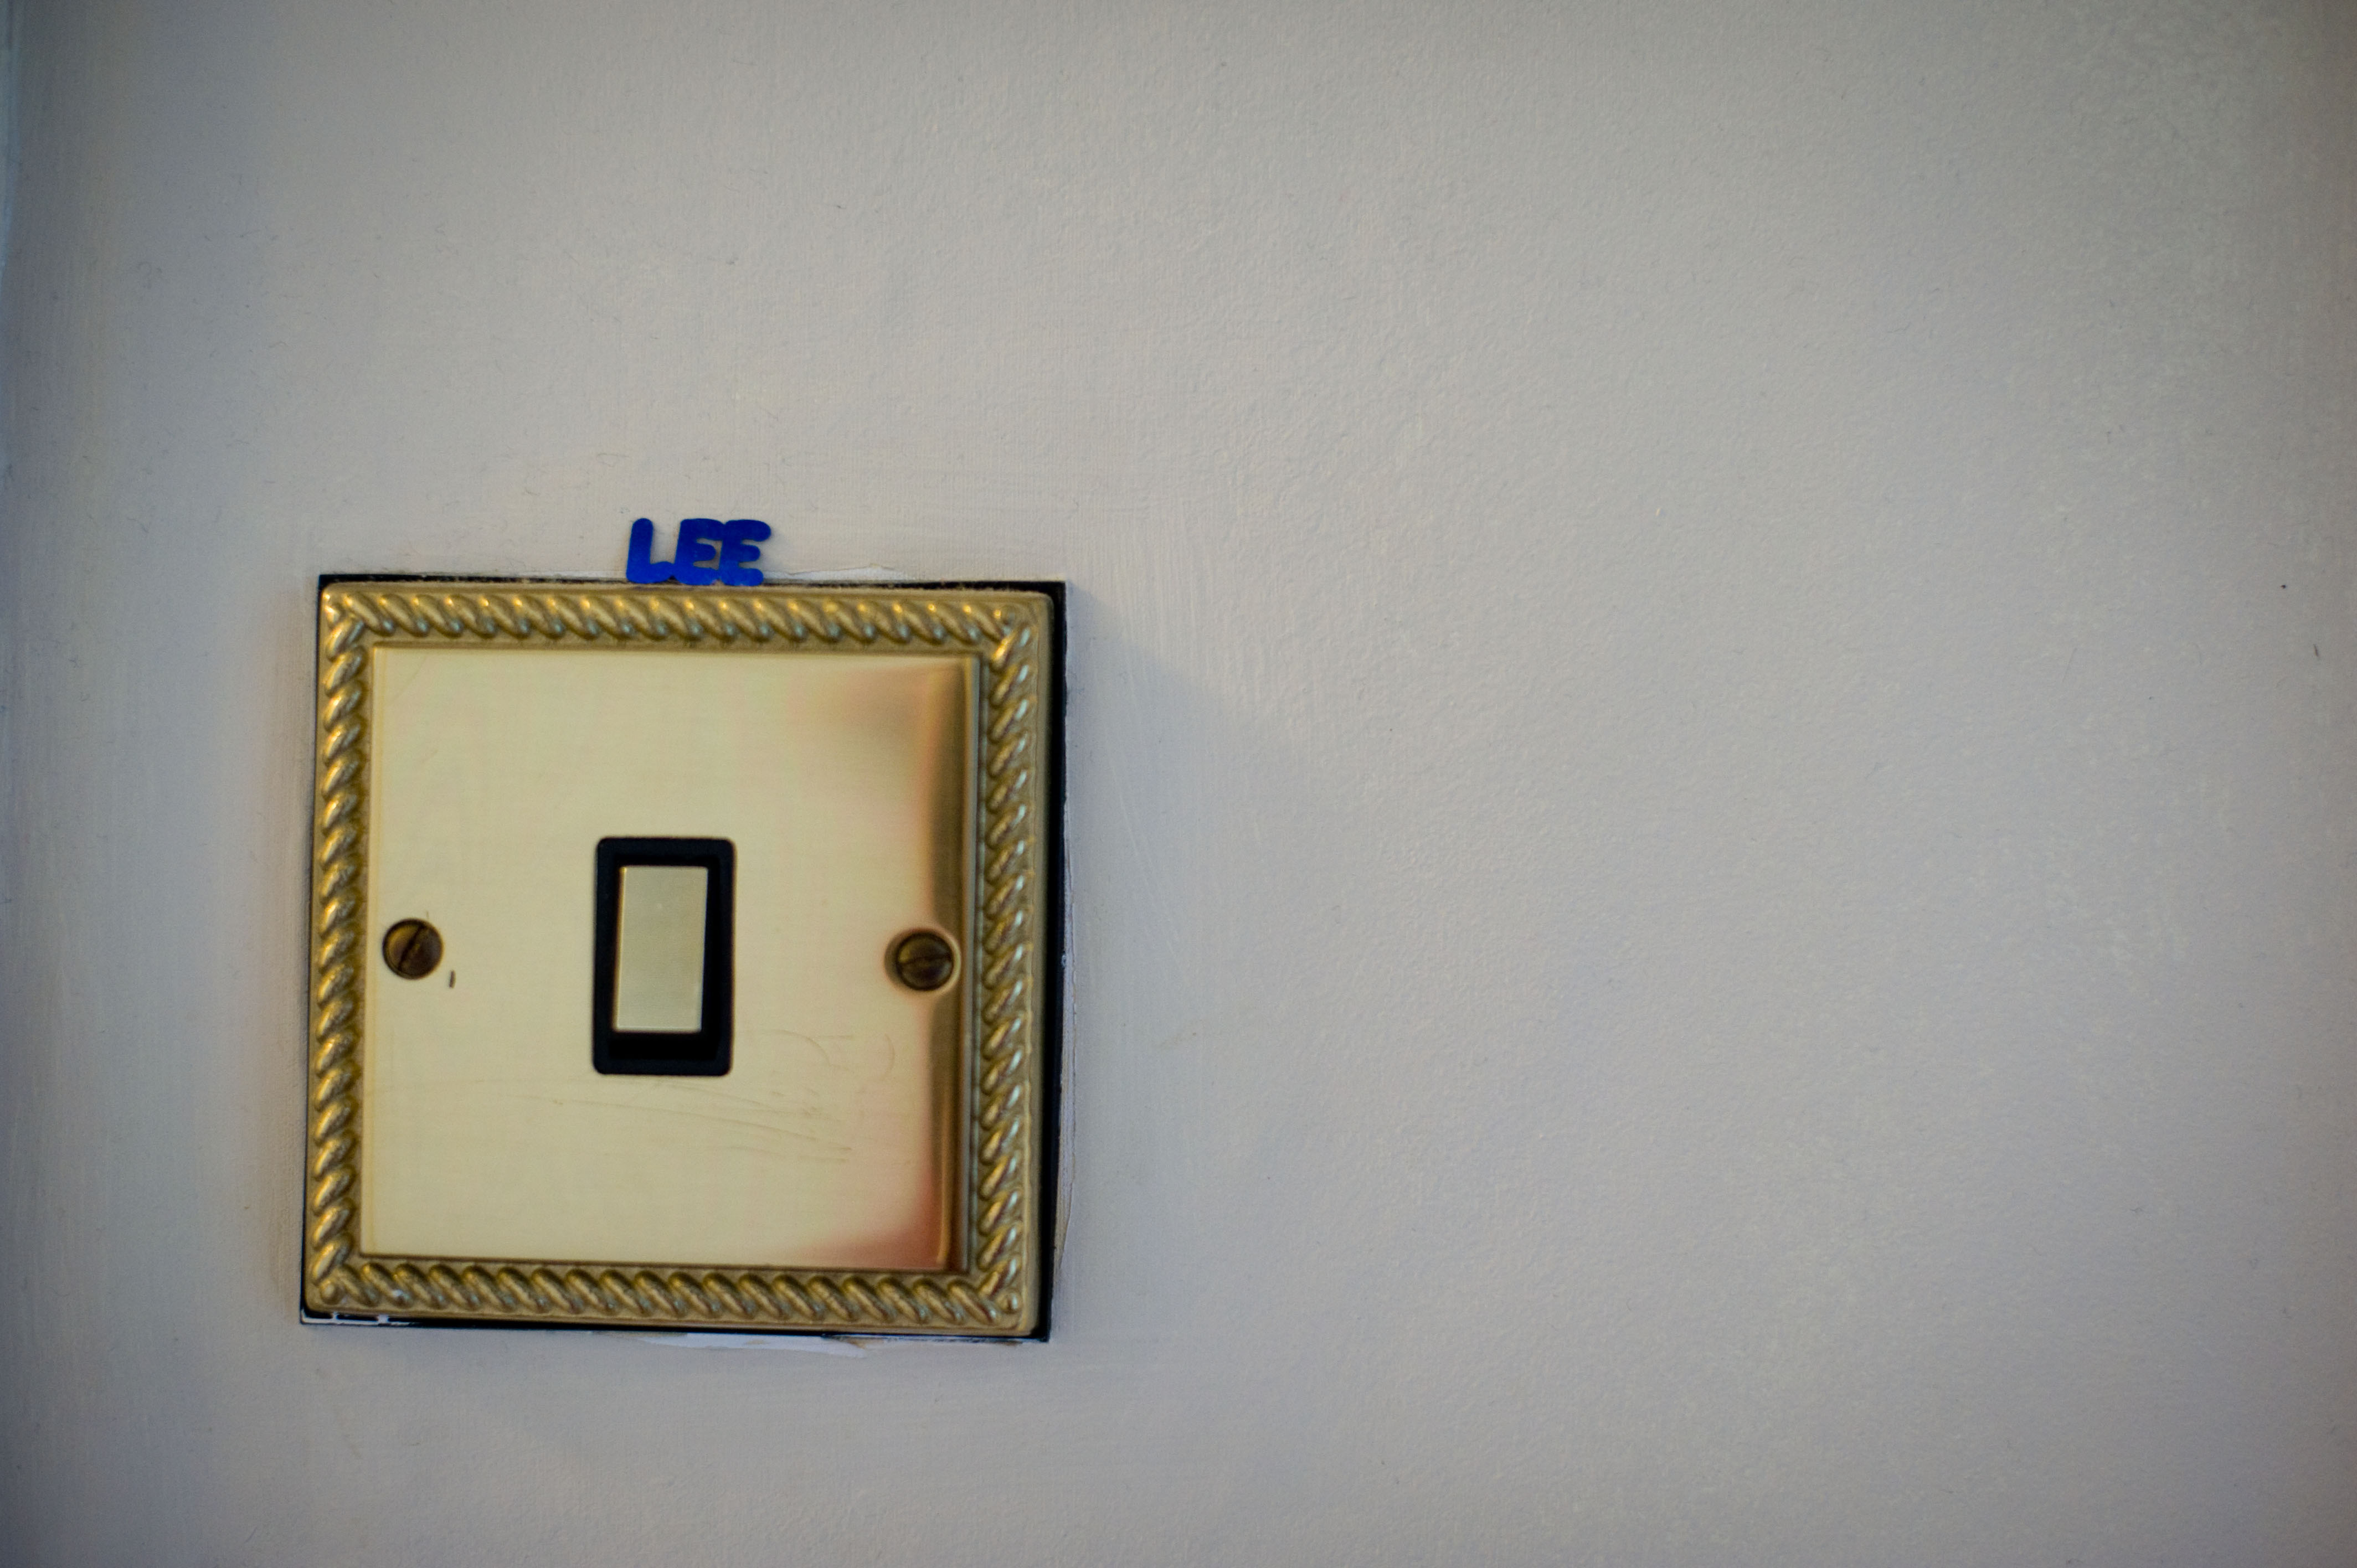
5. Turn off any lights and close the doors so it is as dark as possible.
6. Wait for your eyes to adjust to the light.
1. Choose your room.
2. Black out the window/s in the room with black plastic and tape into place.
3. Cut a small round hole in the plastic in the middle of the window. Try a hole 3cm across to begin with.
4. This hole can be made bigger and even moved by taping up the hole and cutting it again somewhere else.
5. Turn off any lights and close the doors so it is as dark as possible.
6. Wait for your eyes to adjust to the light.
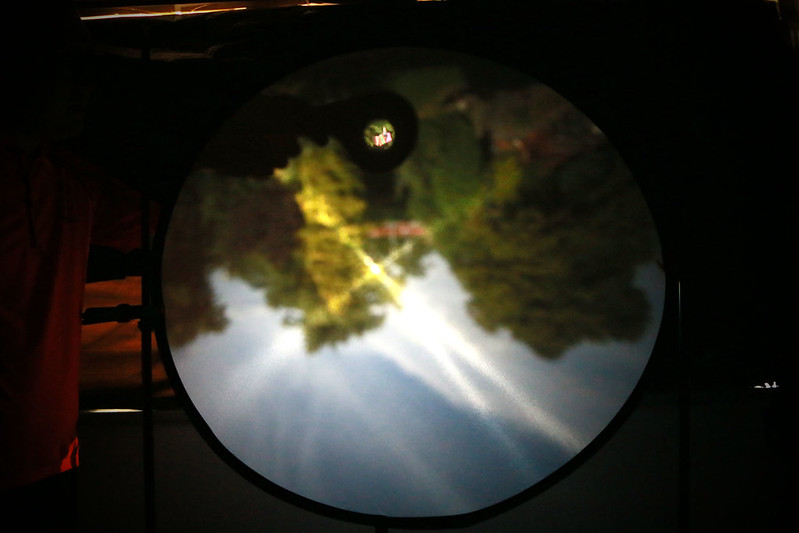
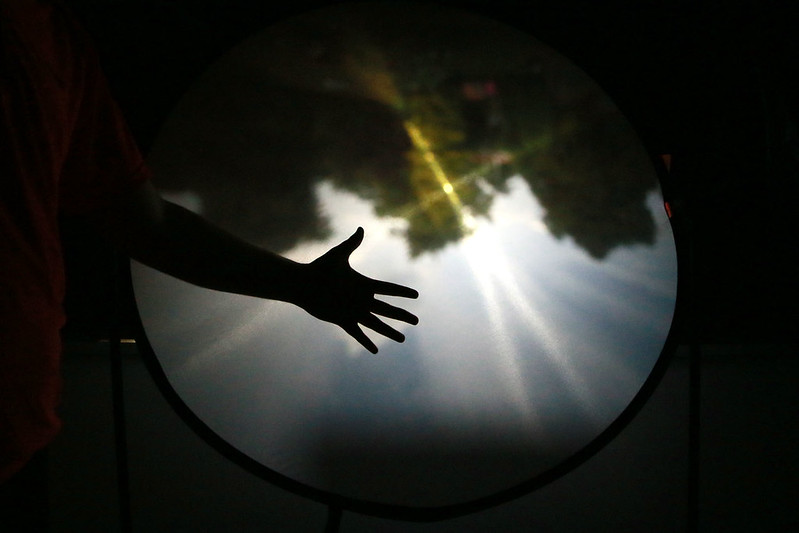
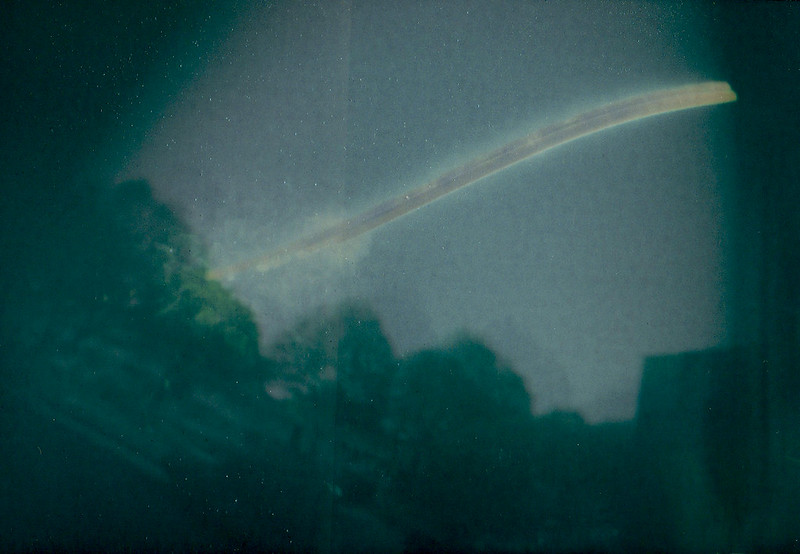
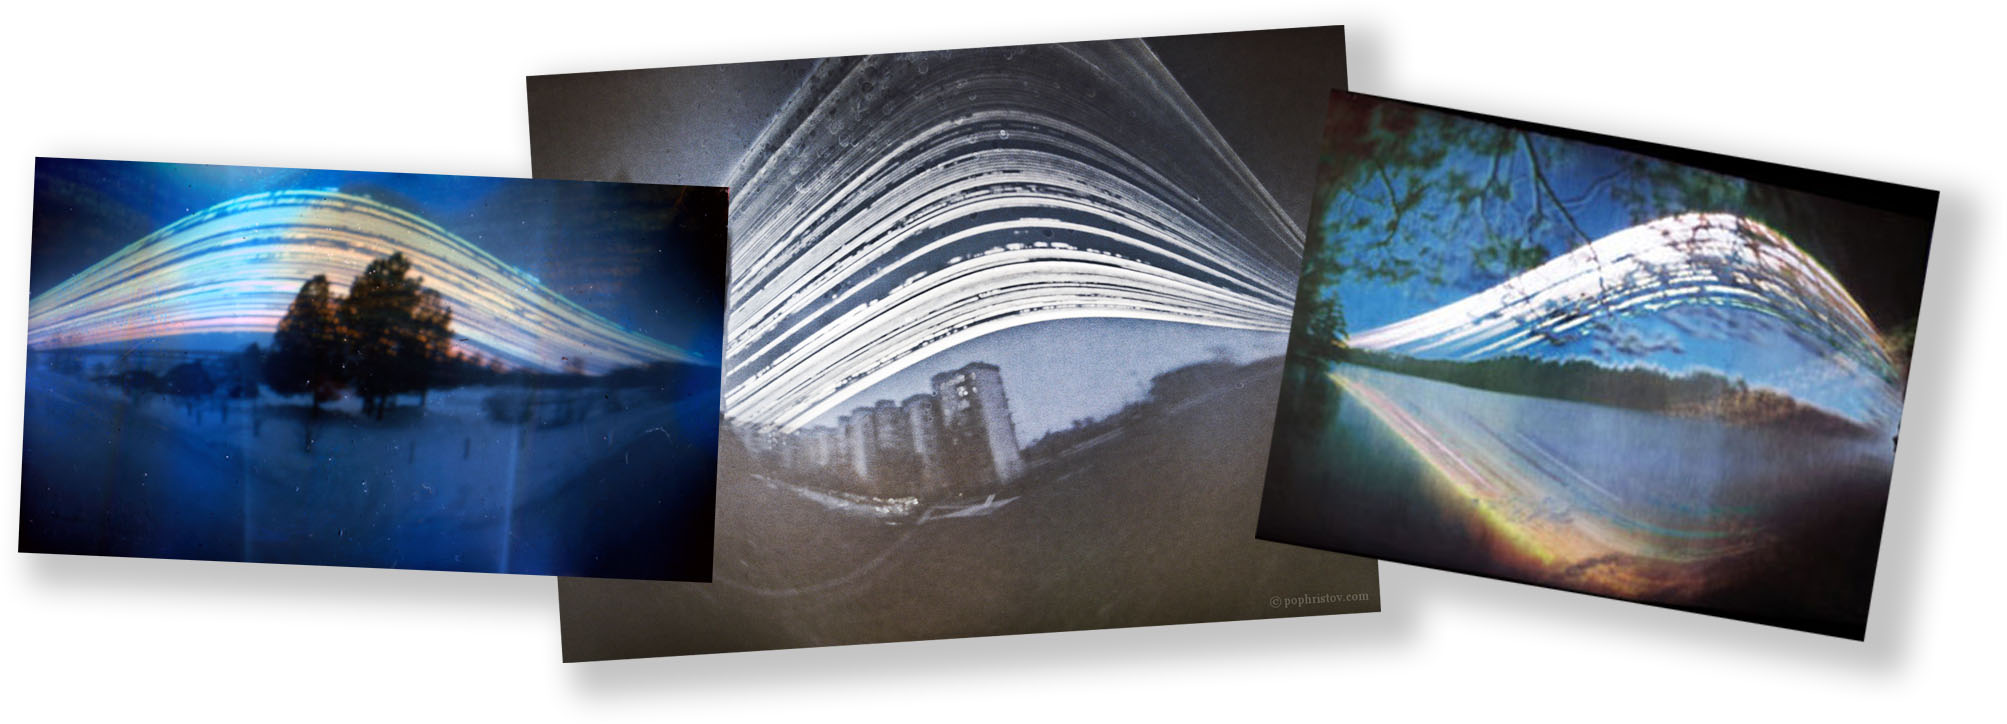
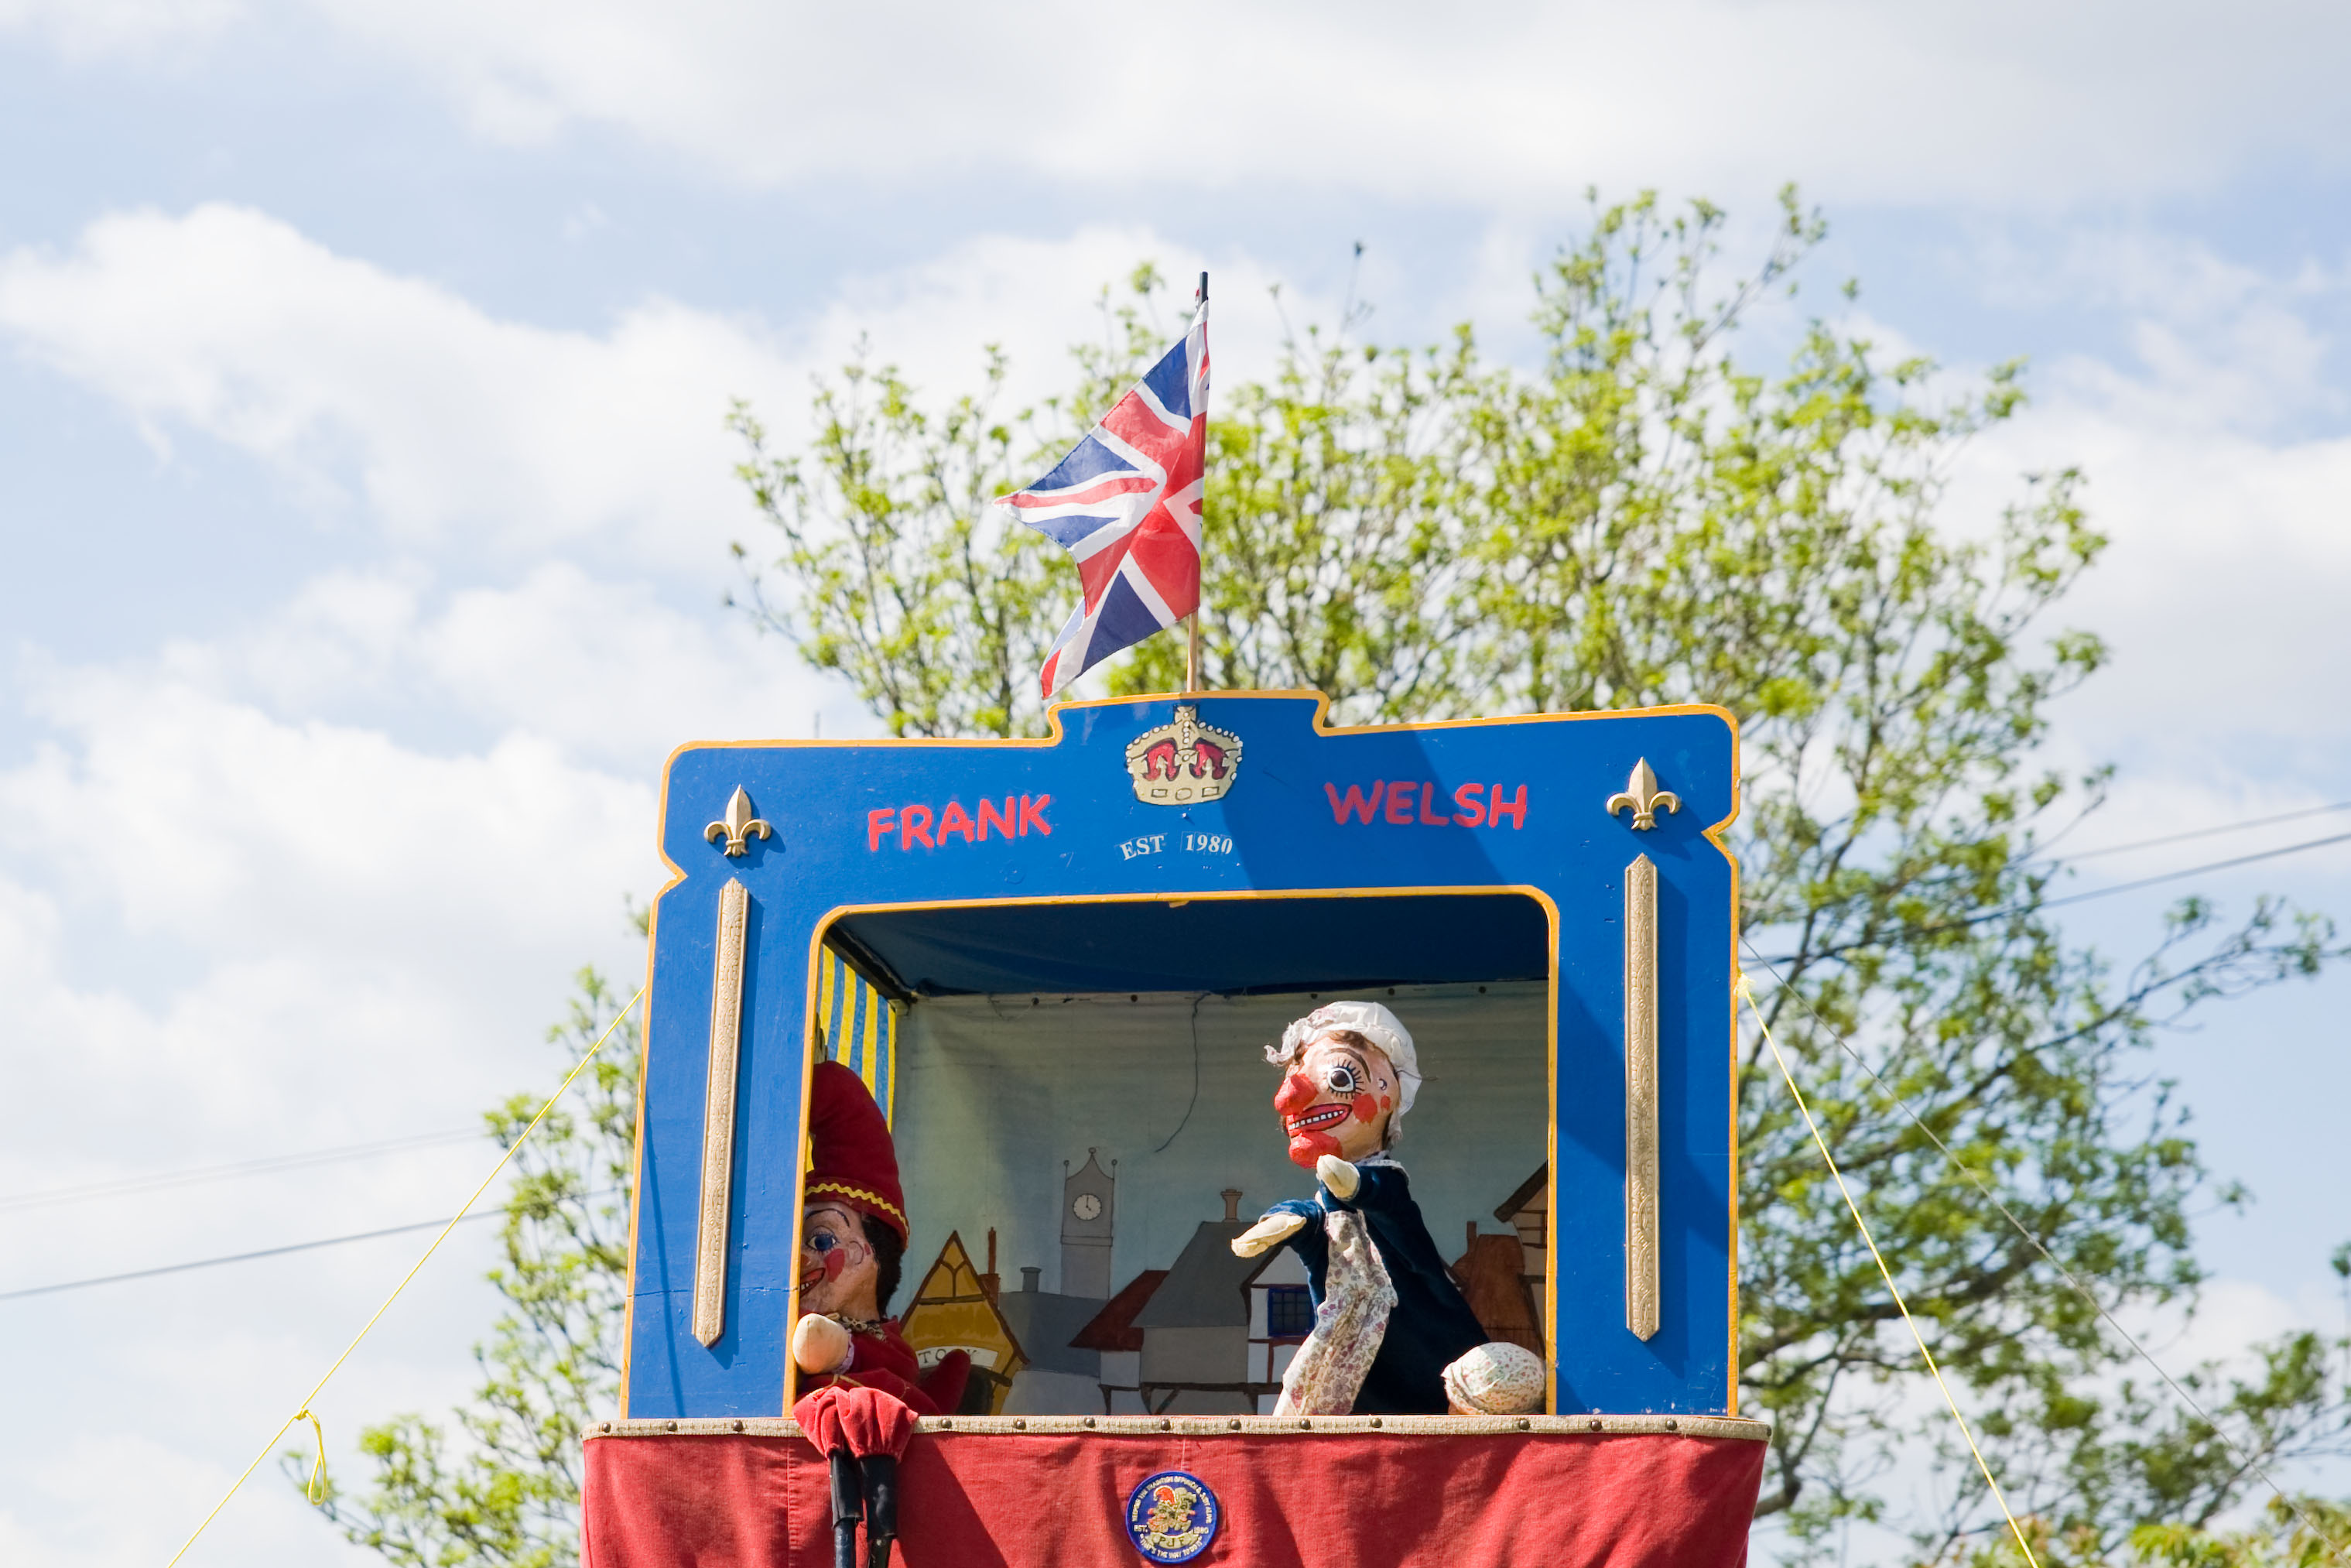
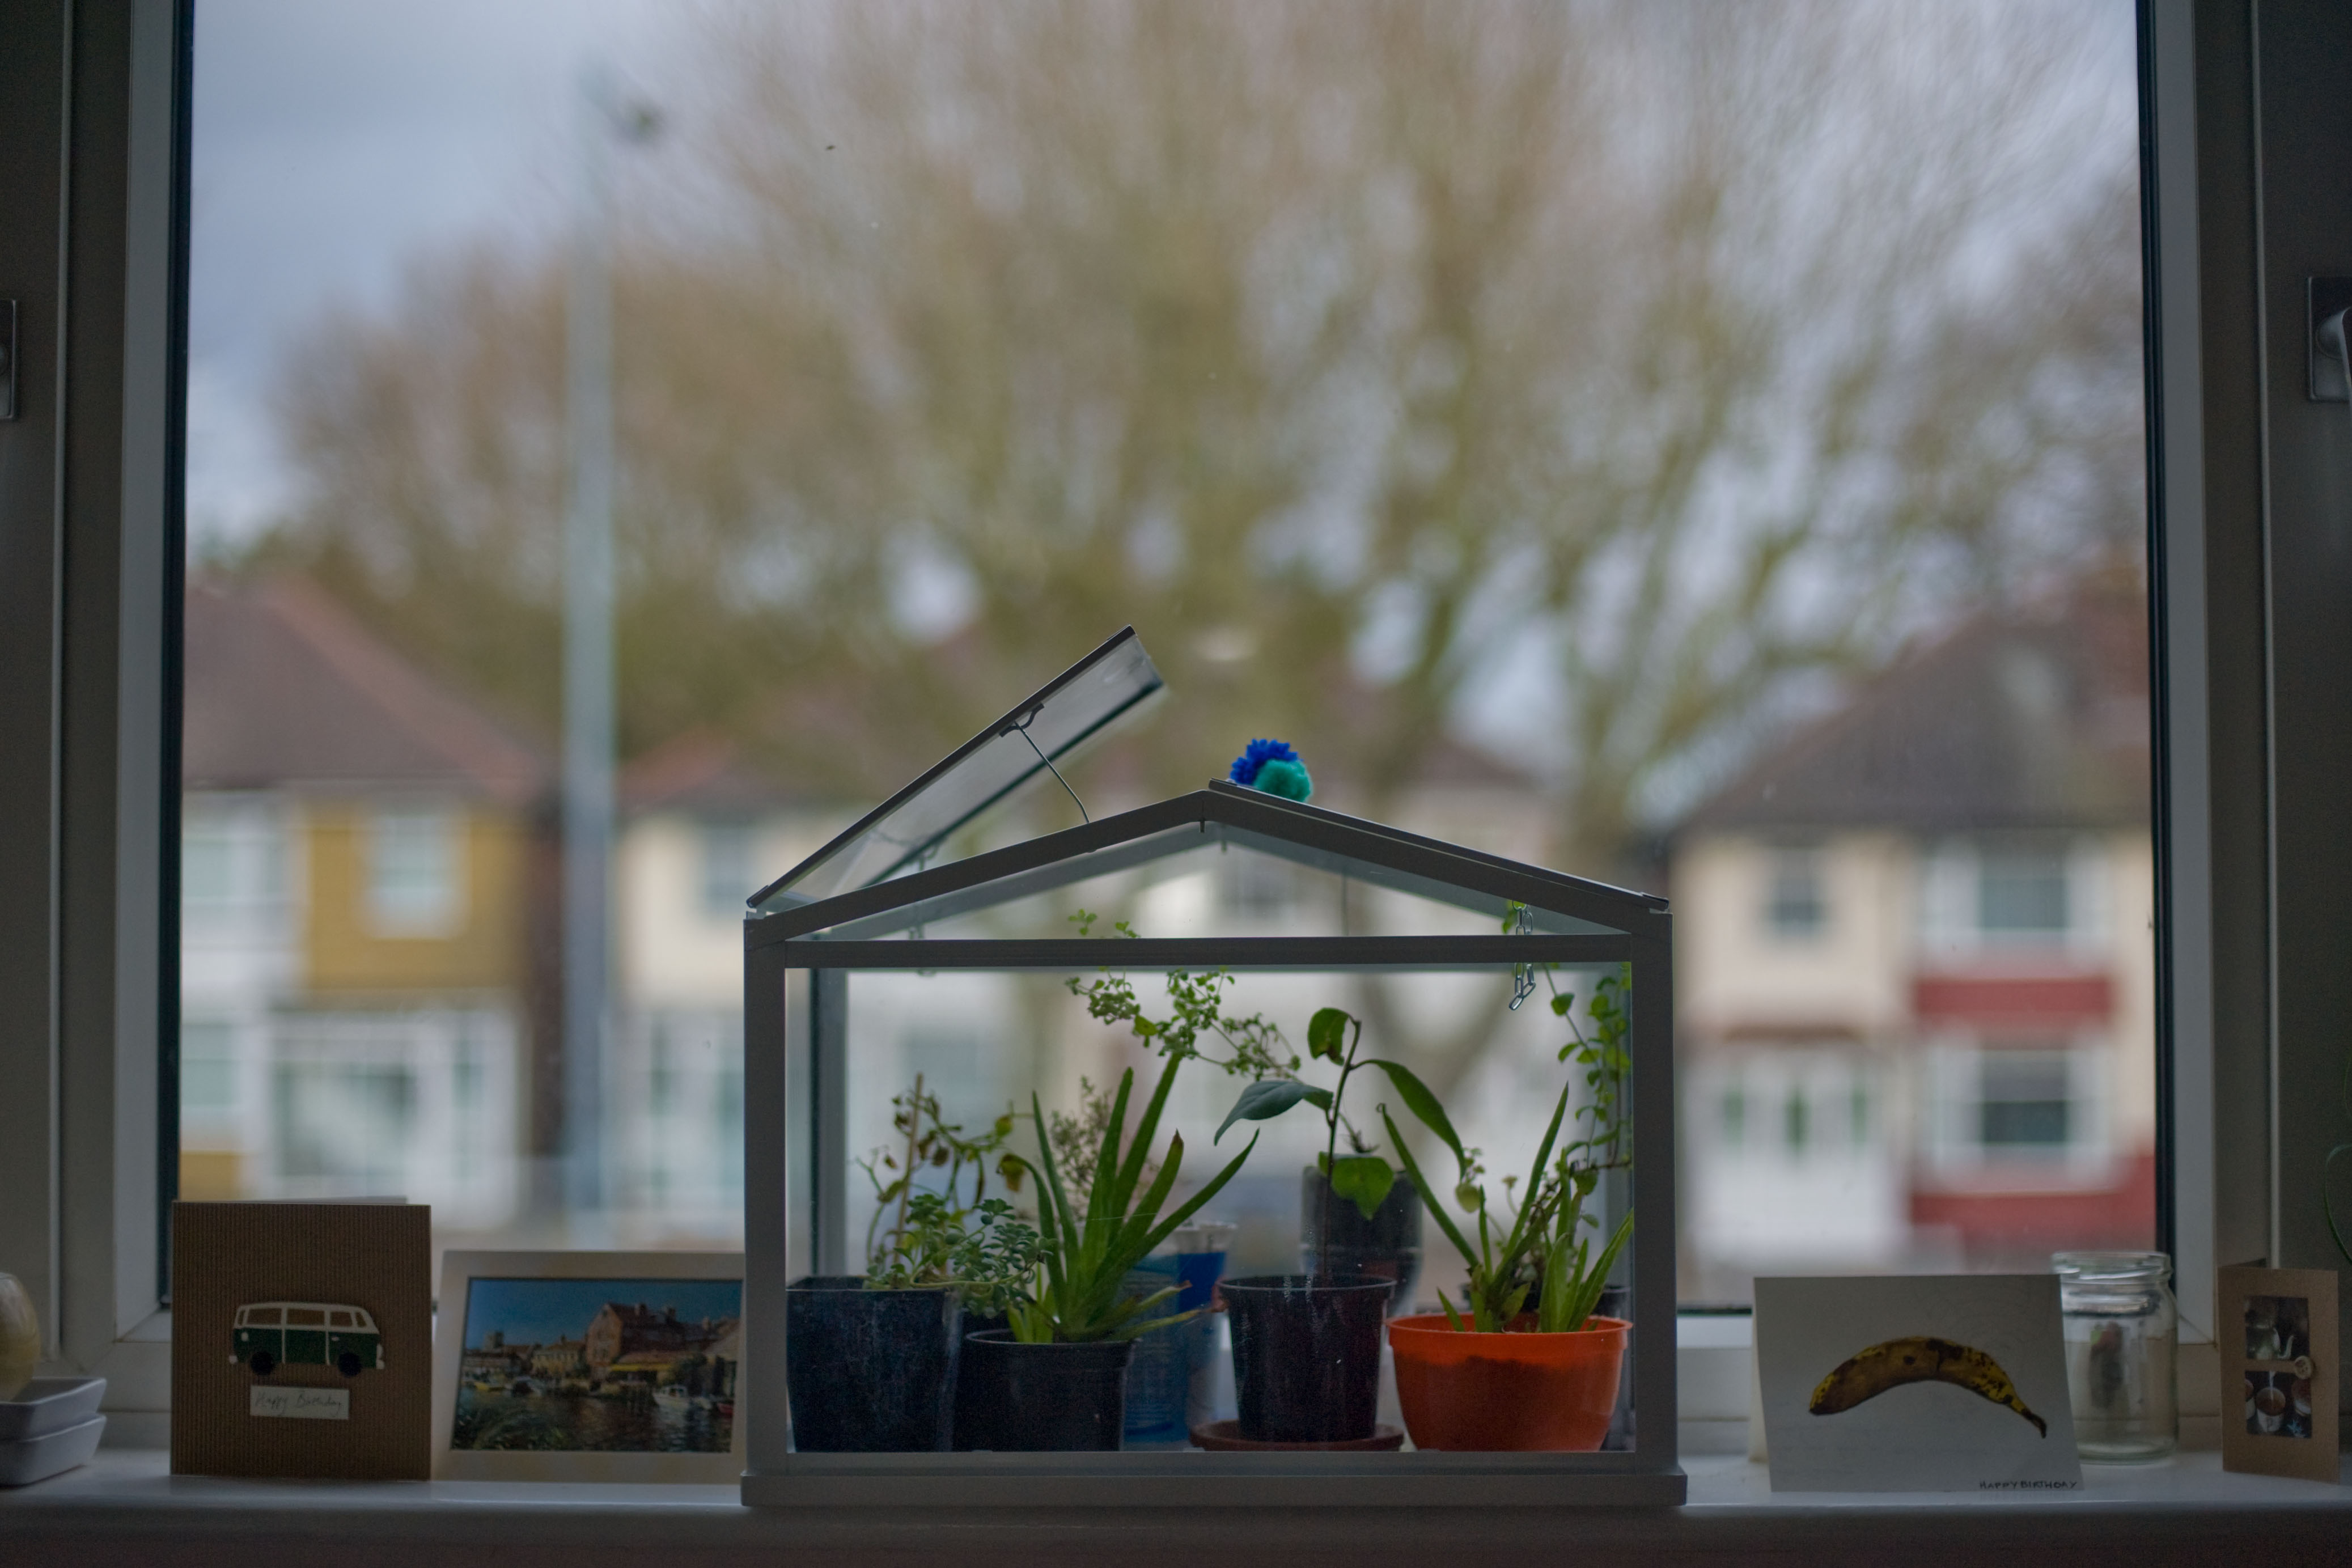
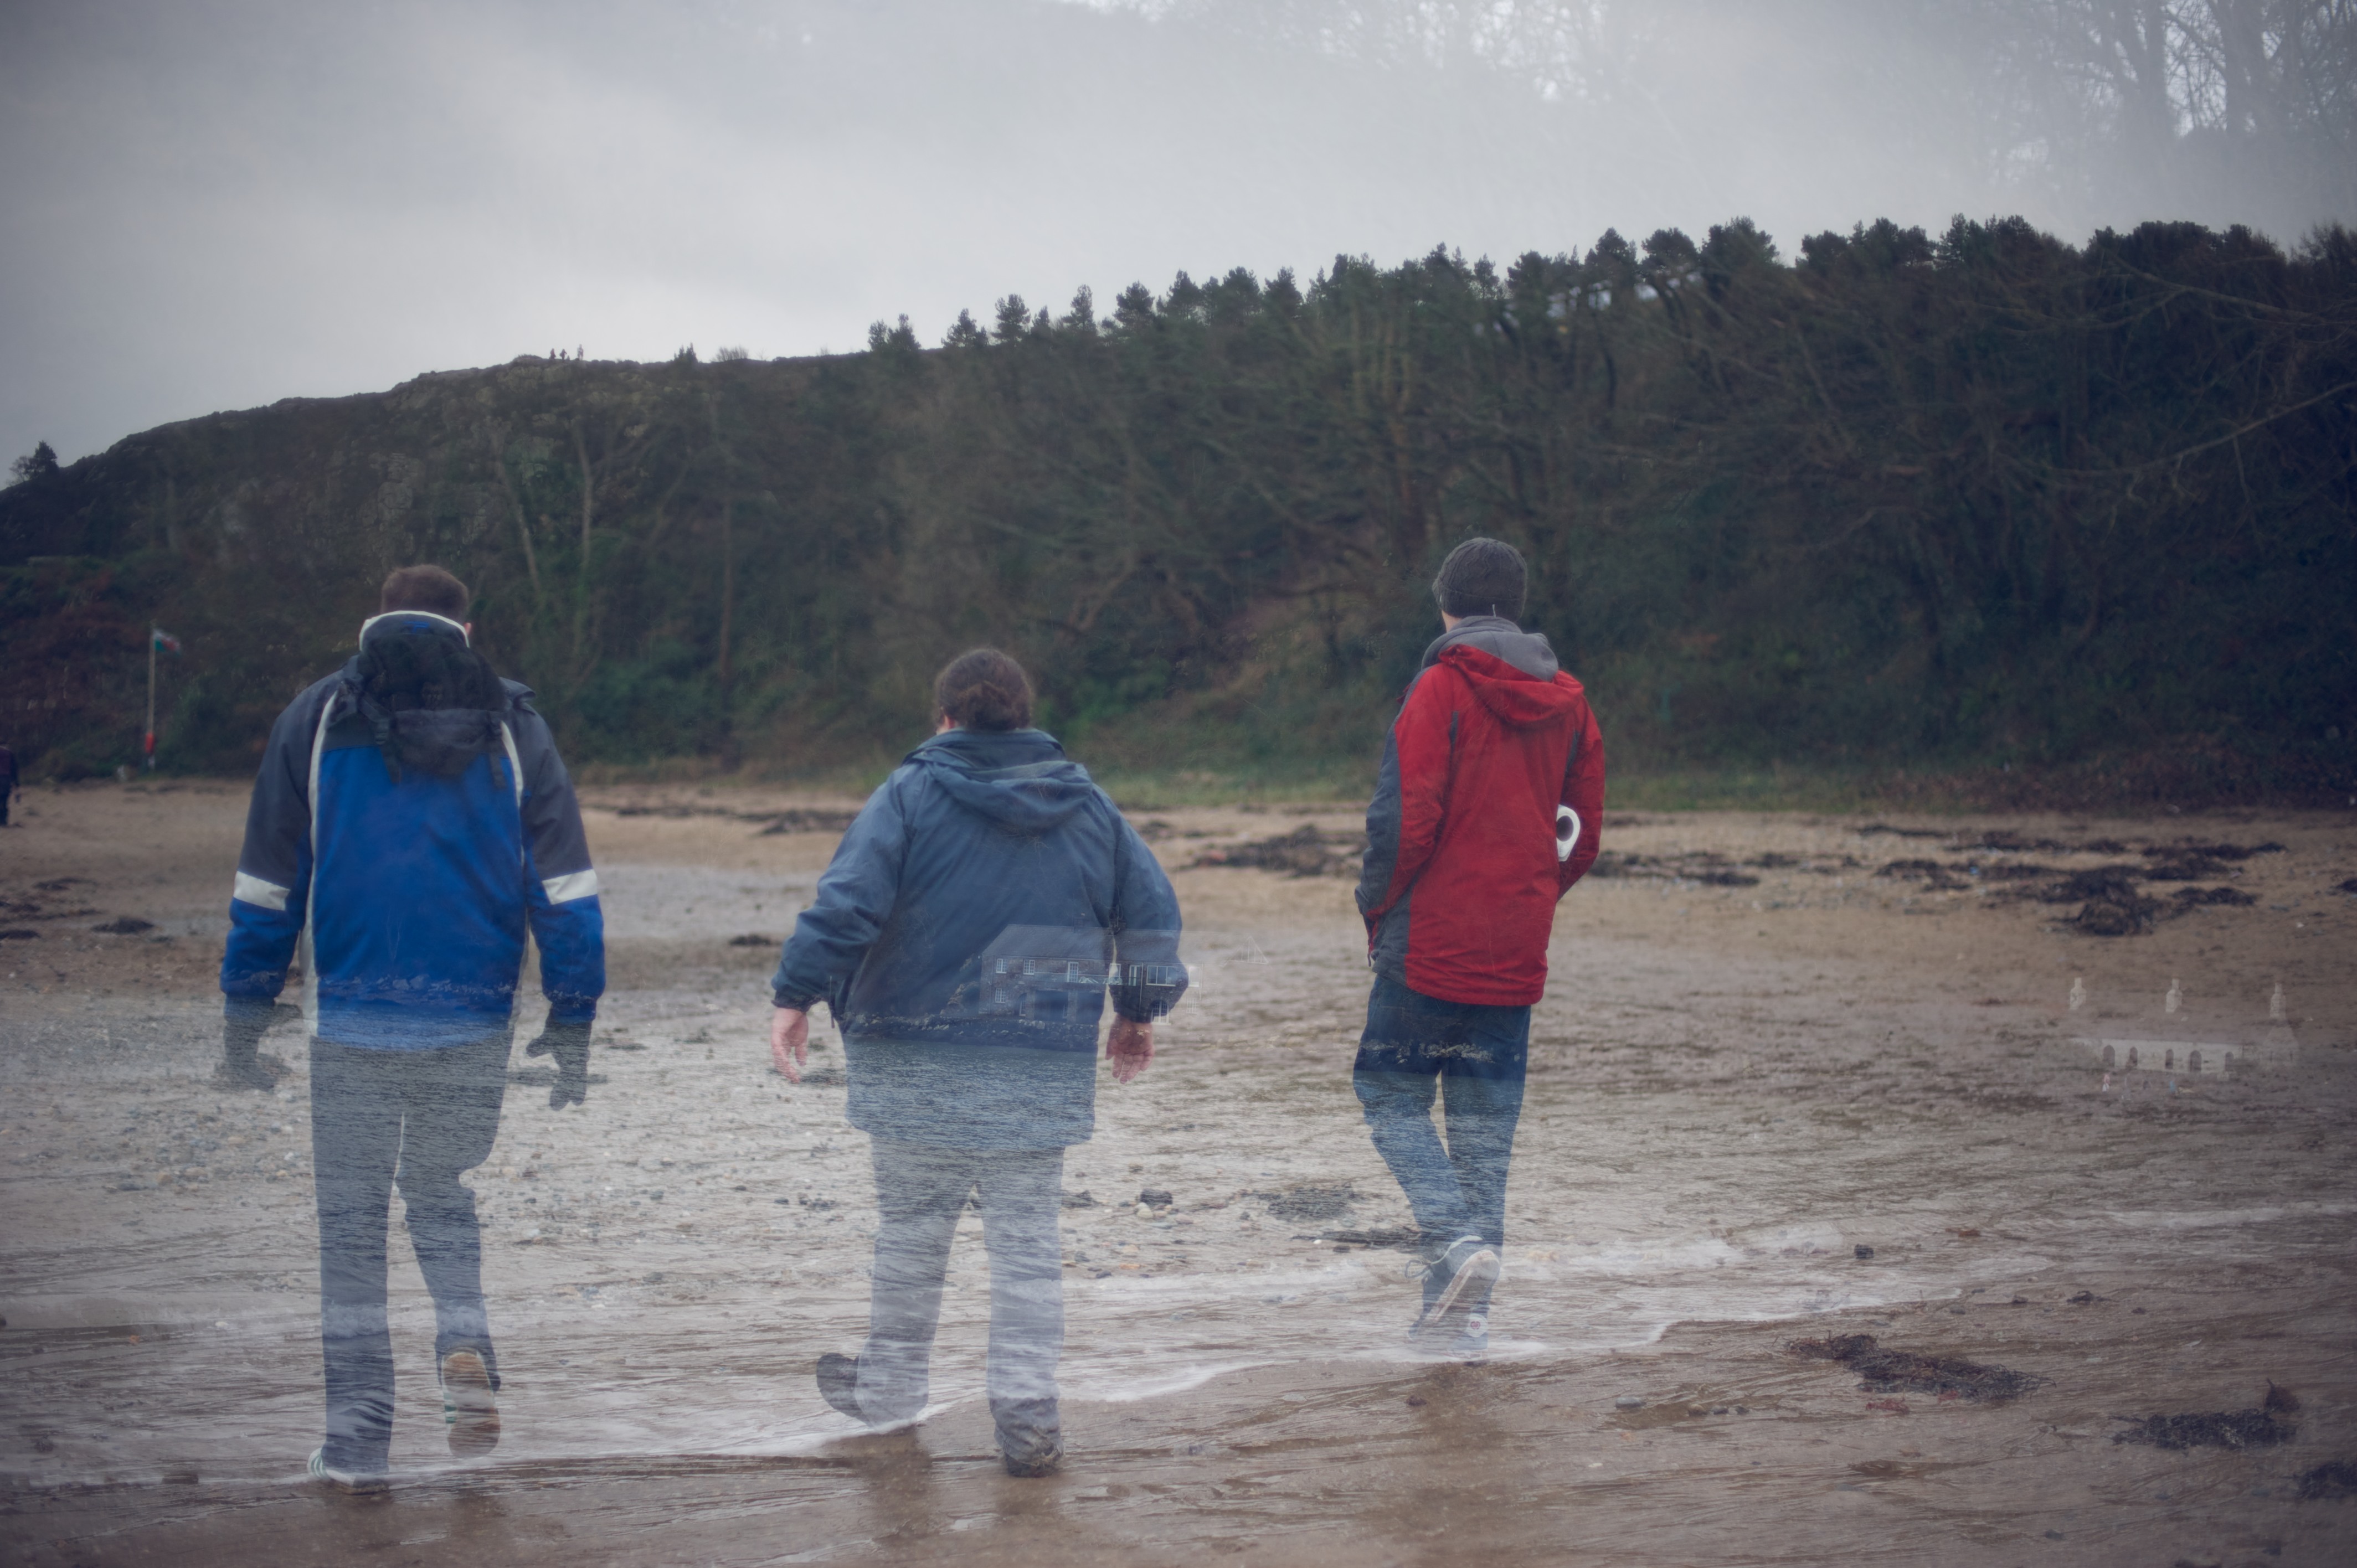
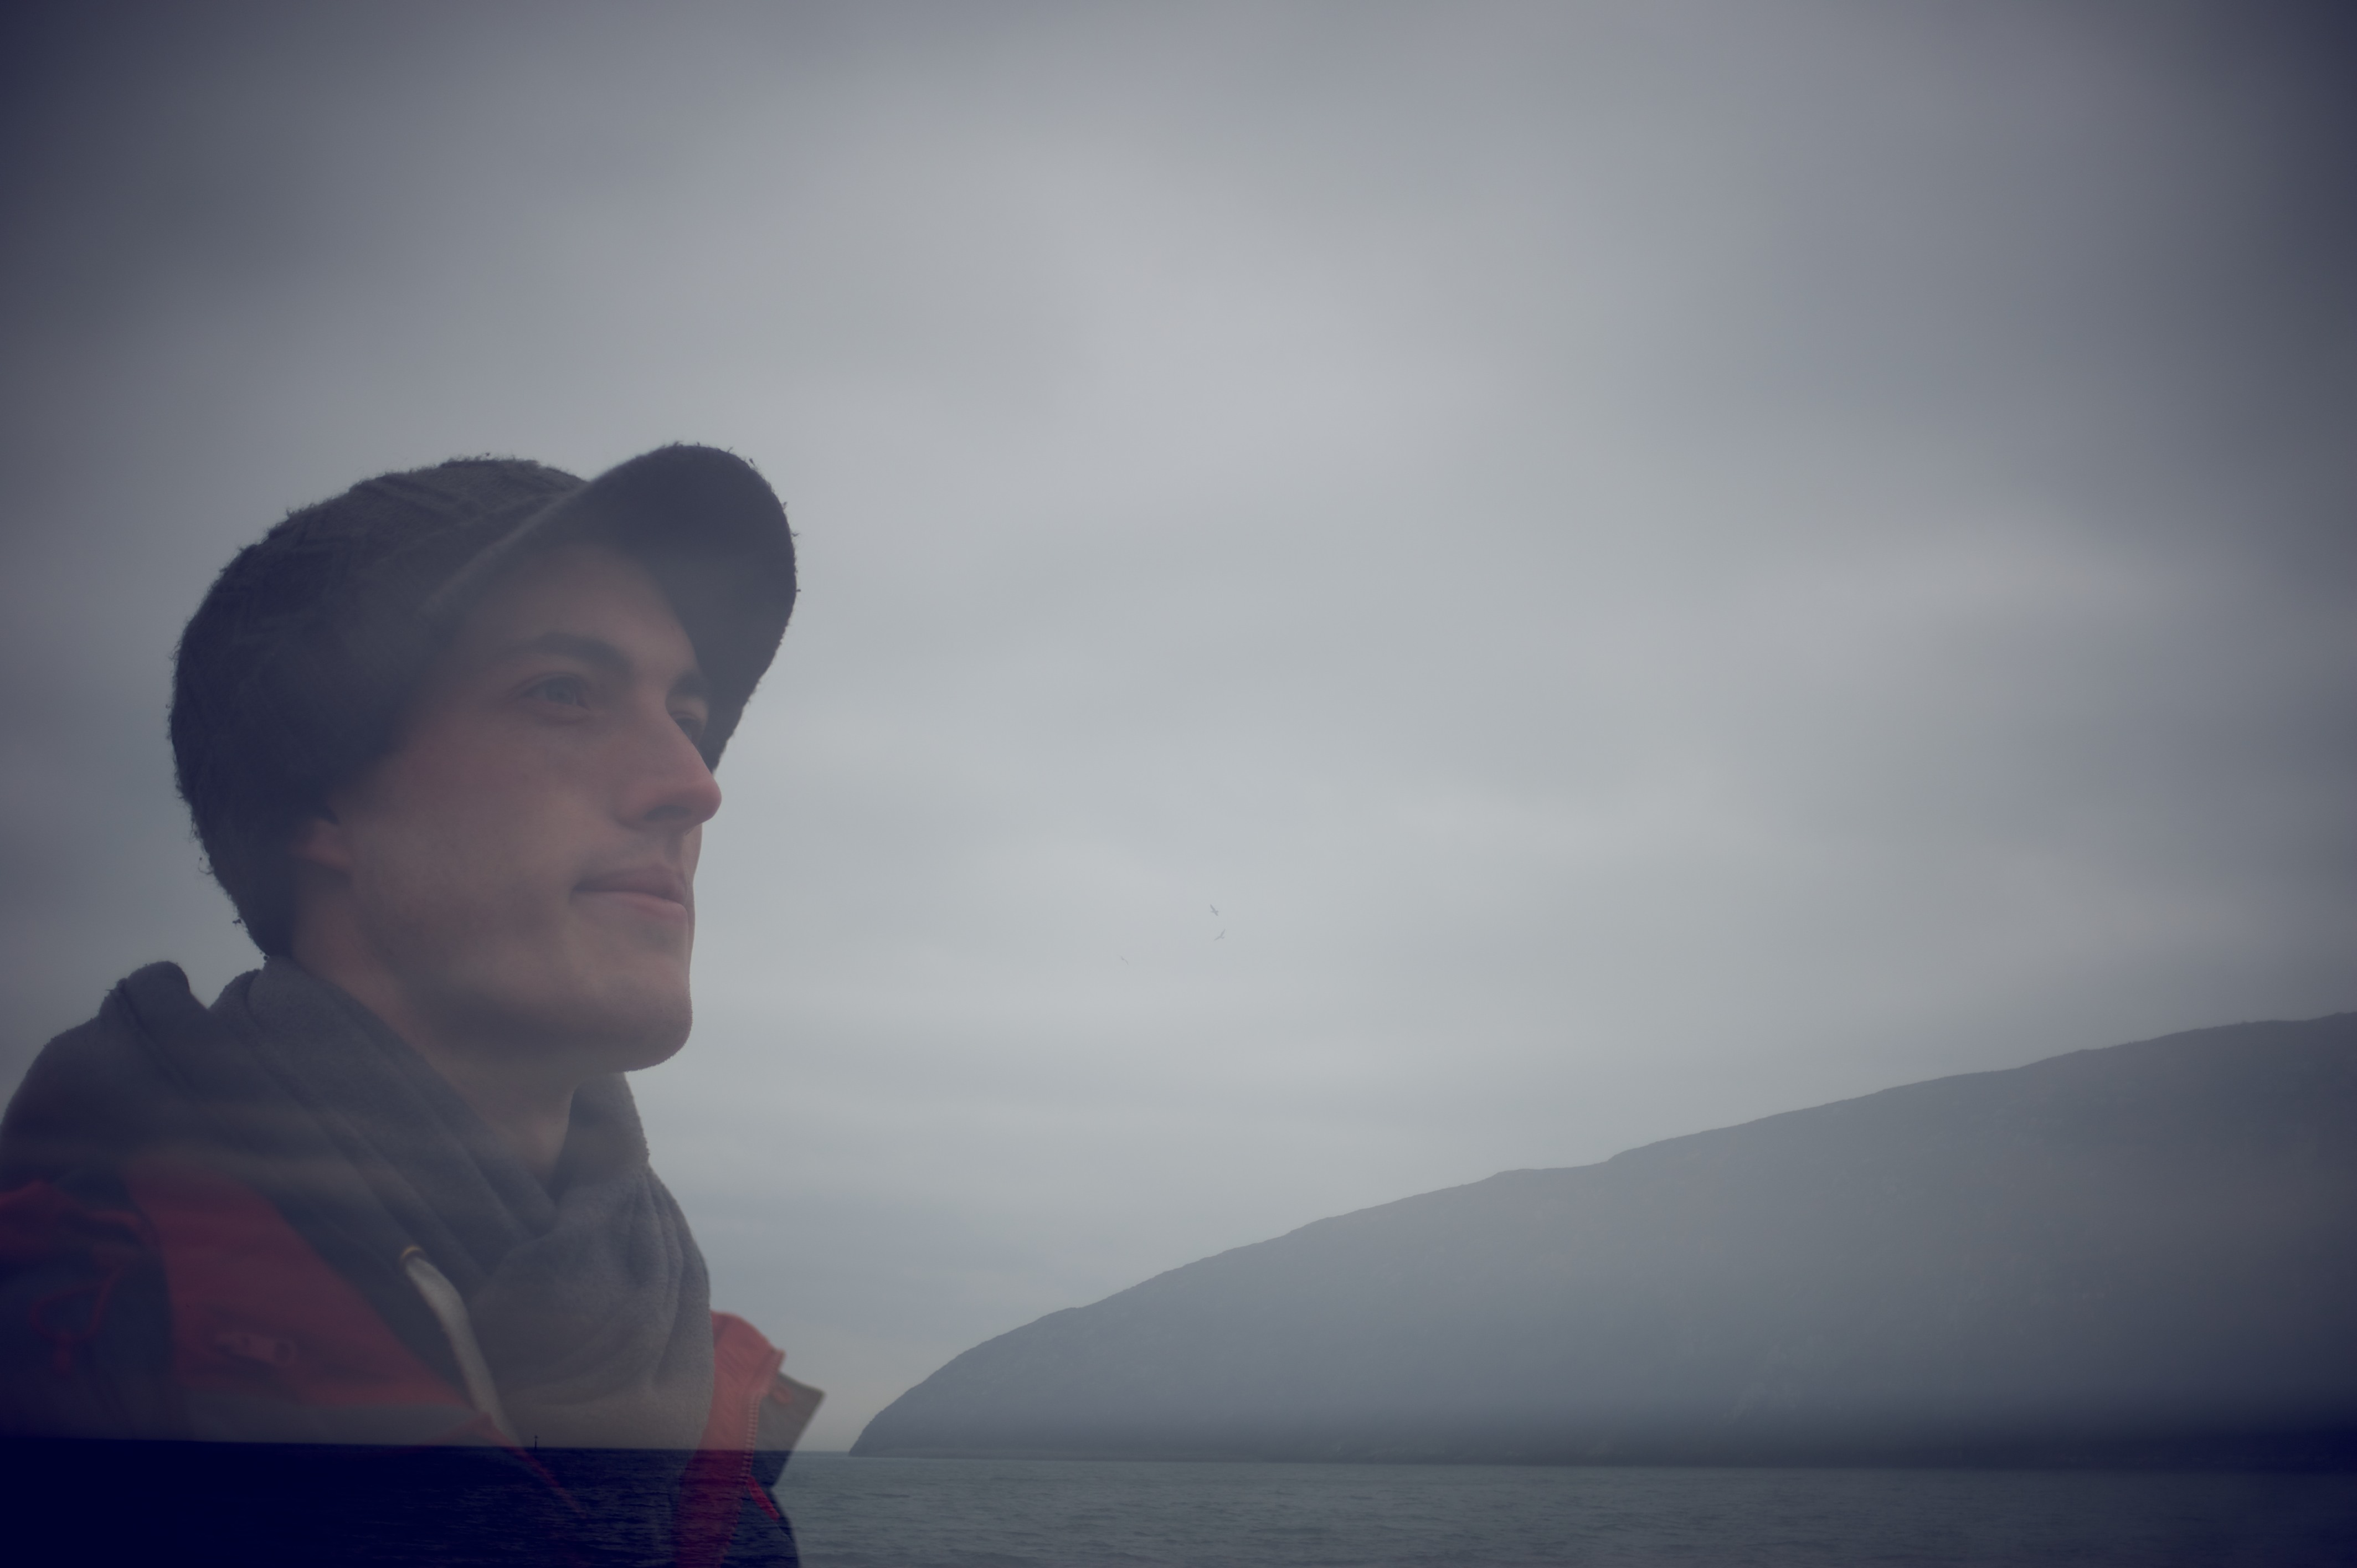
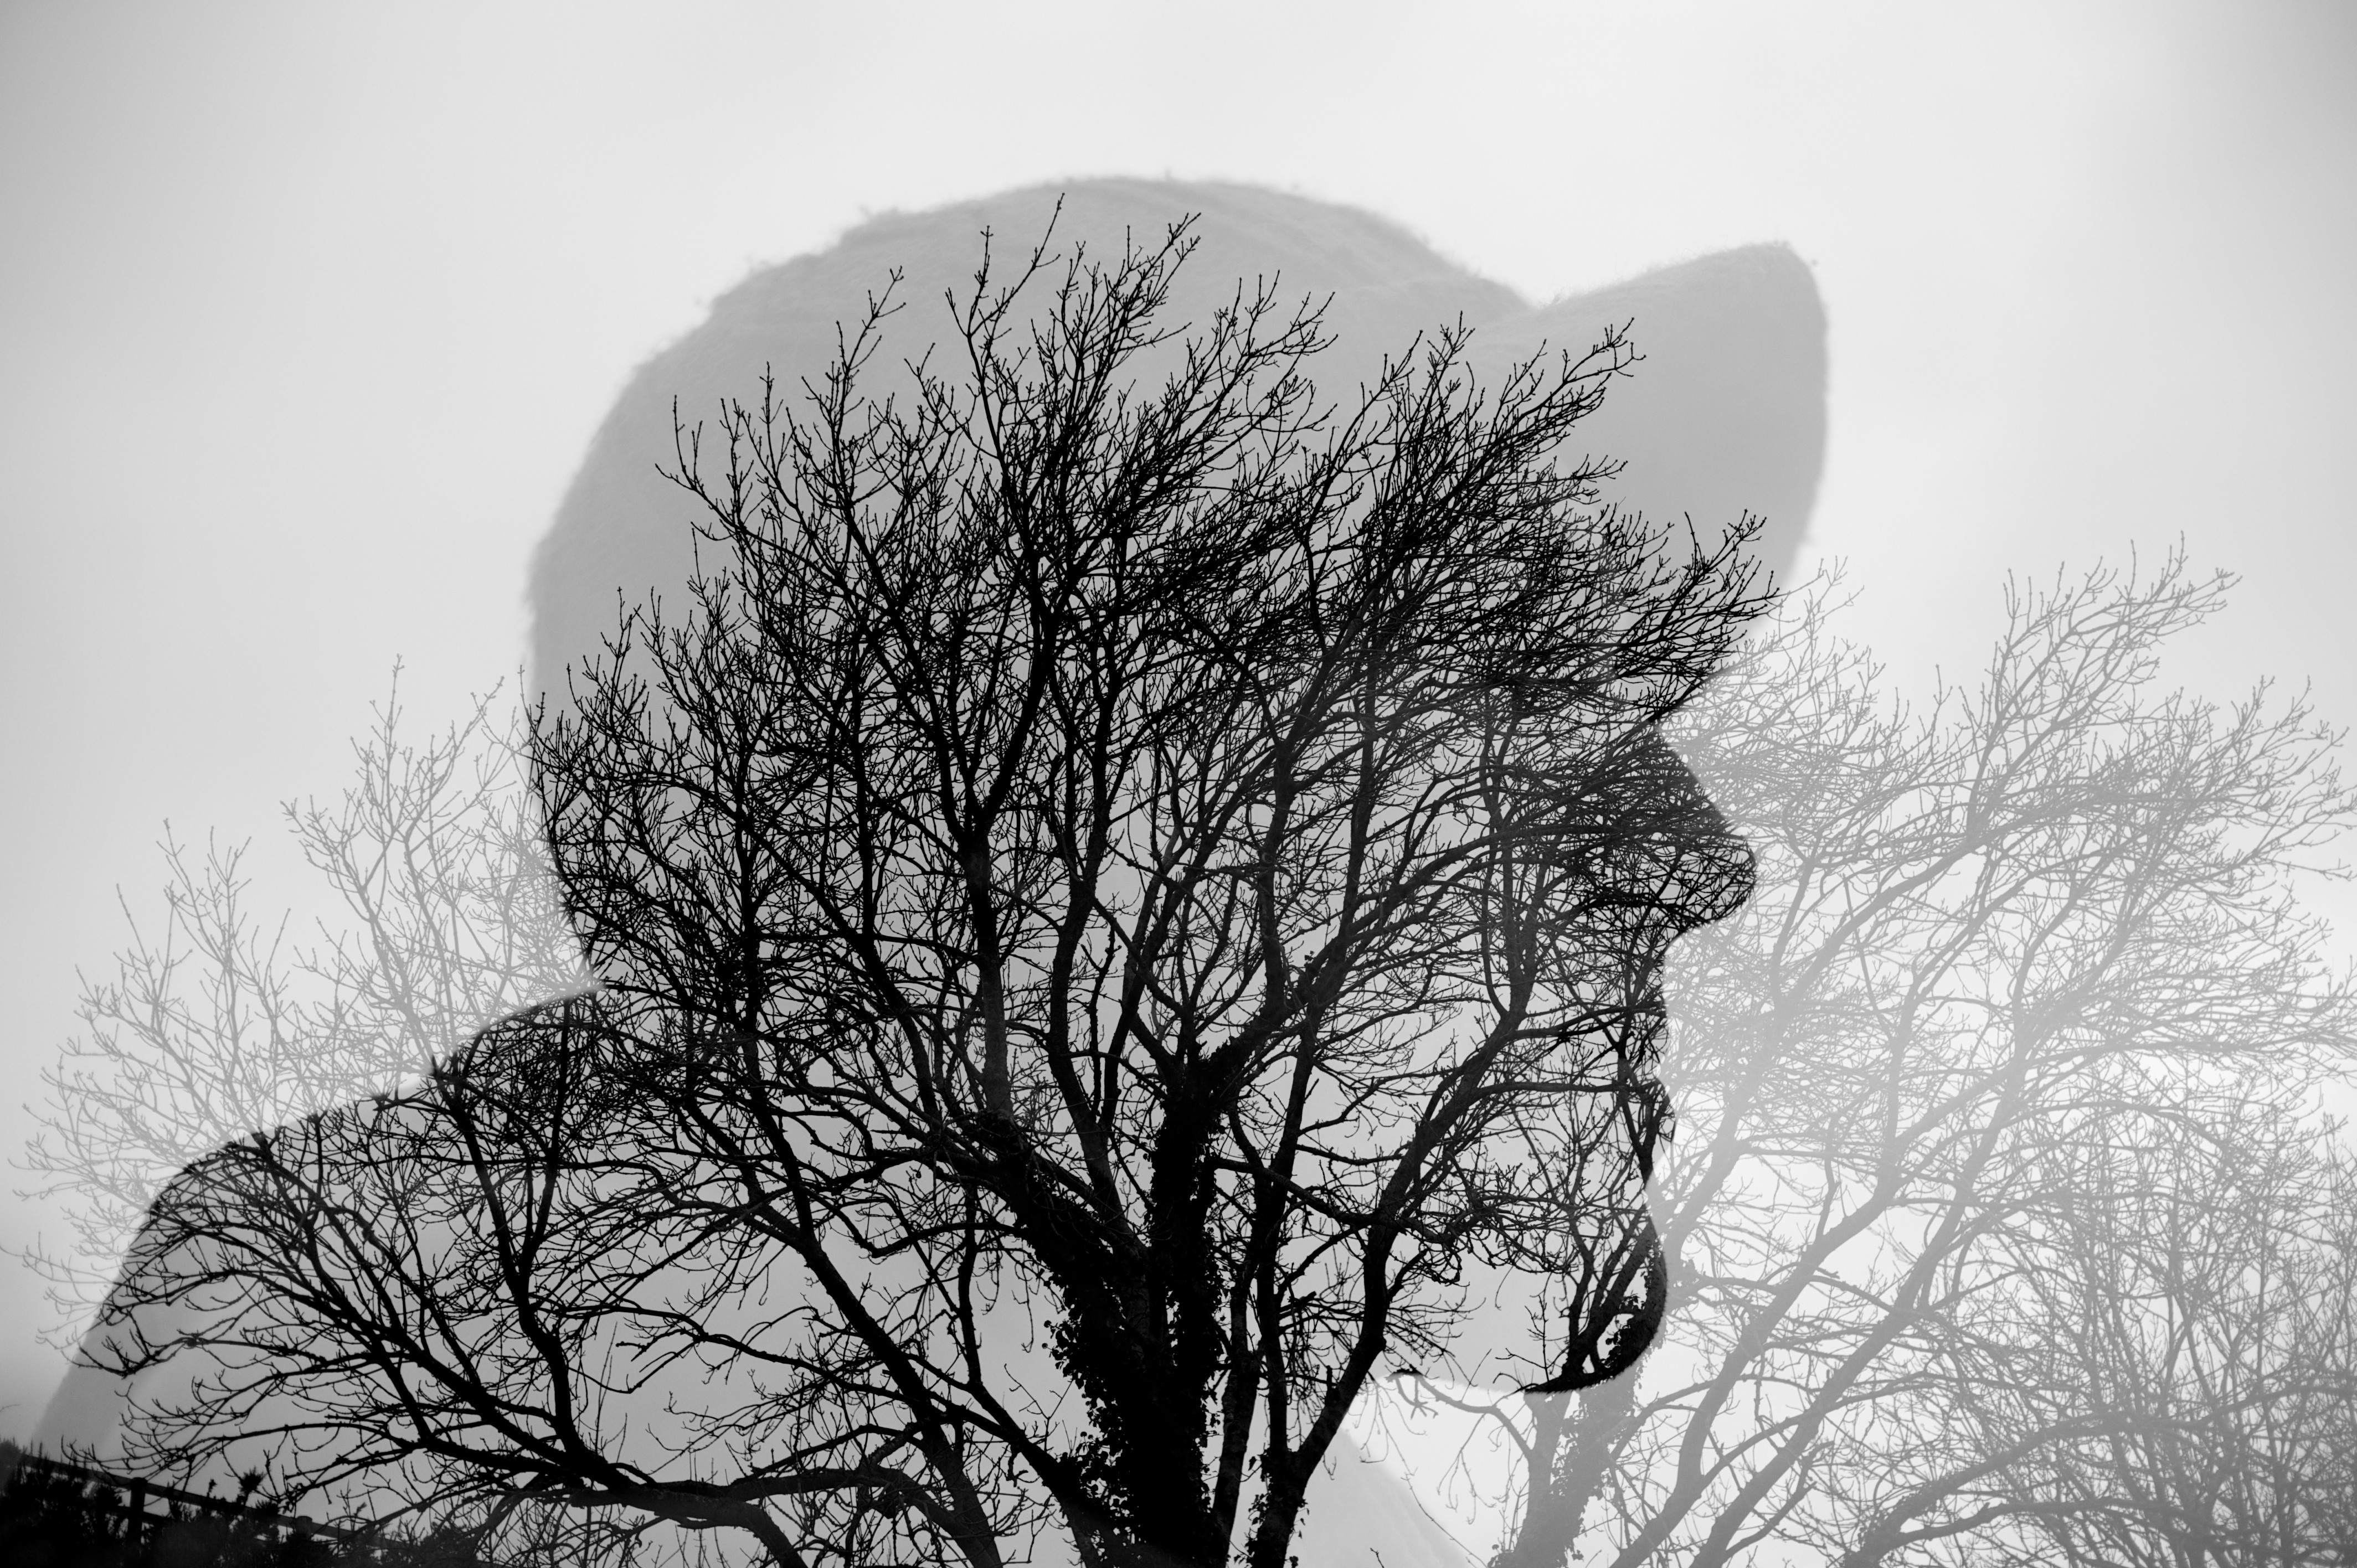
Our camera obscura worked pretty well. It wasn’t amazingly bold and focused on the walls of the room but we could make out the trees and their leaves blowing around. It wasn’t strong enough to capture with a camera but our eyes could clearly make it out.
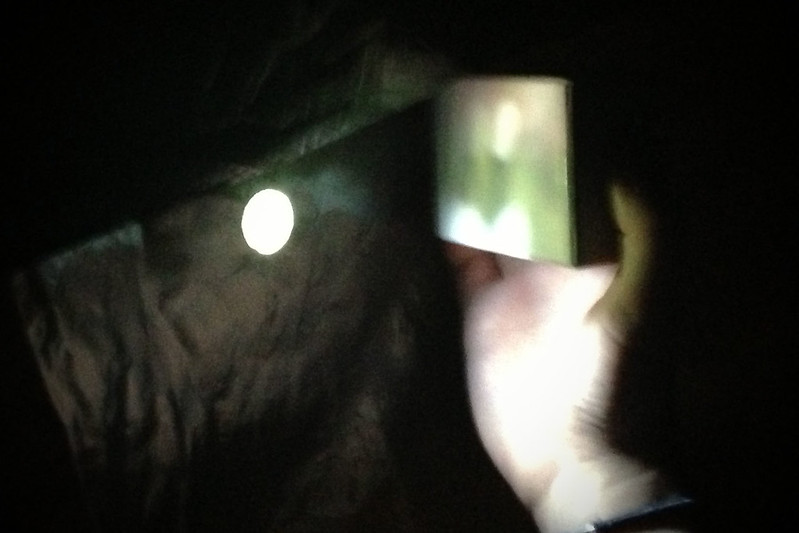
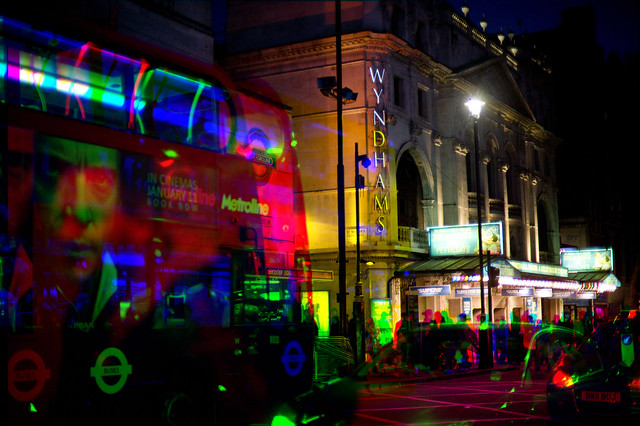
We began to experiment by holding up card in front of the hole and we could see the outside world with all of its colours and movements projected on to the card. Holding a mirror in front of the hole and reflecting the projection onto the ceiling worked really well too. We also used a round photographic reflector held in front of the hole which is where we had the best results and were able to take some pretty good photos and video. Maybe a white bed sheet held up taut in front of the hole would also act as a good screen or tracing paper could work too. It is worth a go experimenting with anything you can find. Enjoy!
Thanks you Jess for putting this all together for us, and thanks to Jack and Sam for helping her pull it off. Jess makes some pretty and interesting things which you can find on her blog: Use Your Hands To Make You Happy (you should check it out).
Don't forget, to join in with the project follow along in this Facebook group or use #developproject on instagram and twitter.


