#13: Make the most of your guests
Even the cake was in tiers is our series tips for weddings. The title comes from an overused and not so funny wedding speech joke, "It's been an emotional day...". What advice did you wish someone had told you before your wedding? We're collating all the etiquette and expertise here.
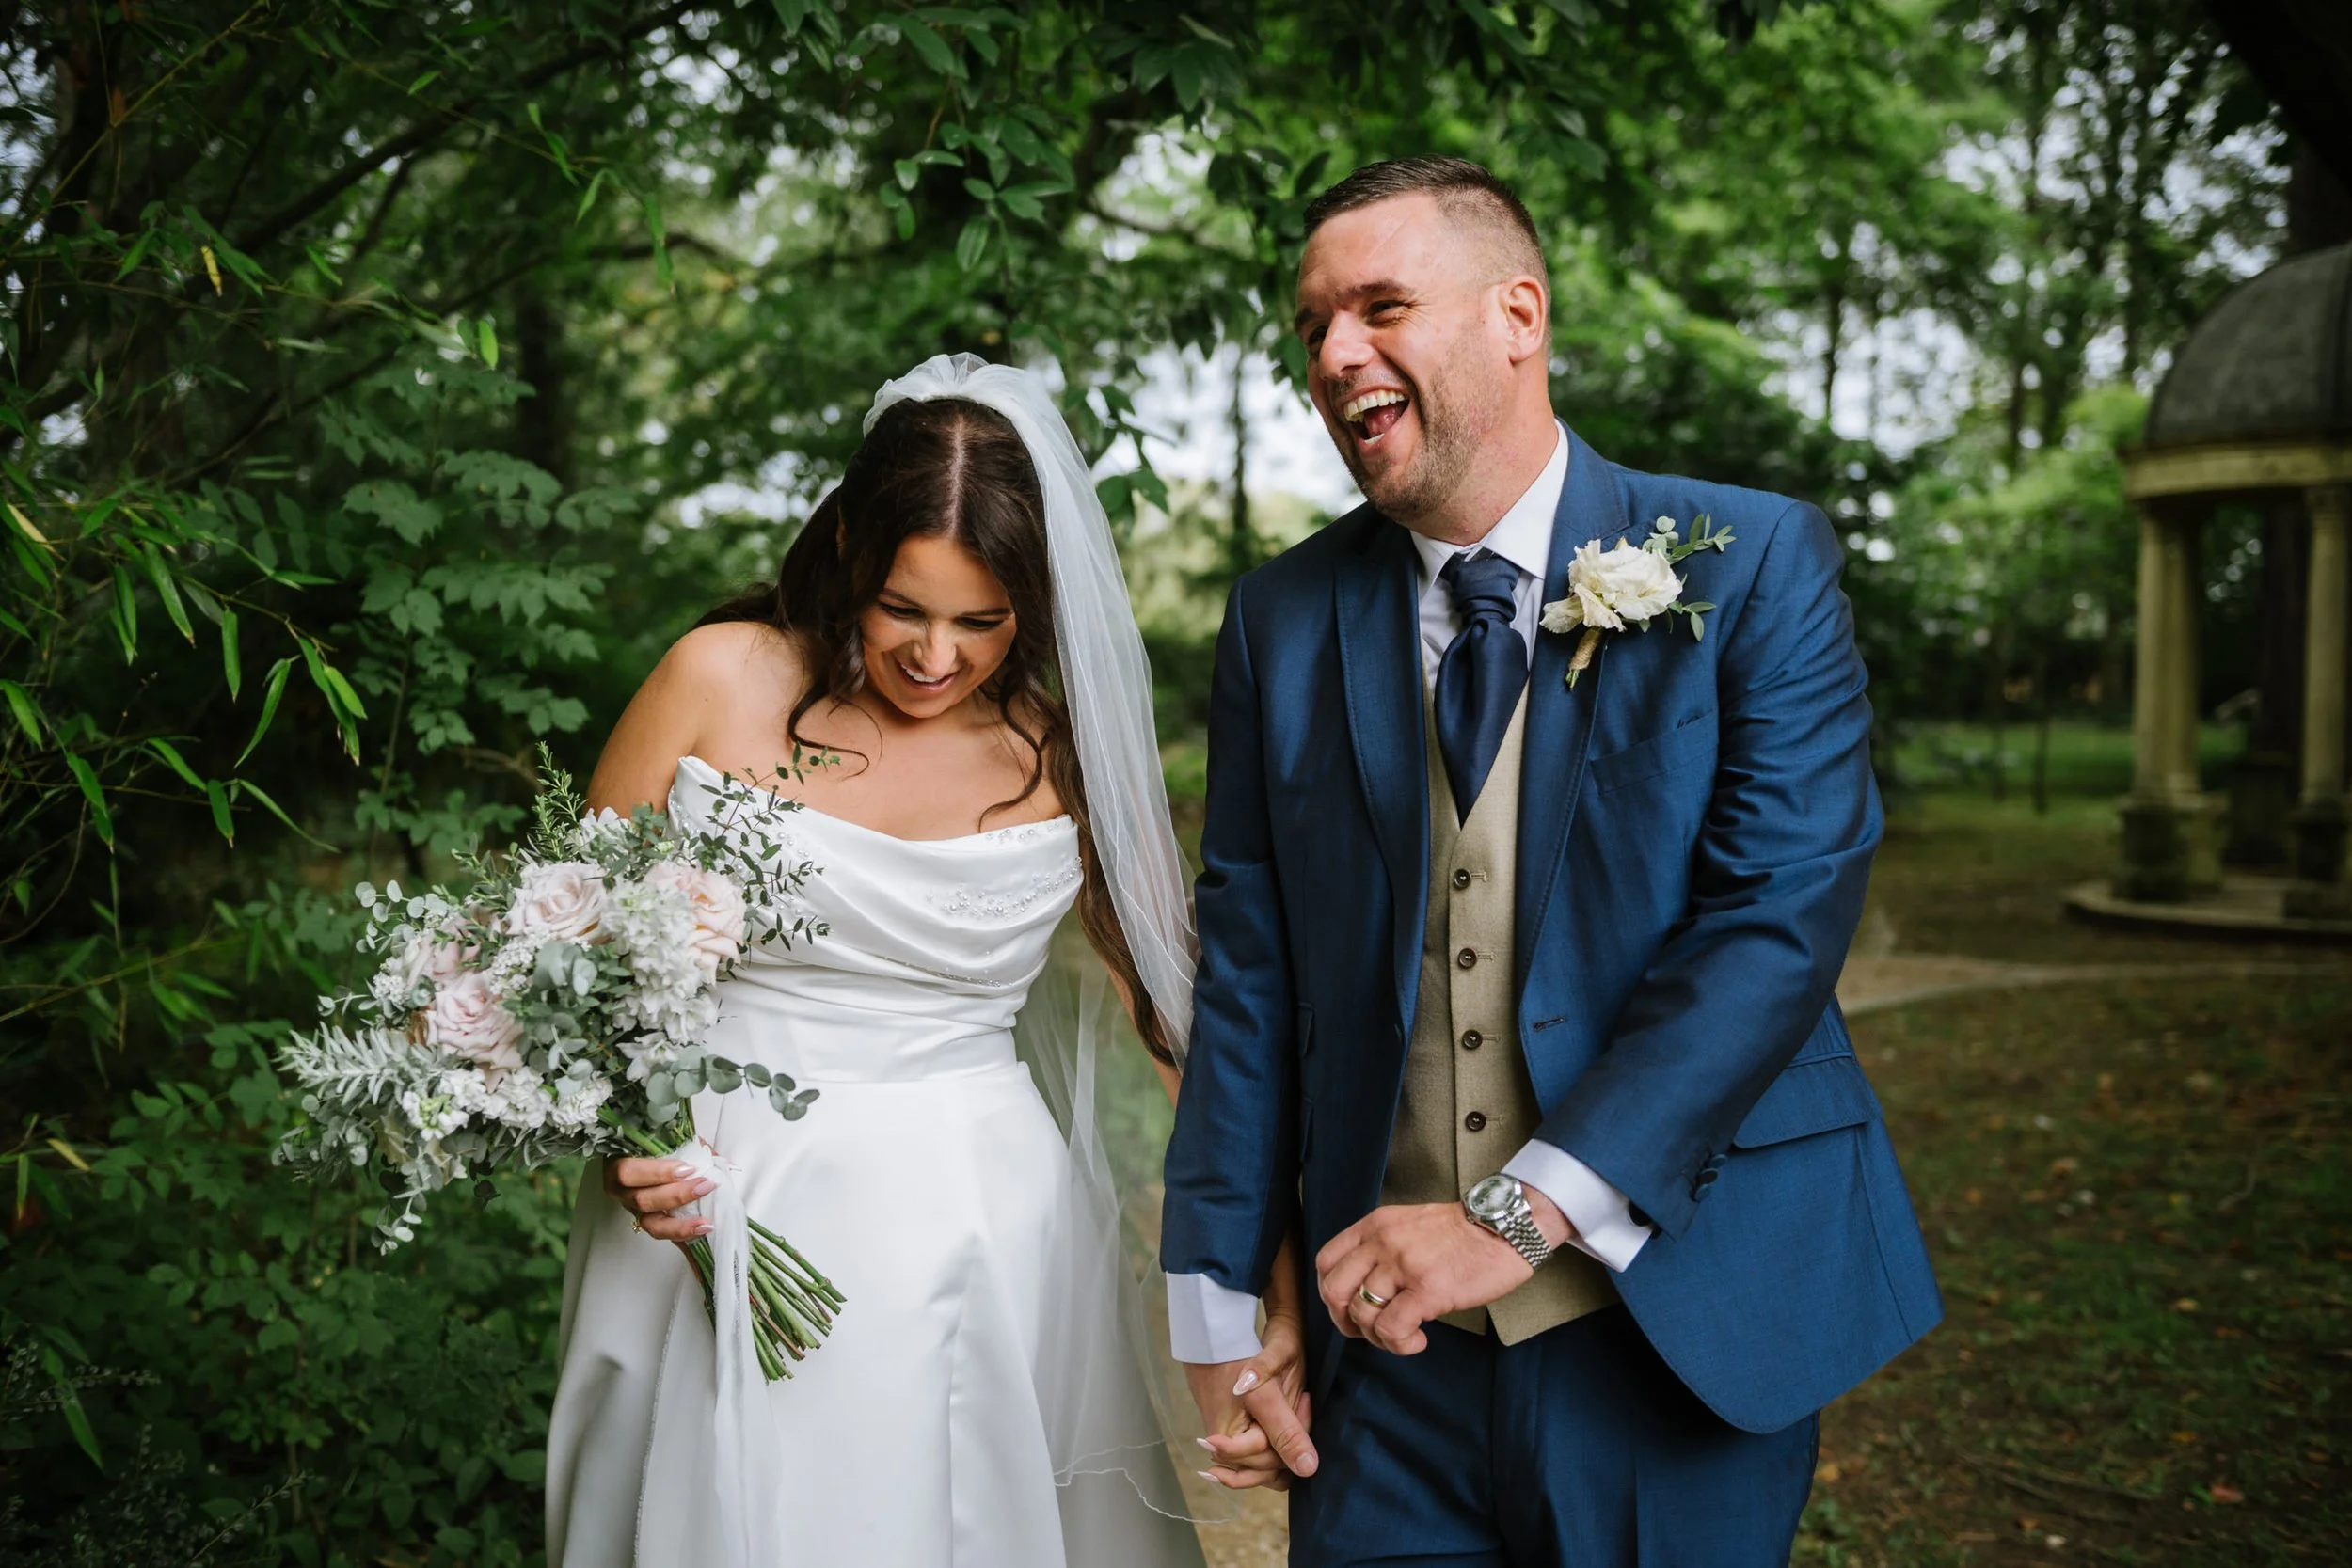
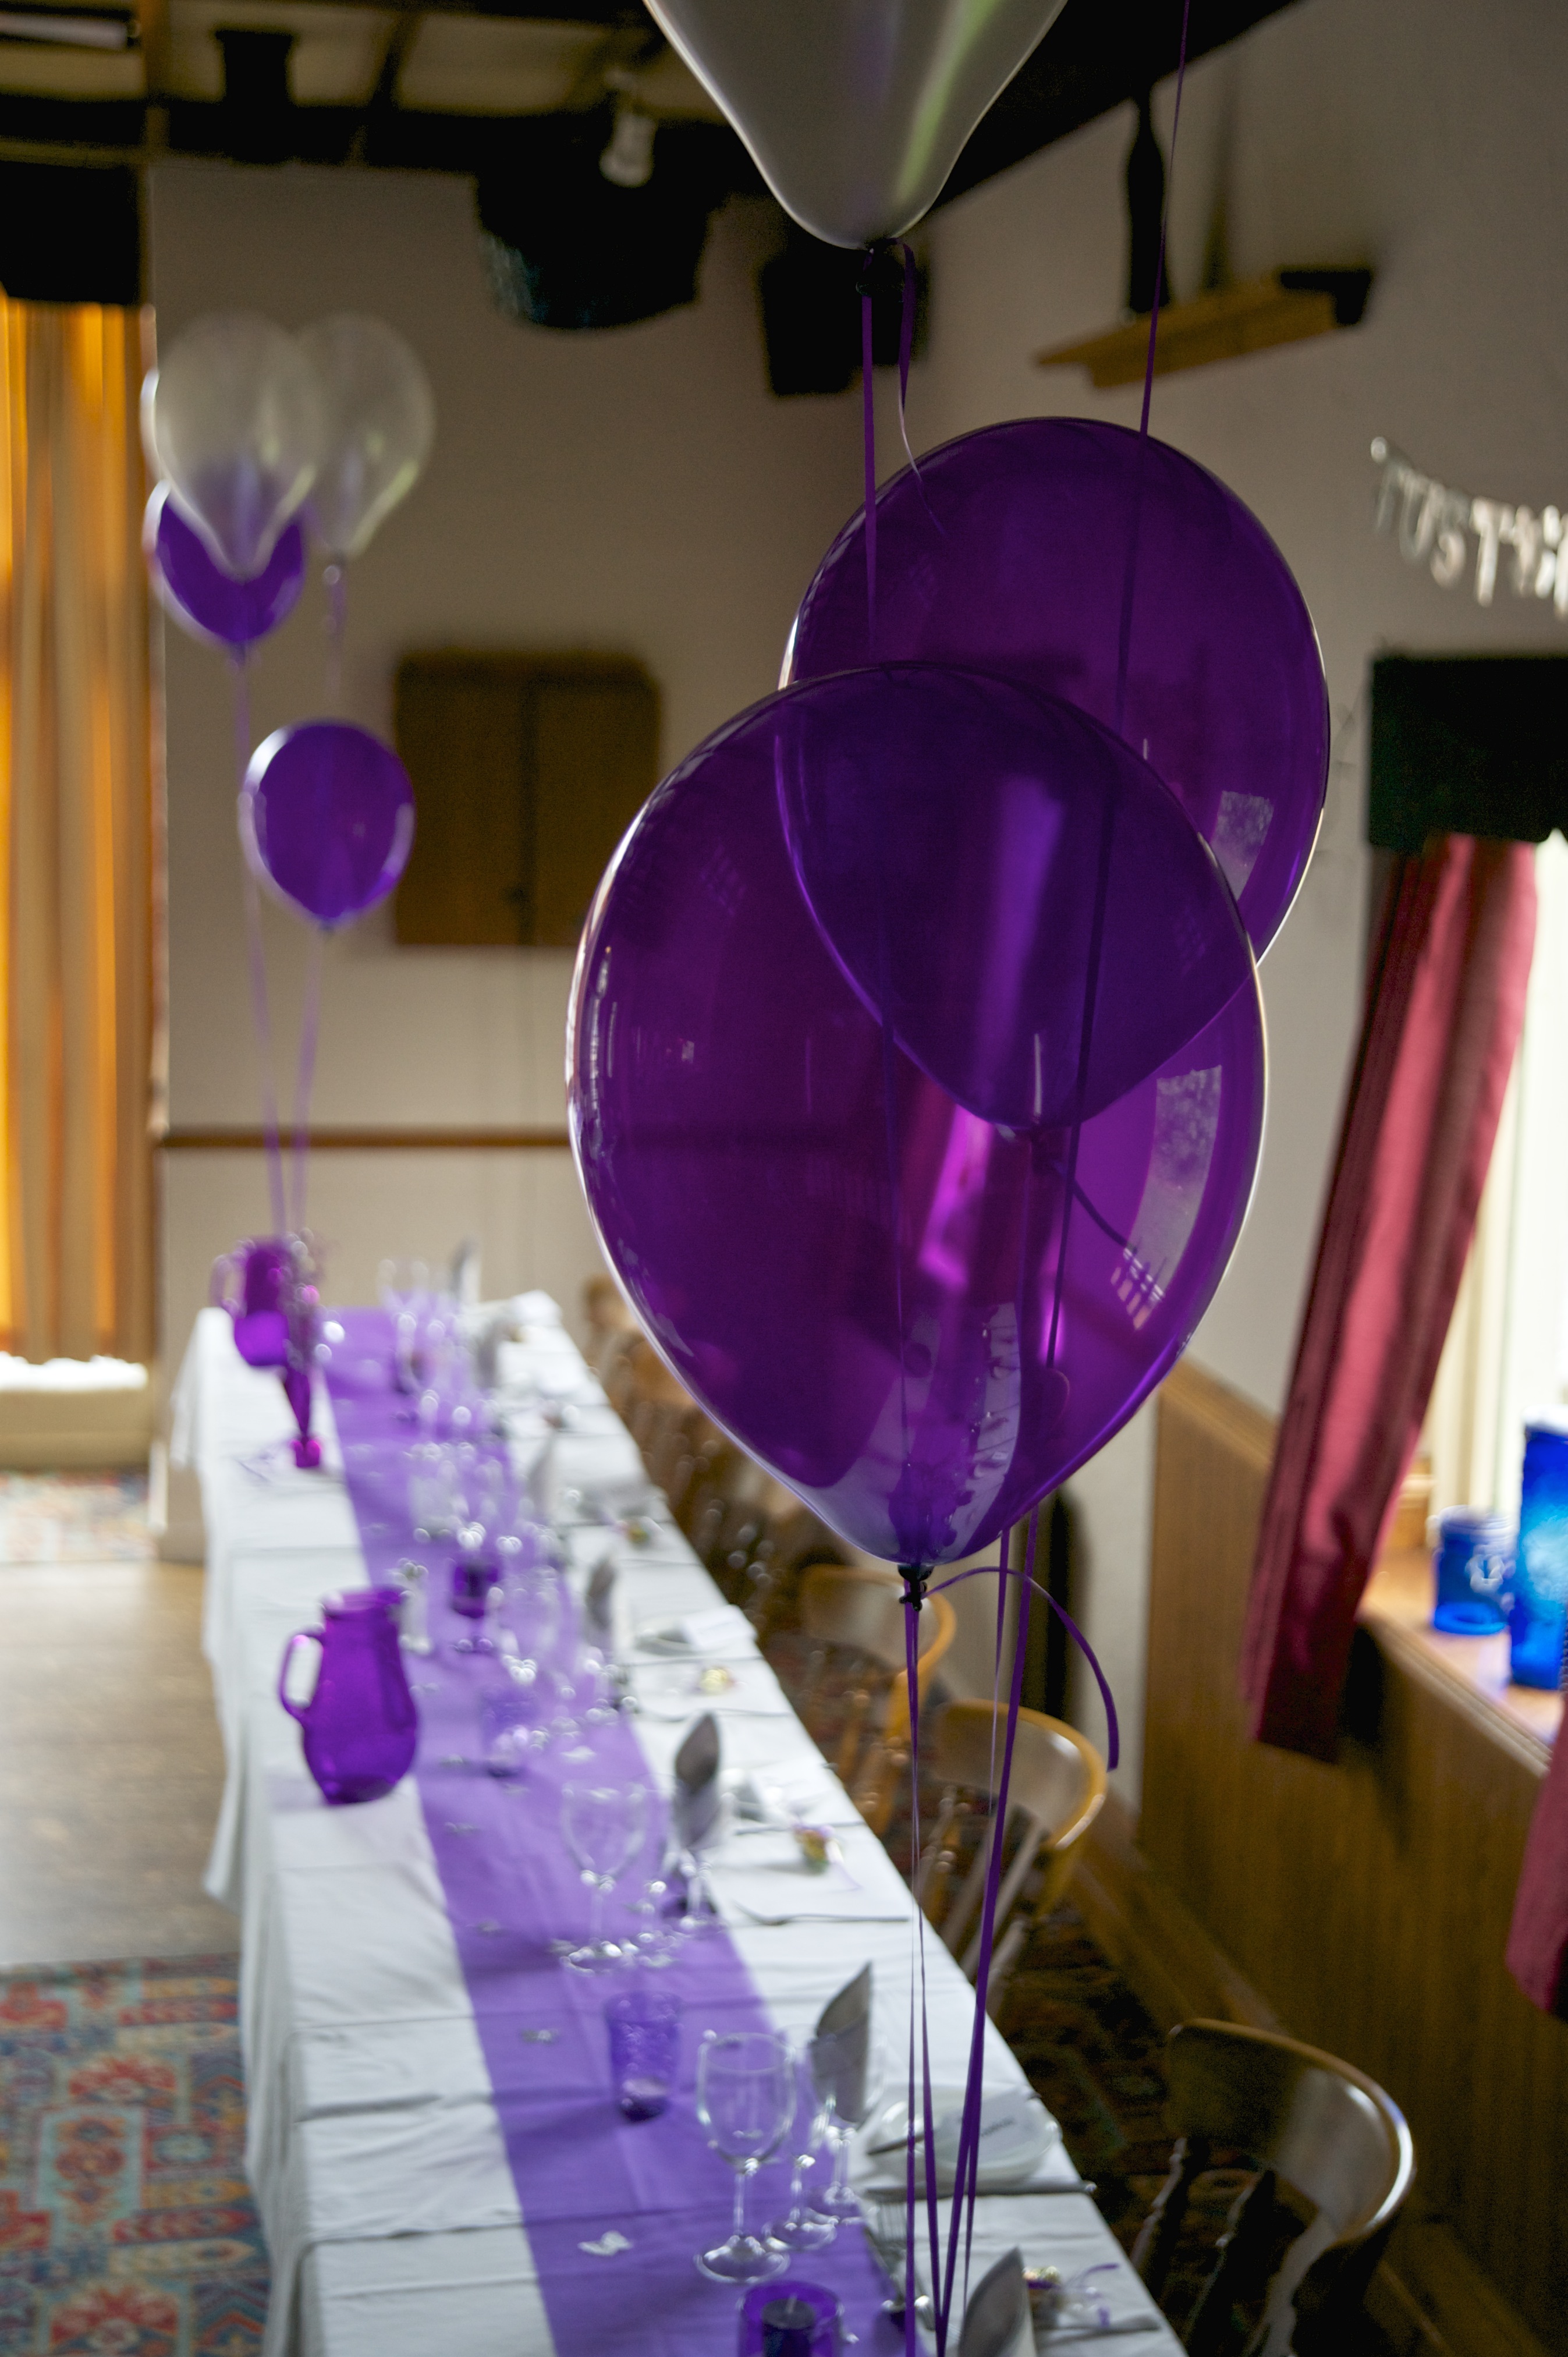
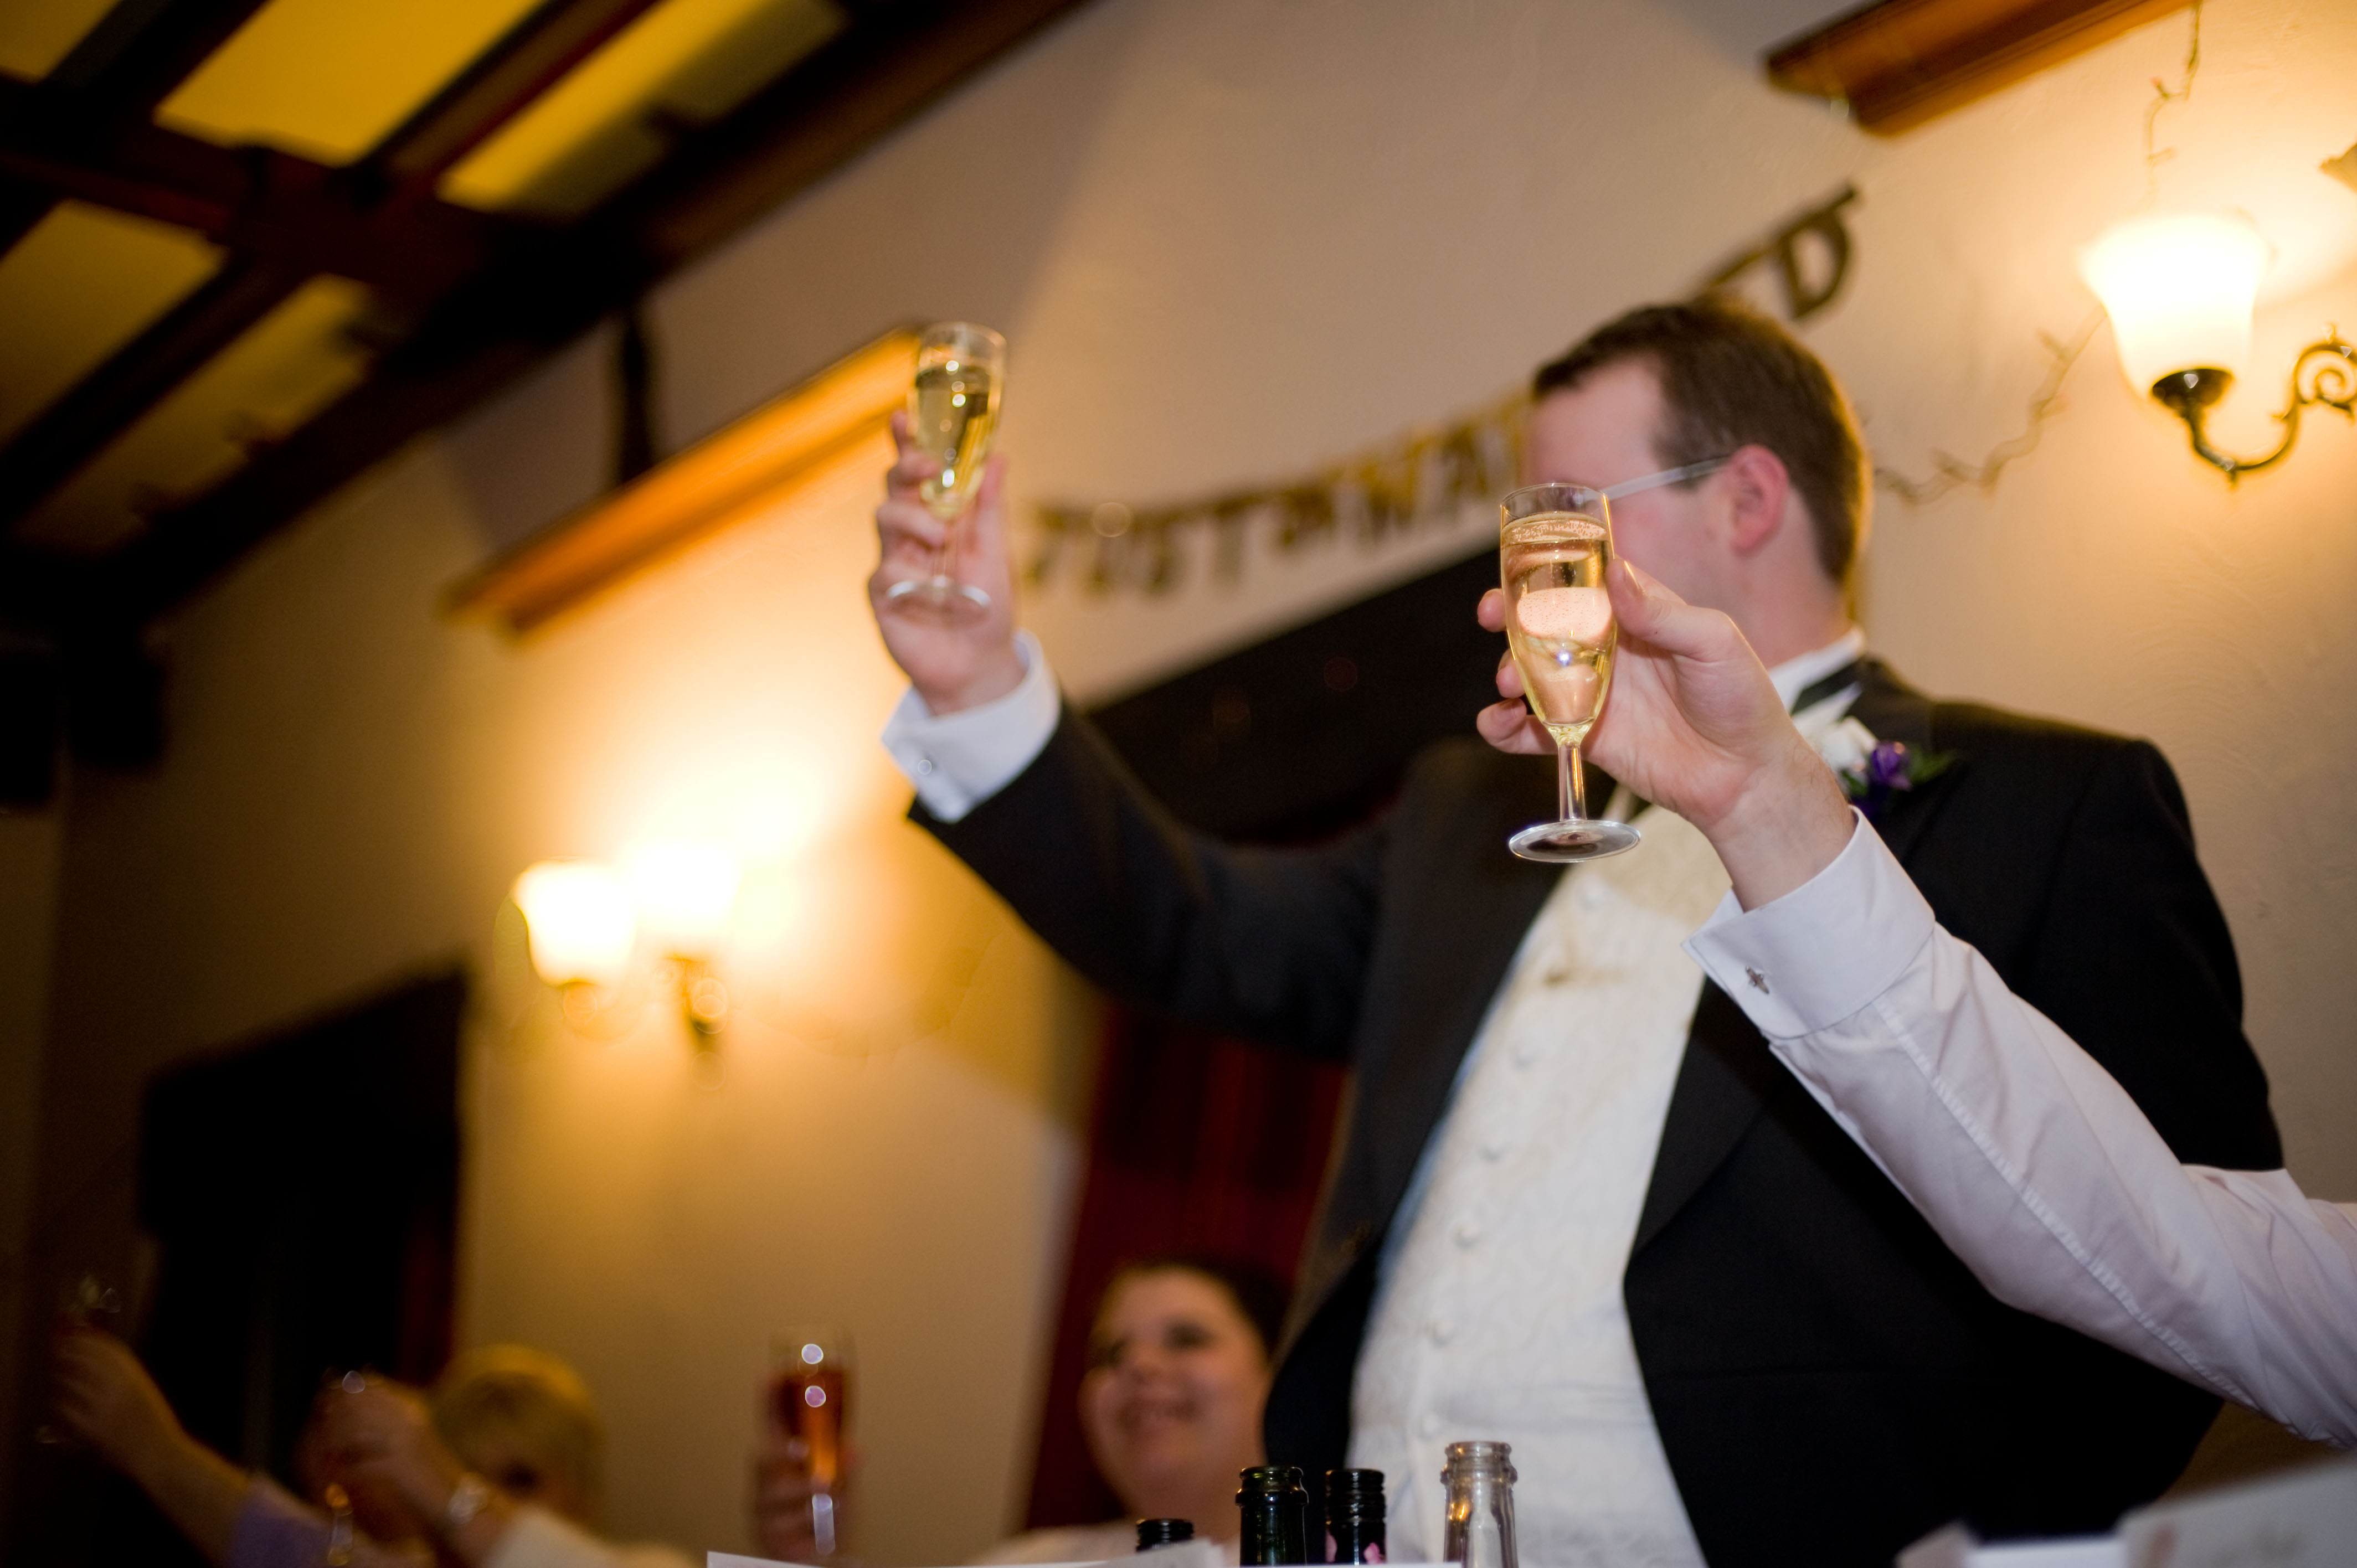
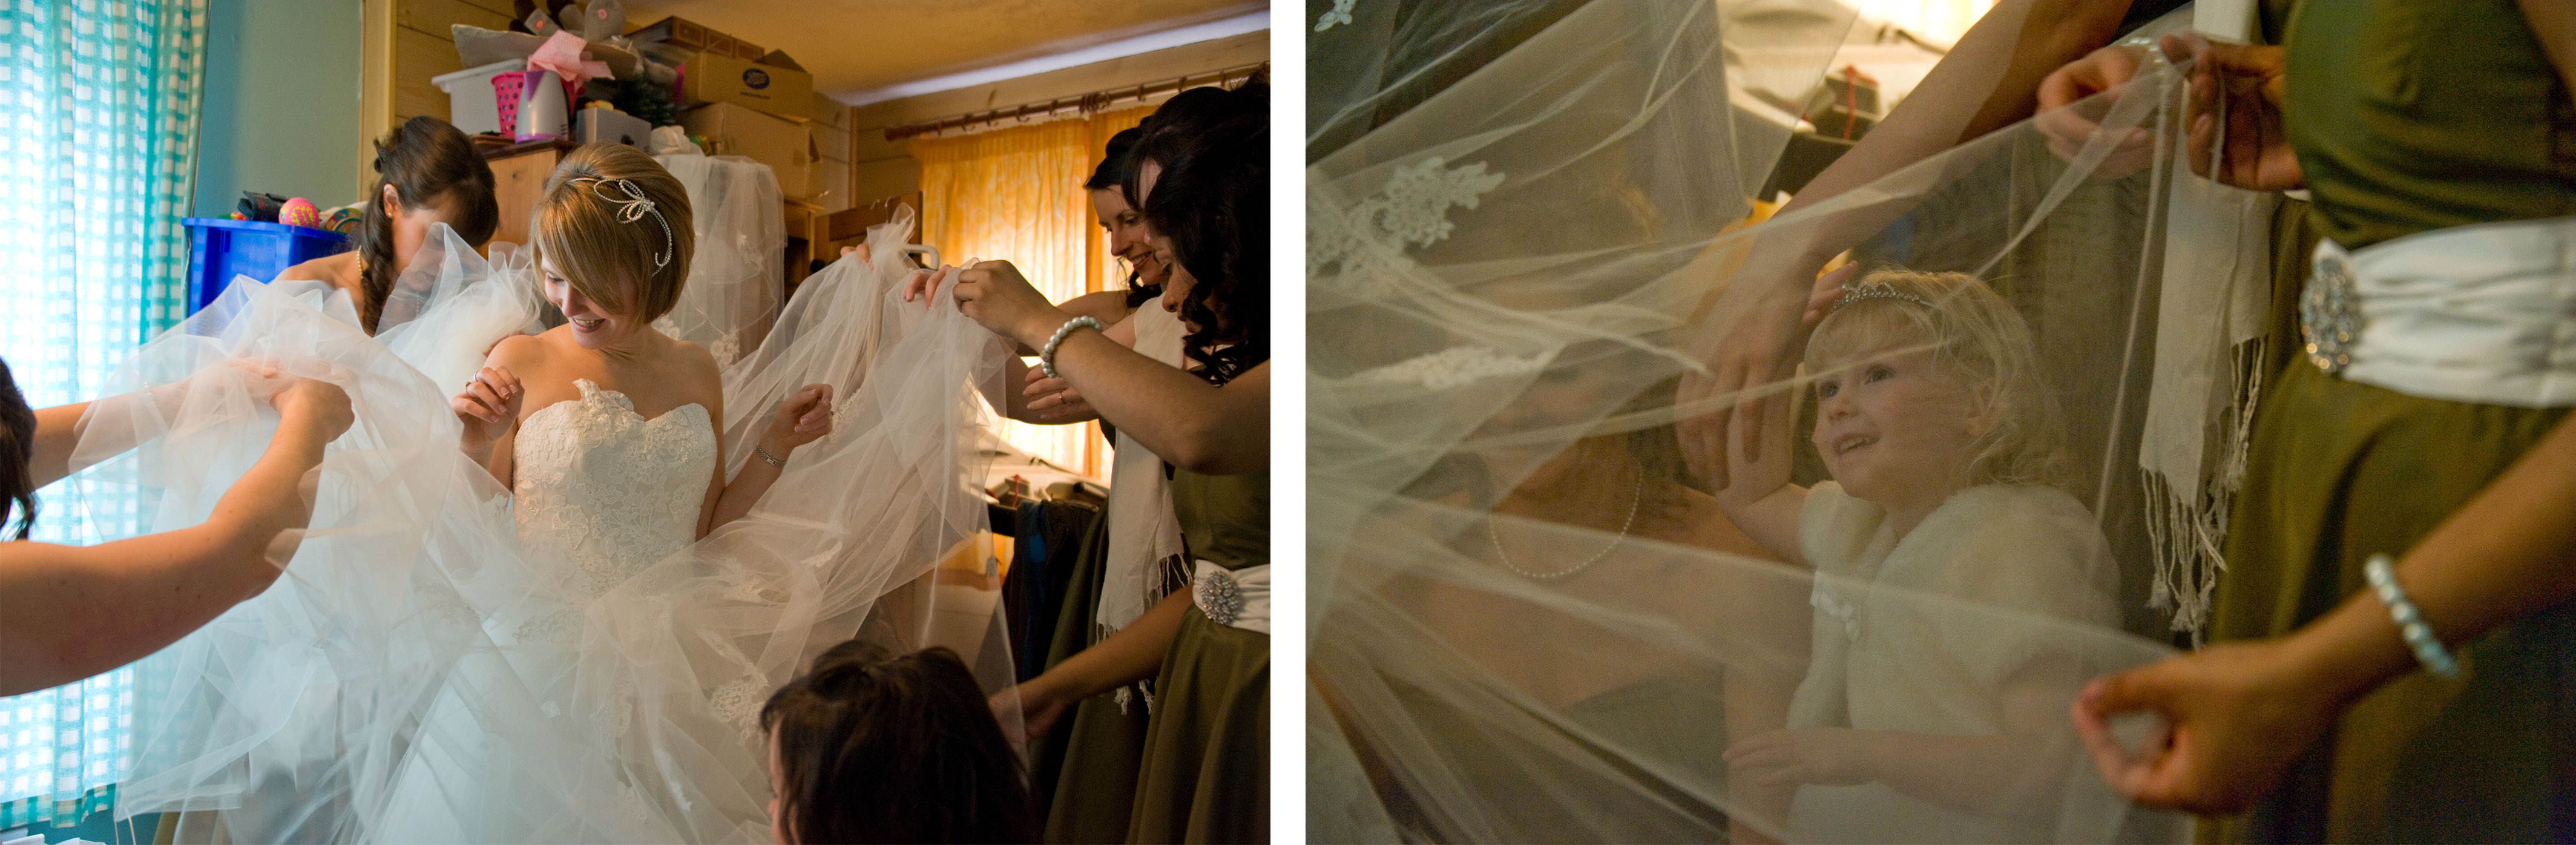
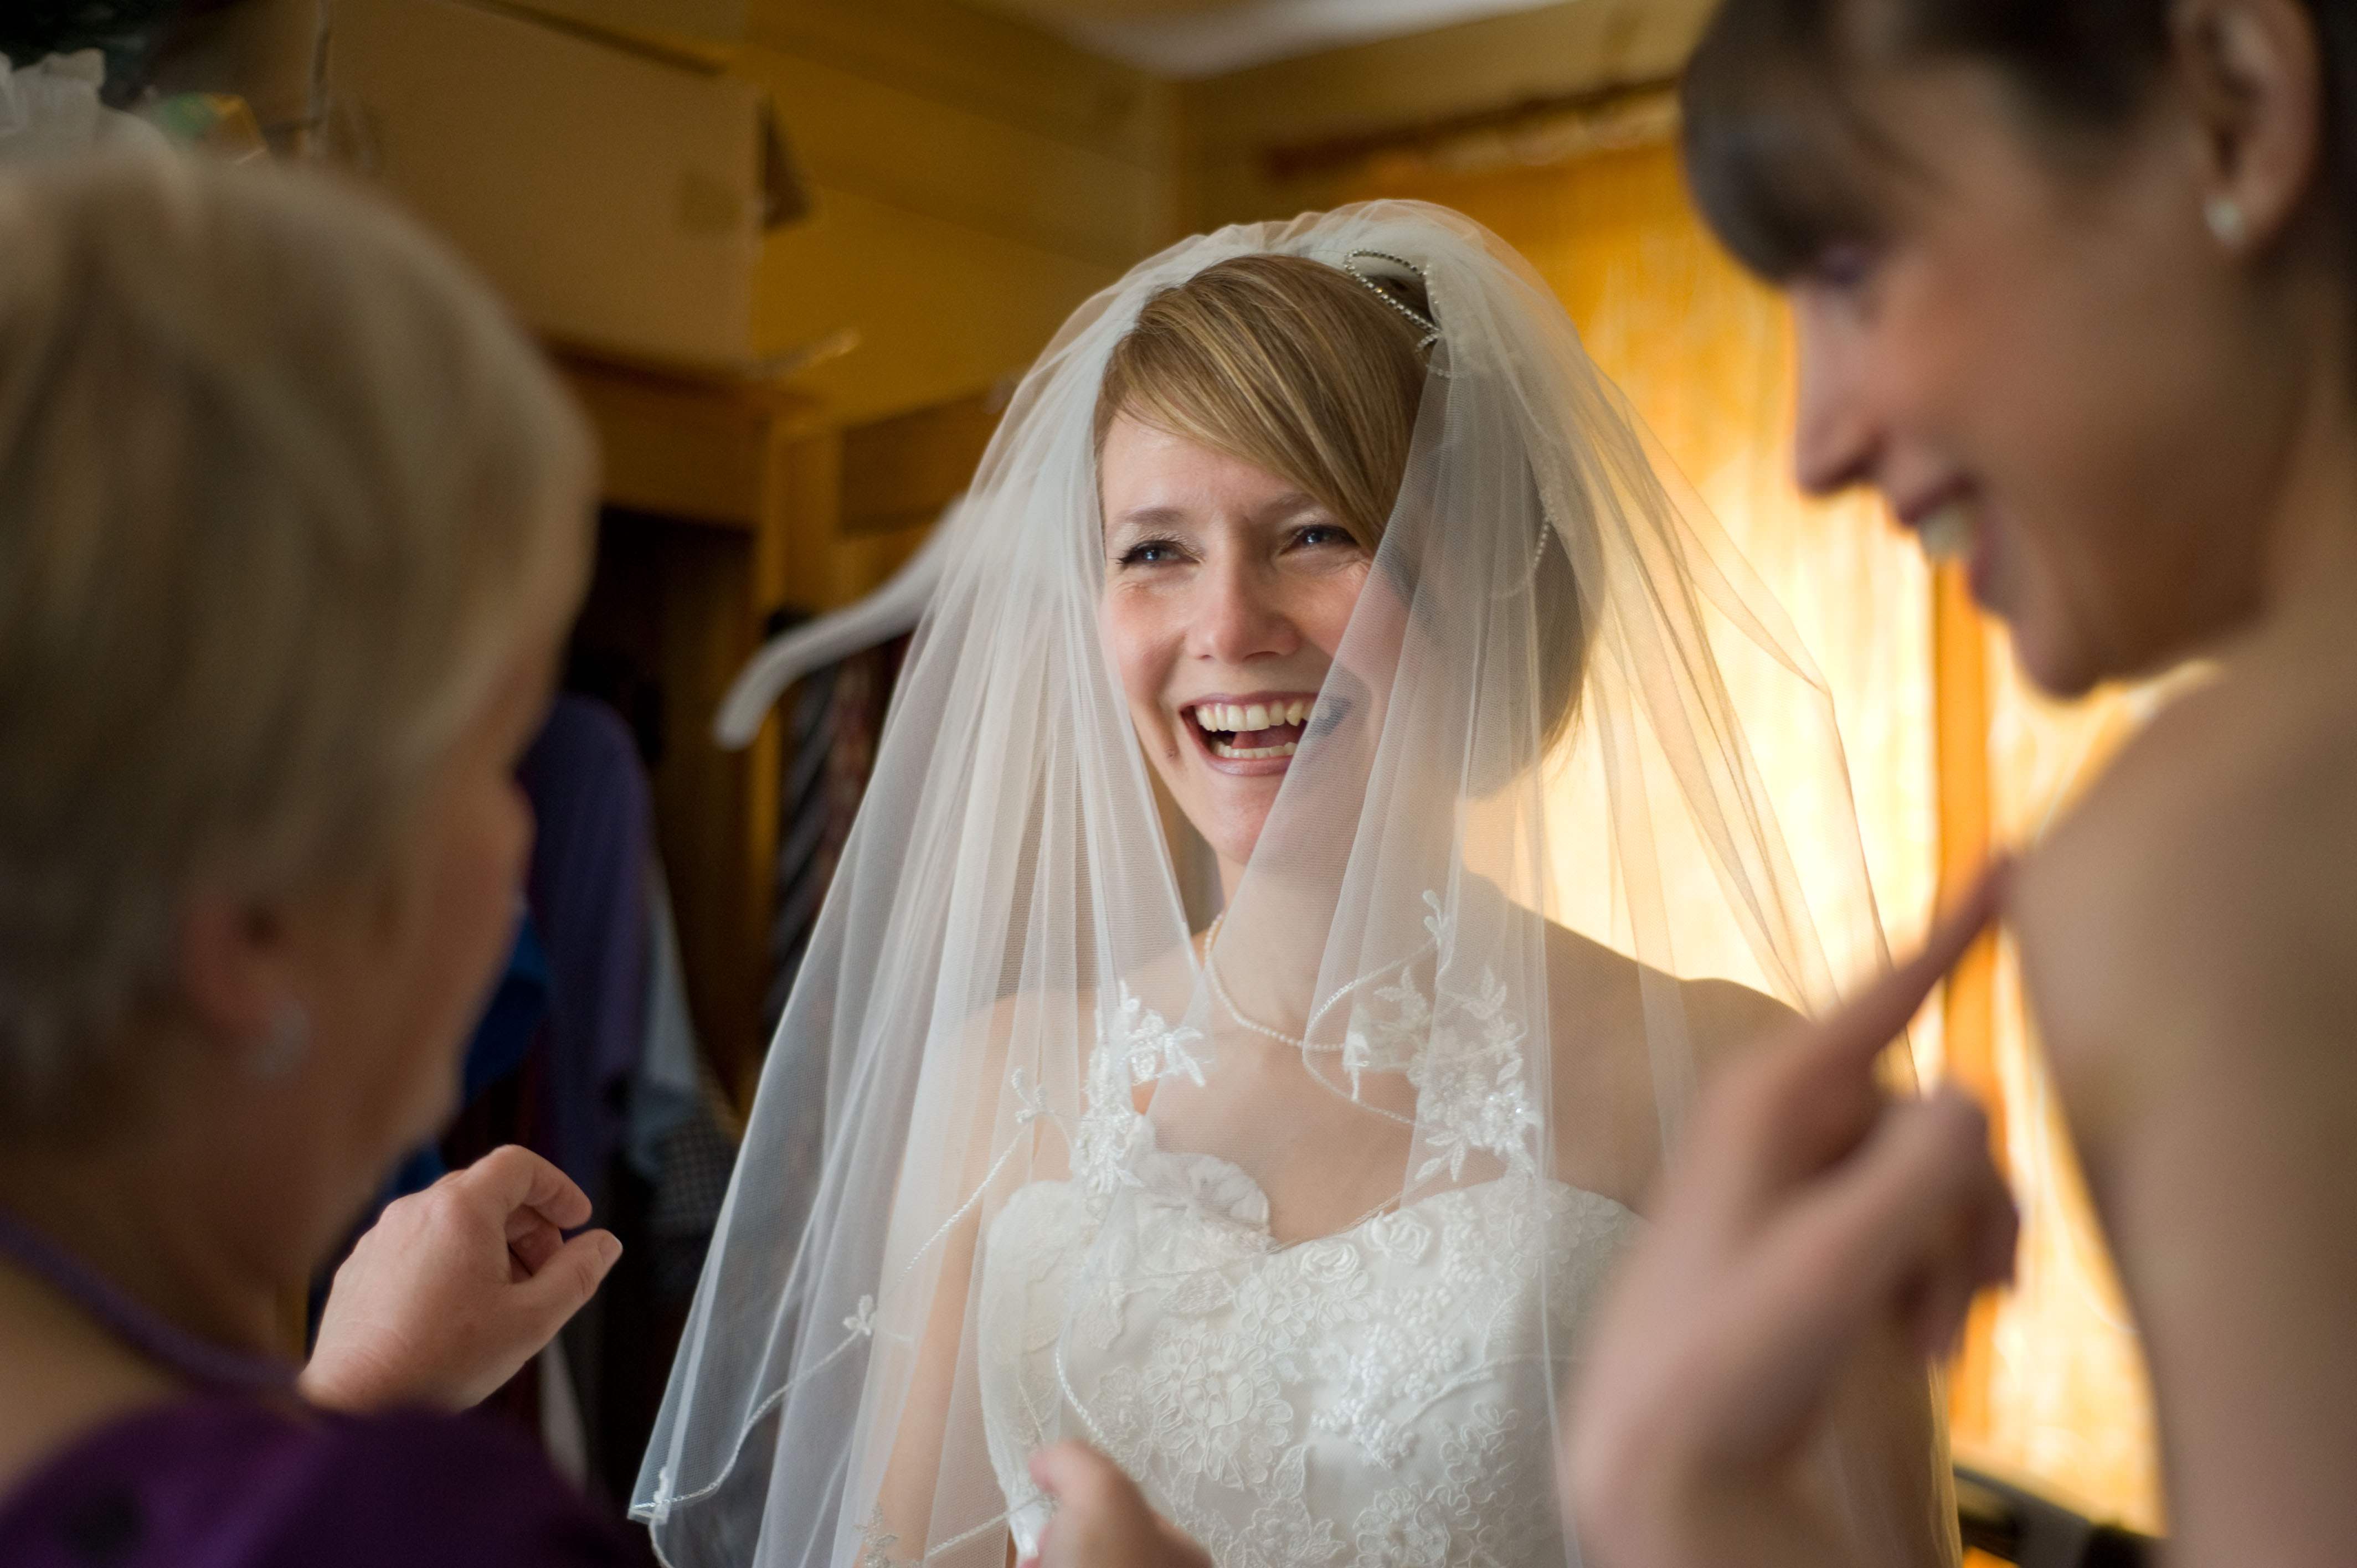
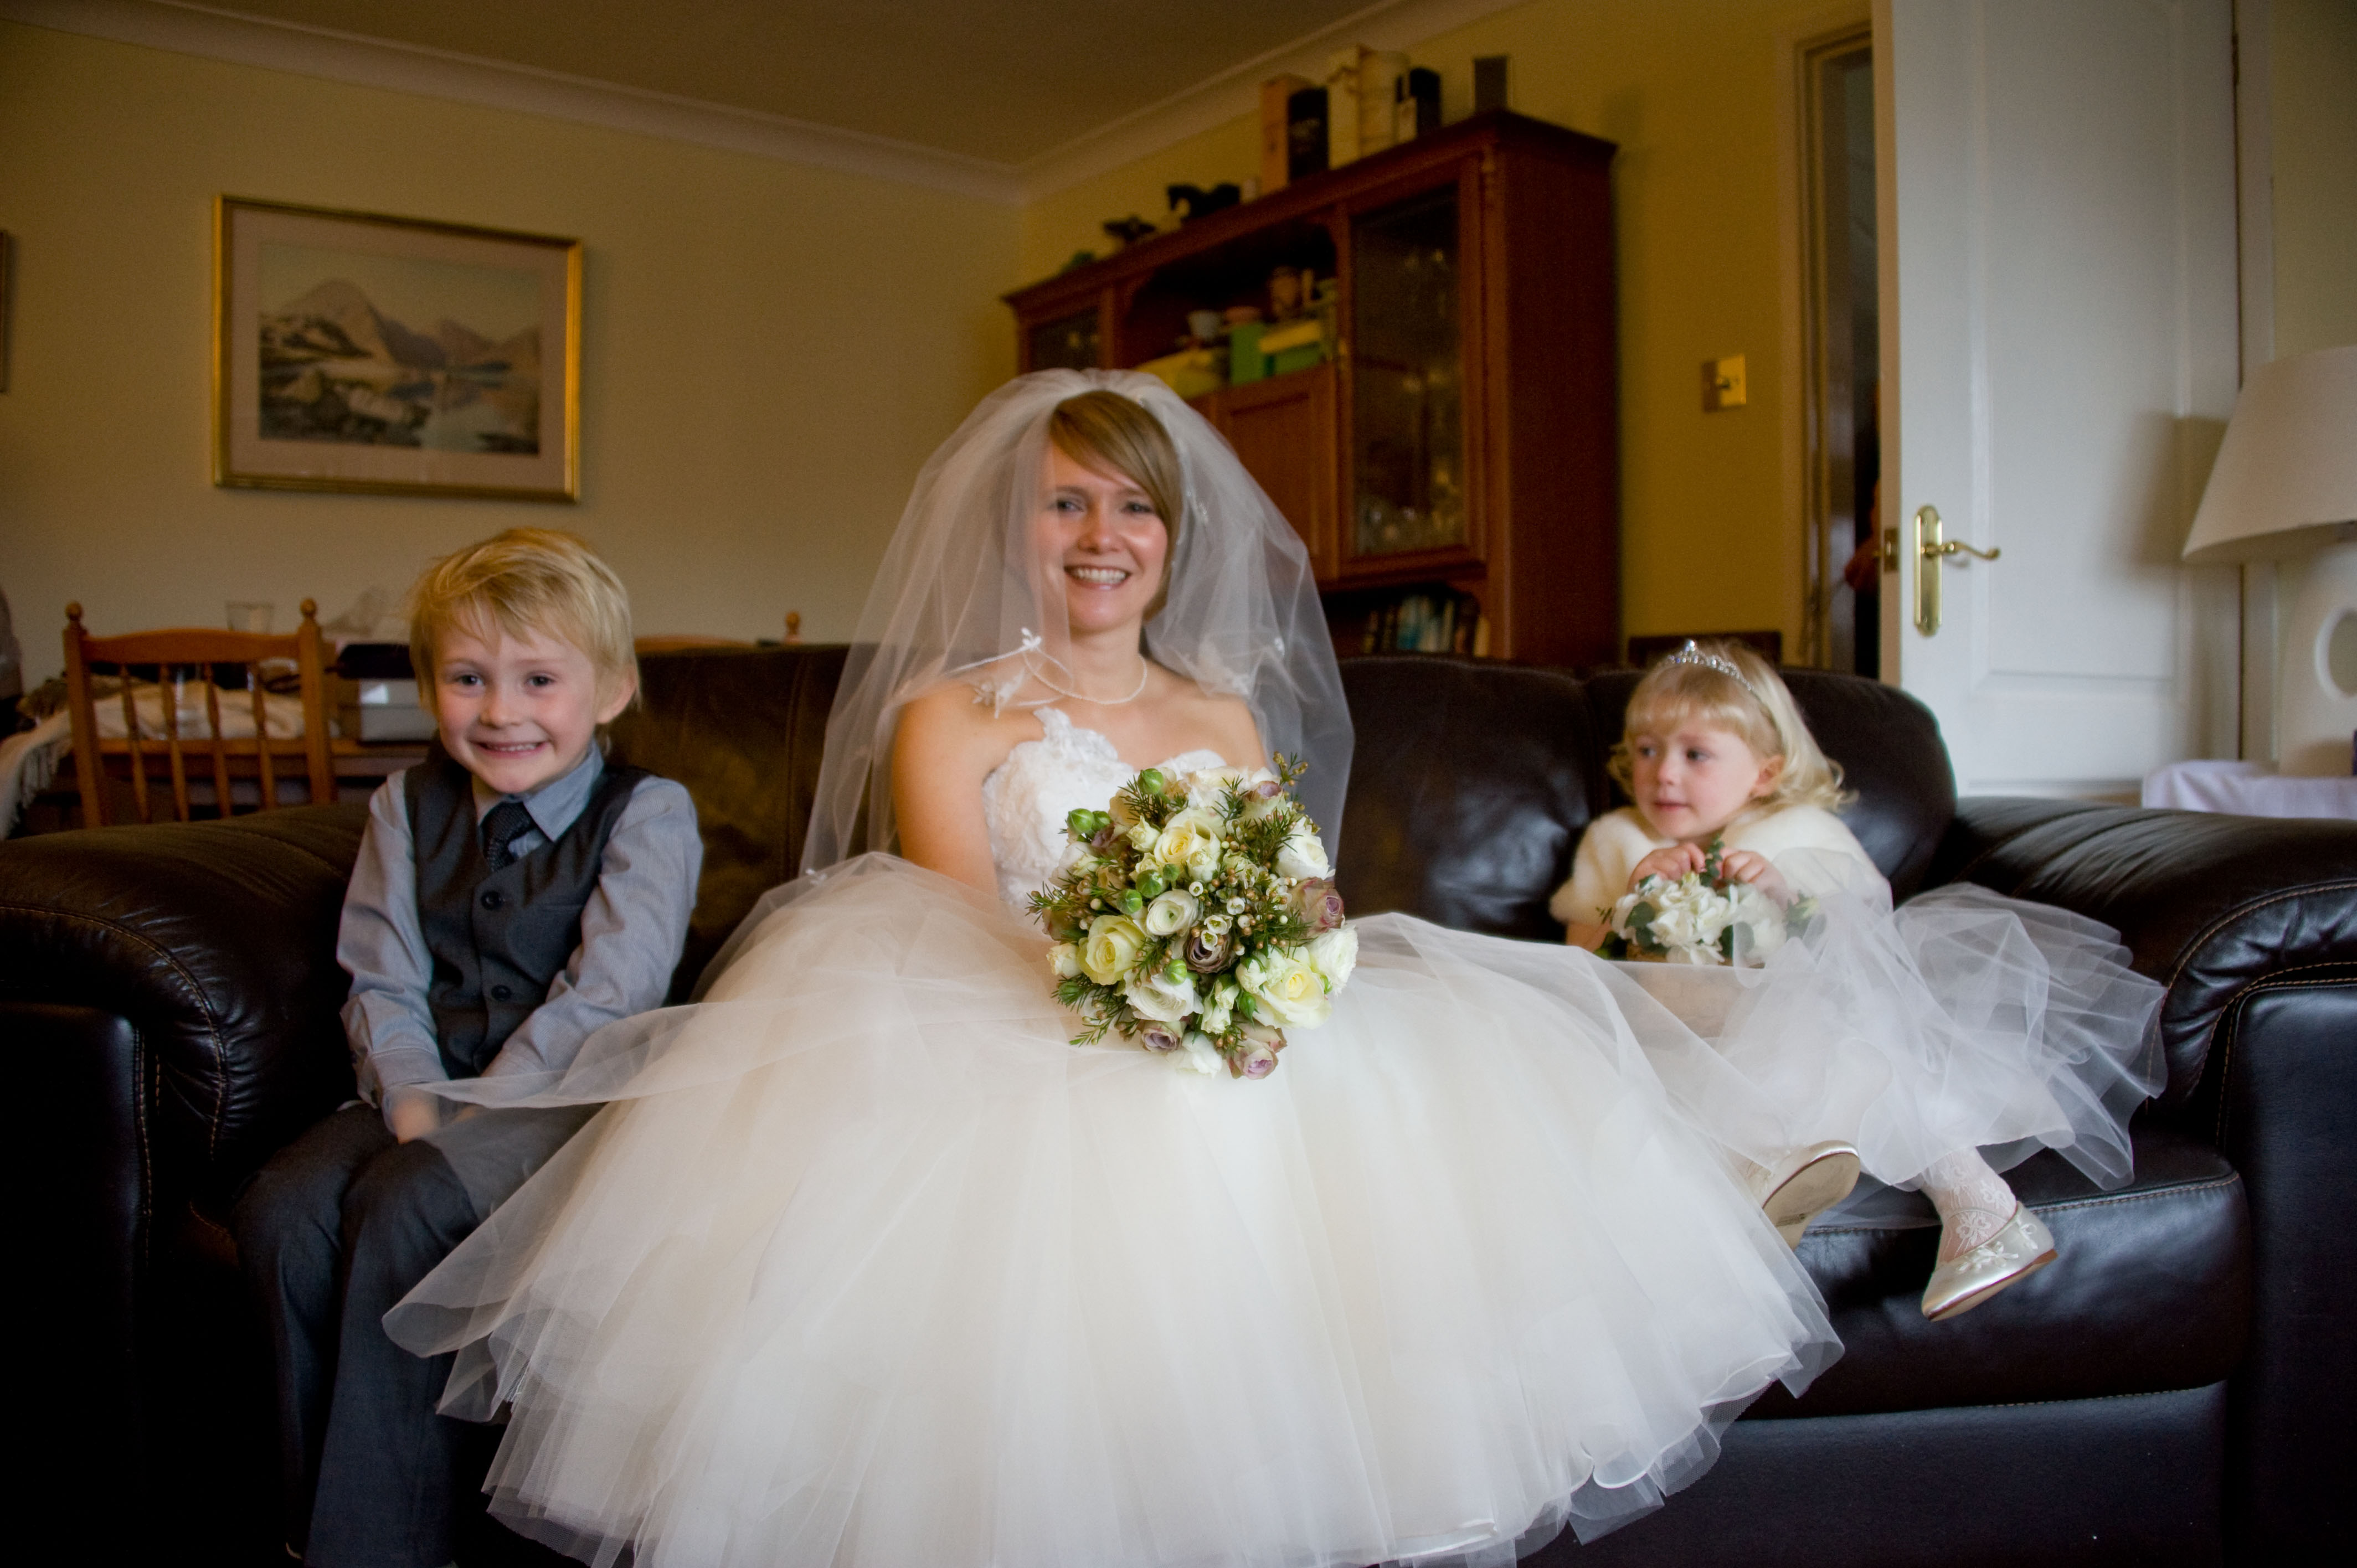
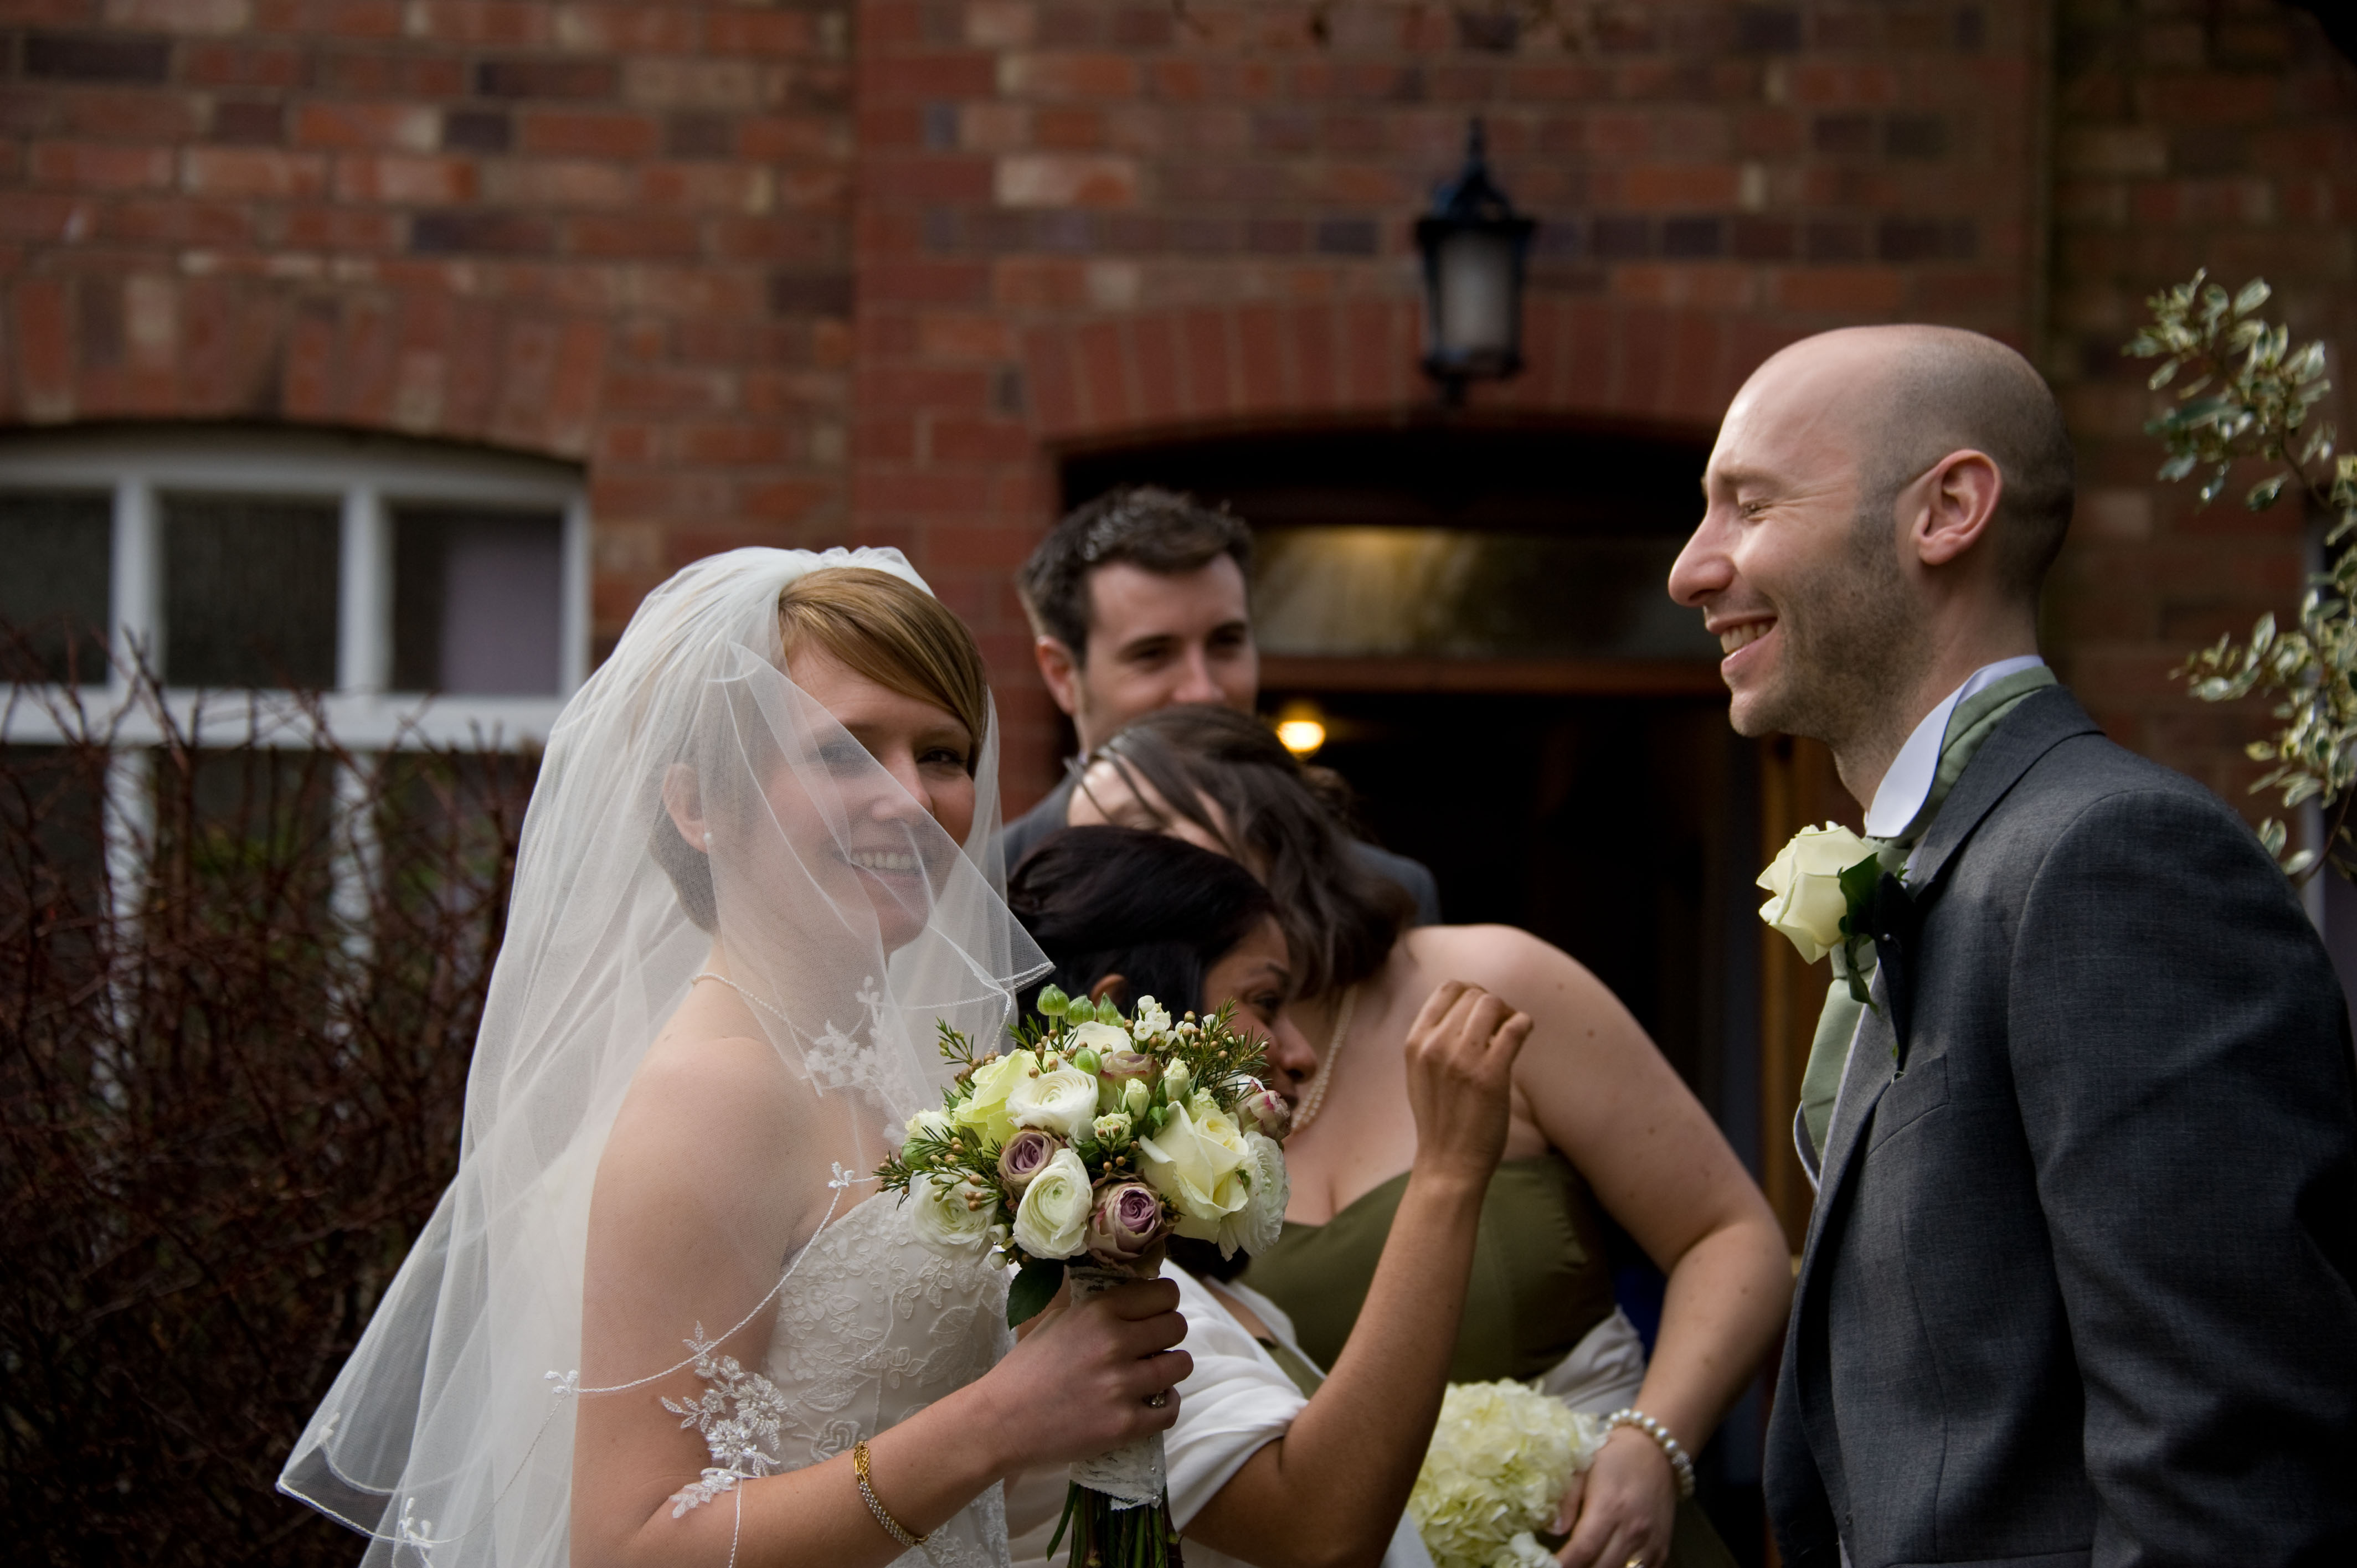
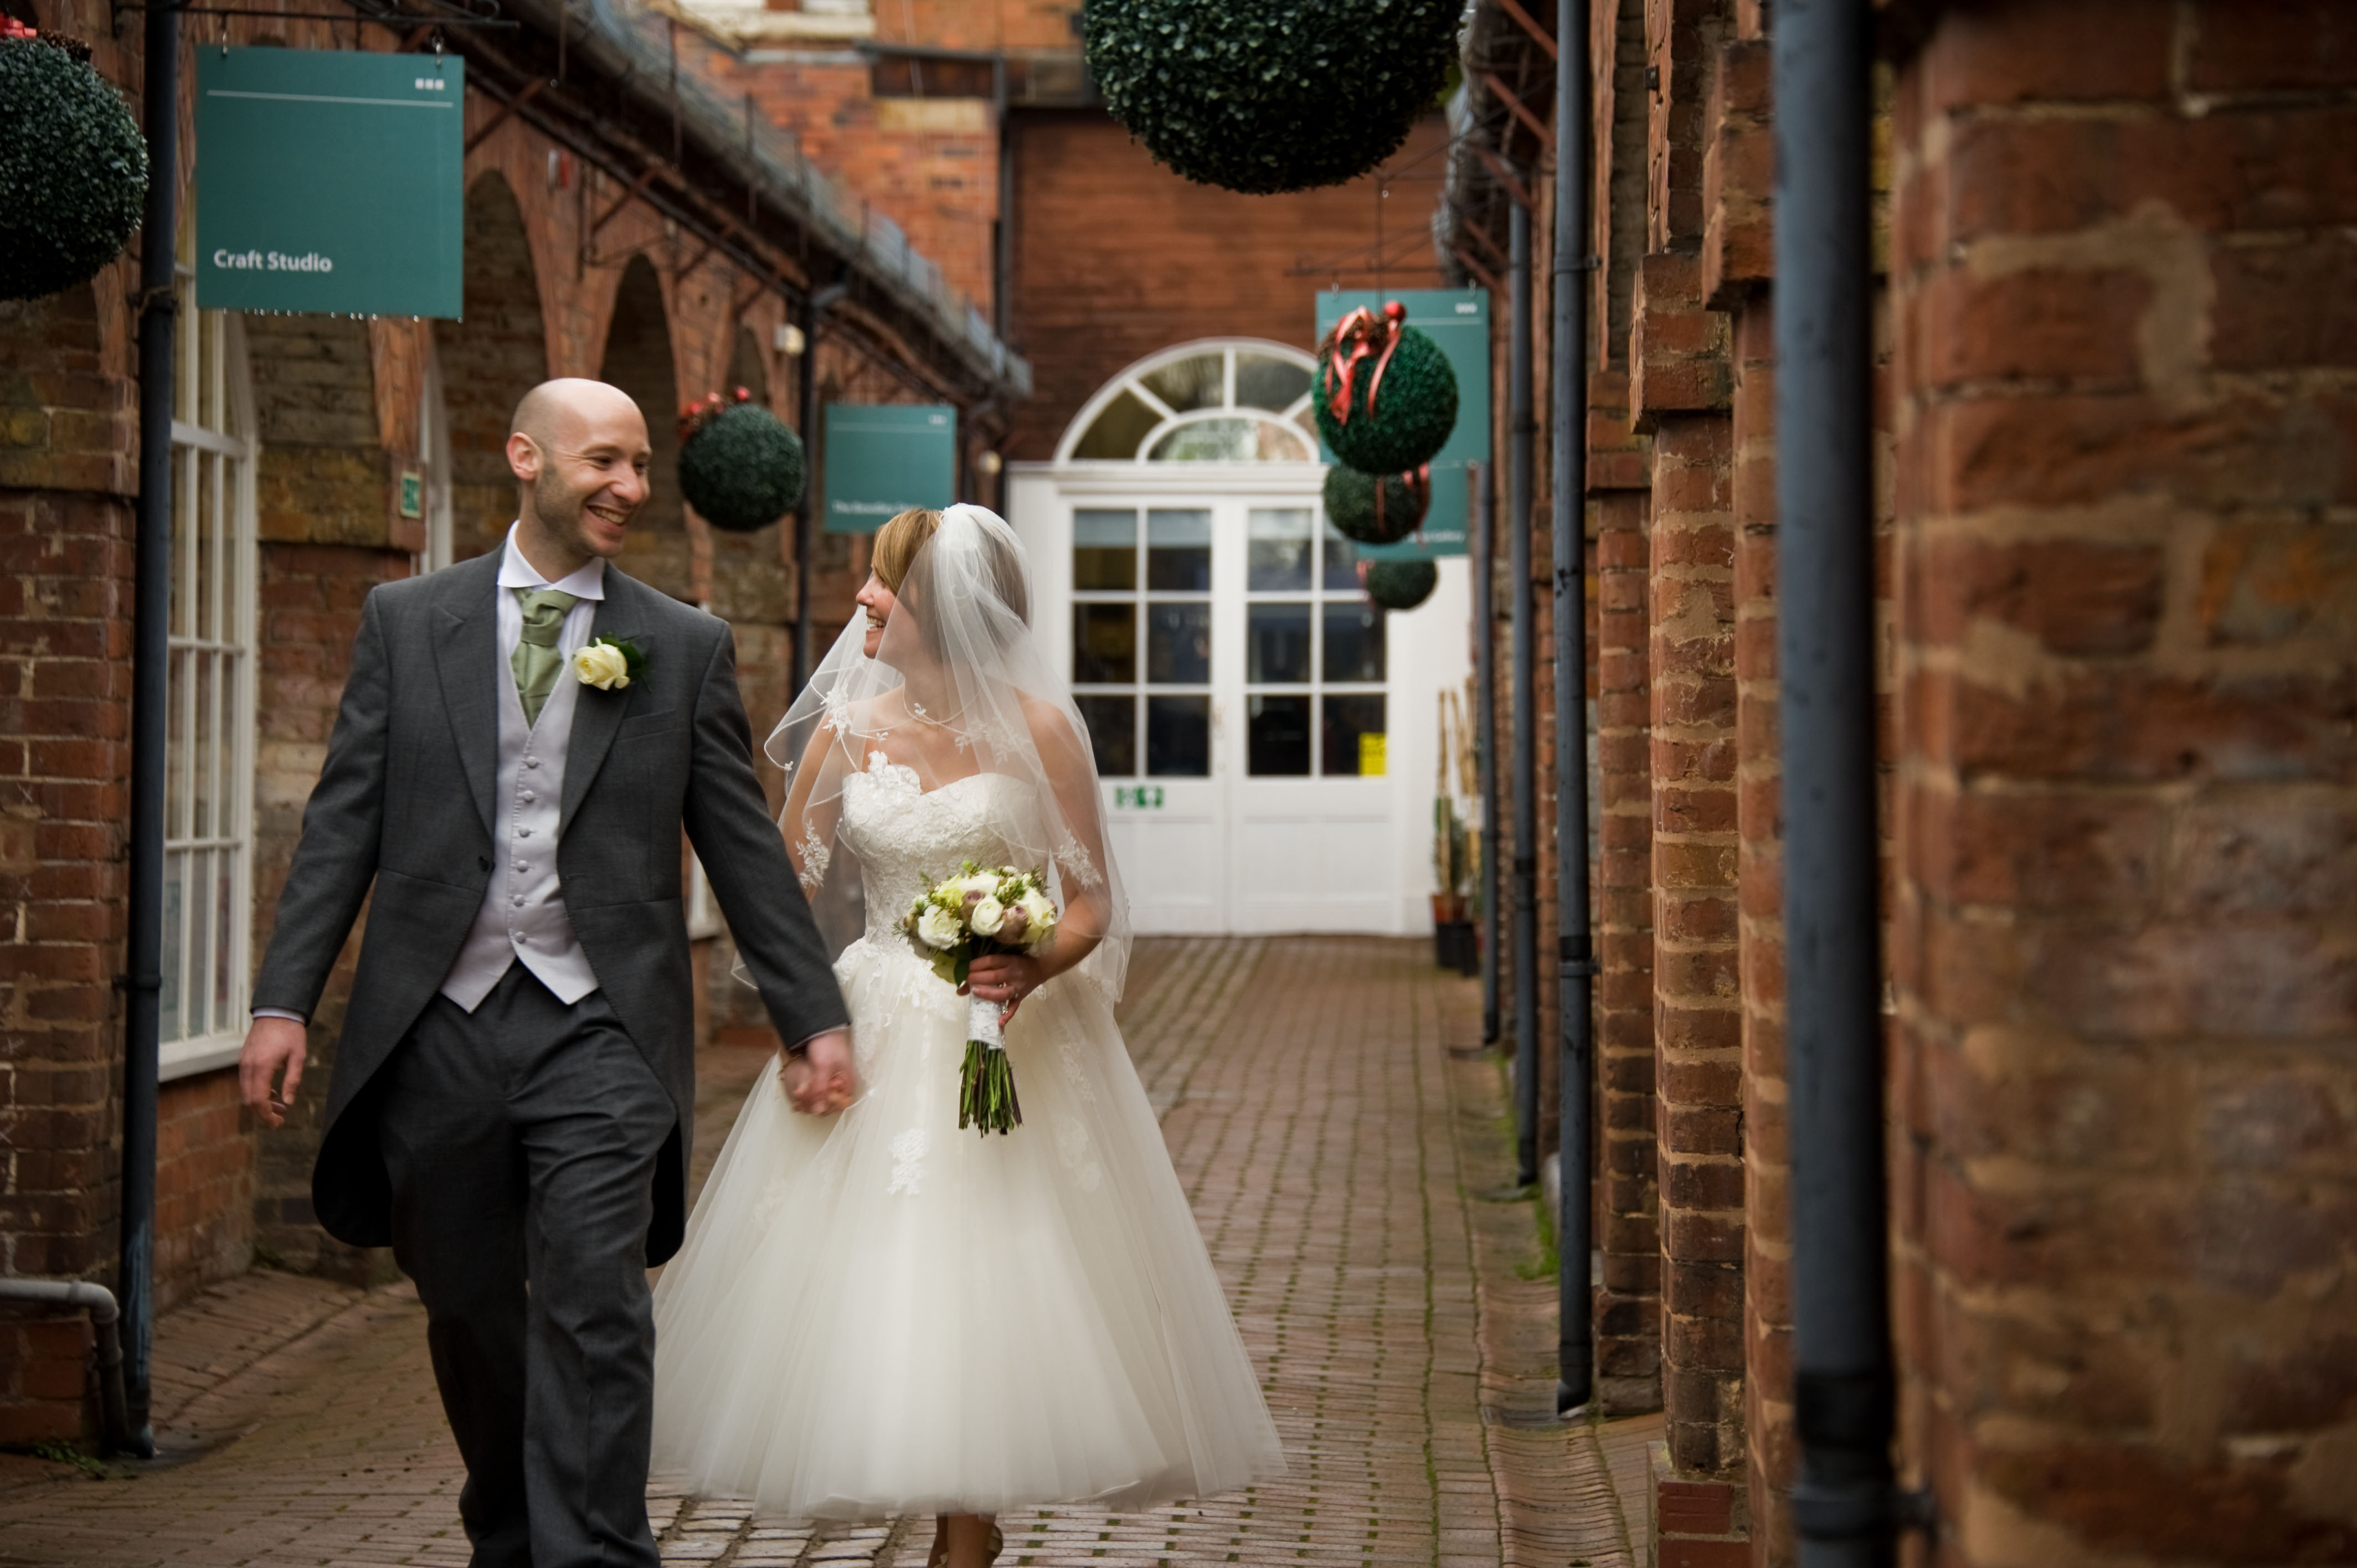
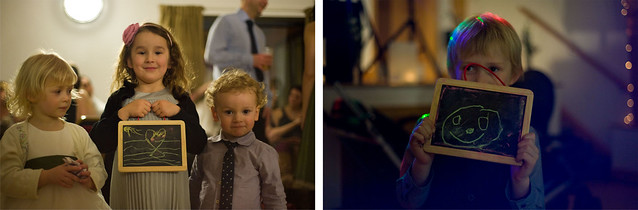
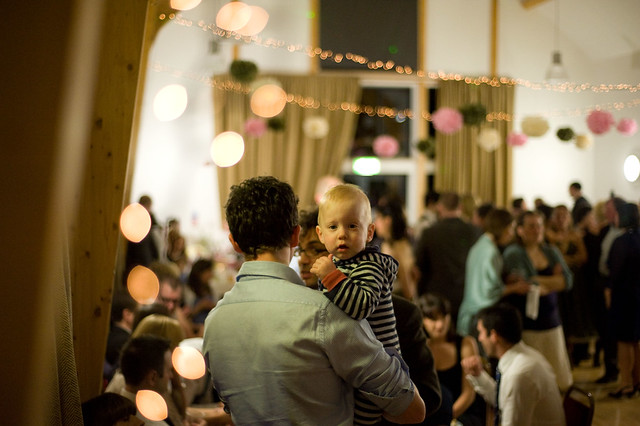
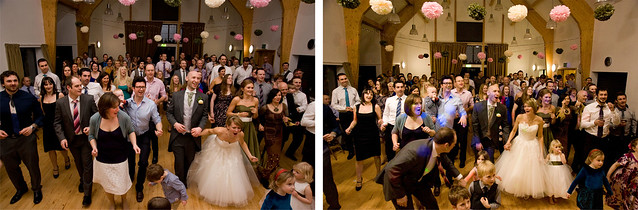
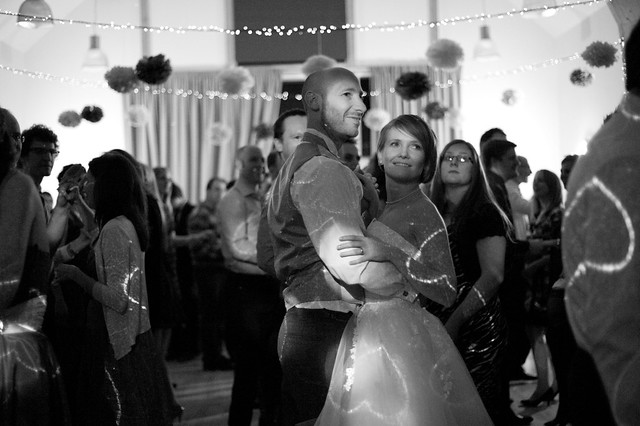
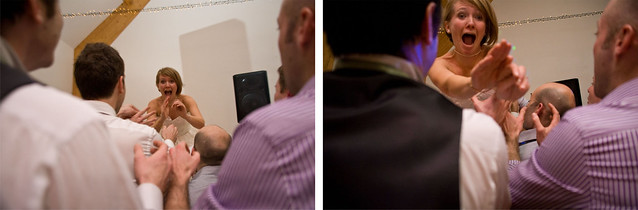
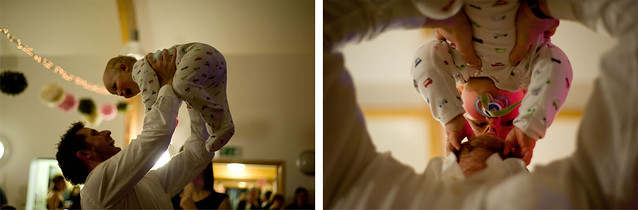
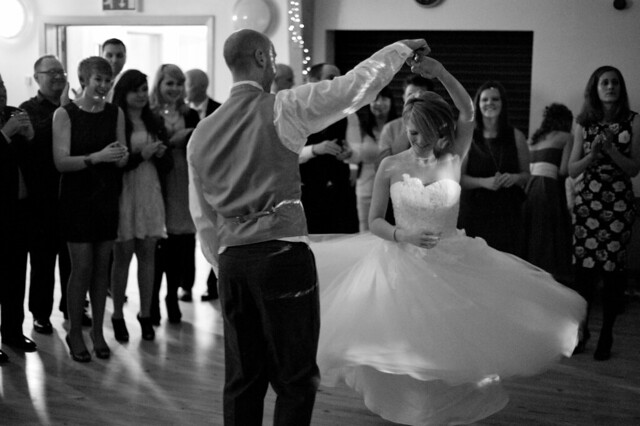
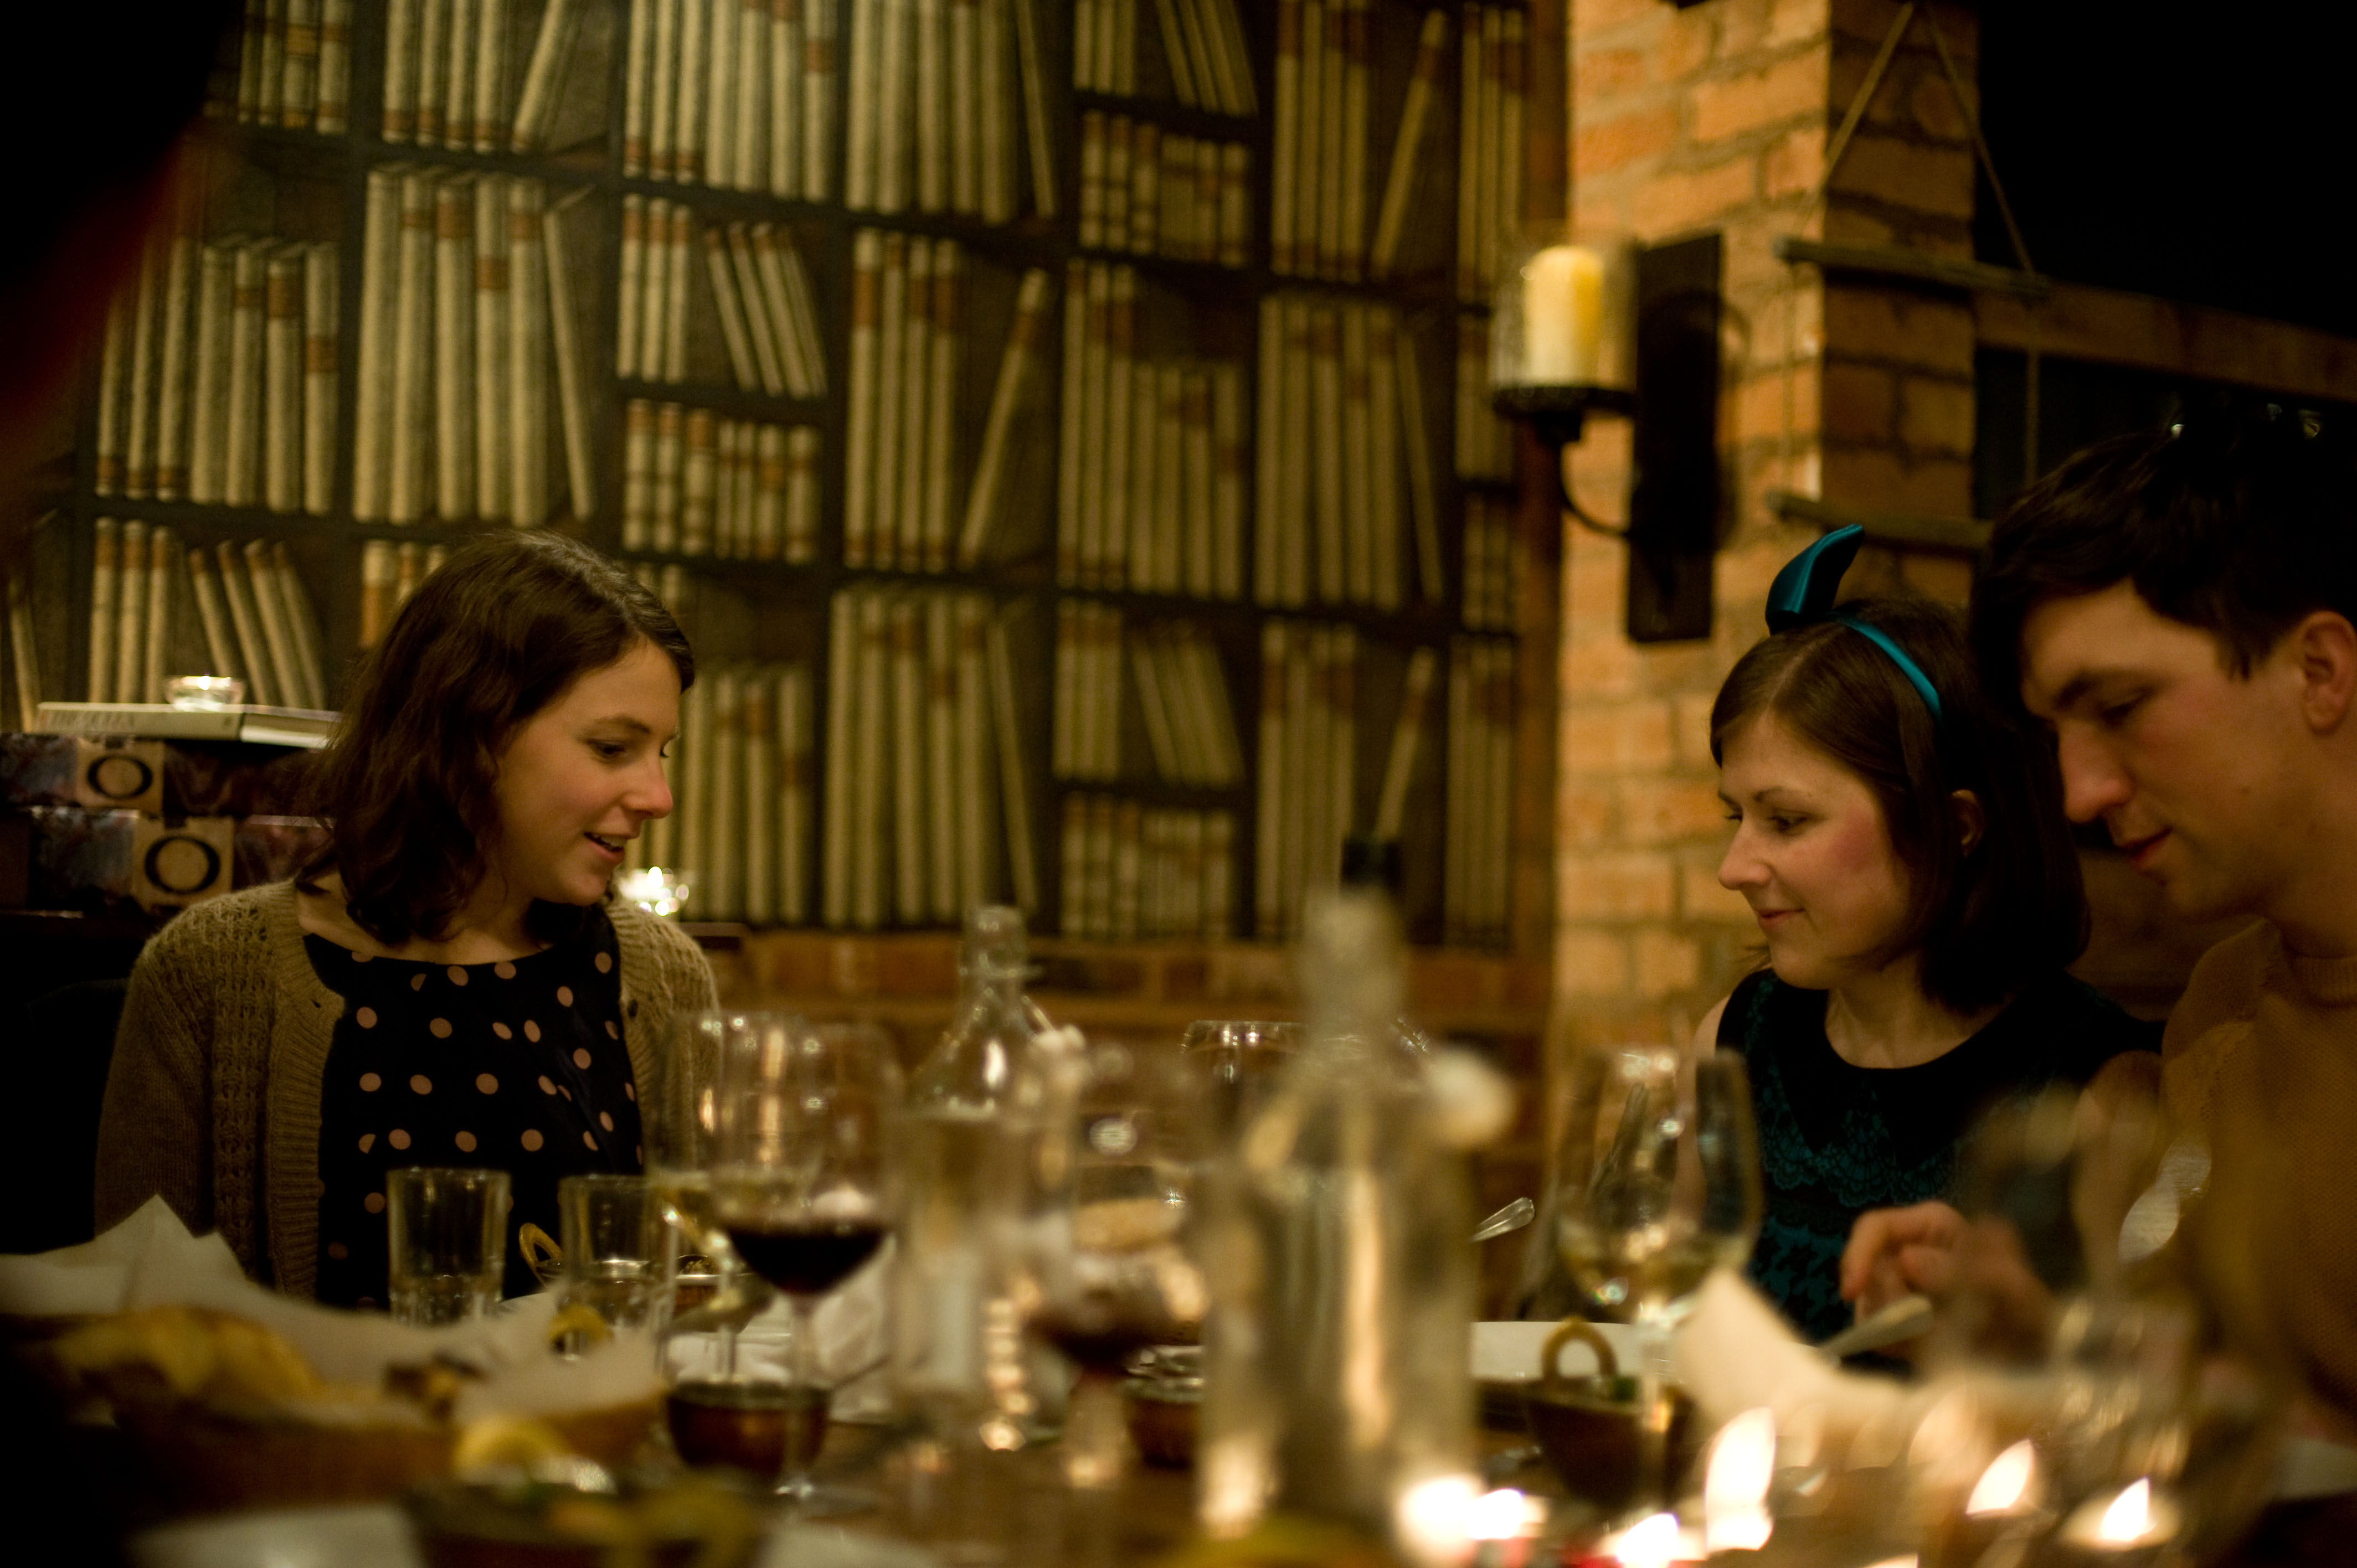
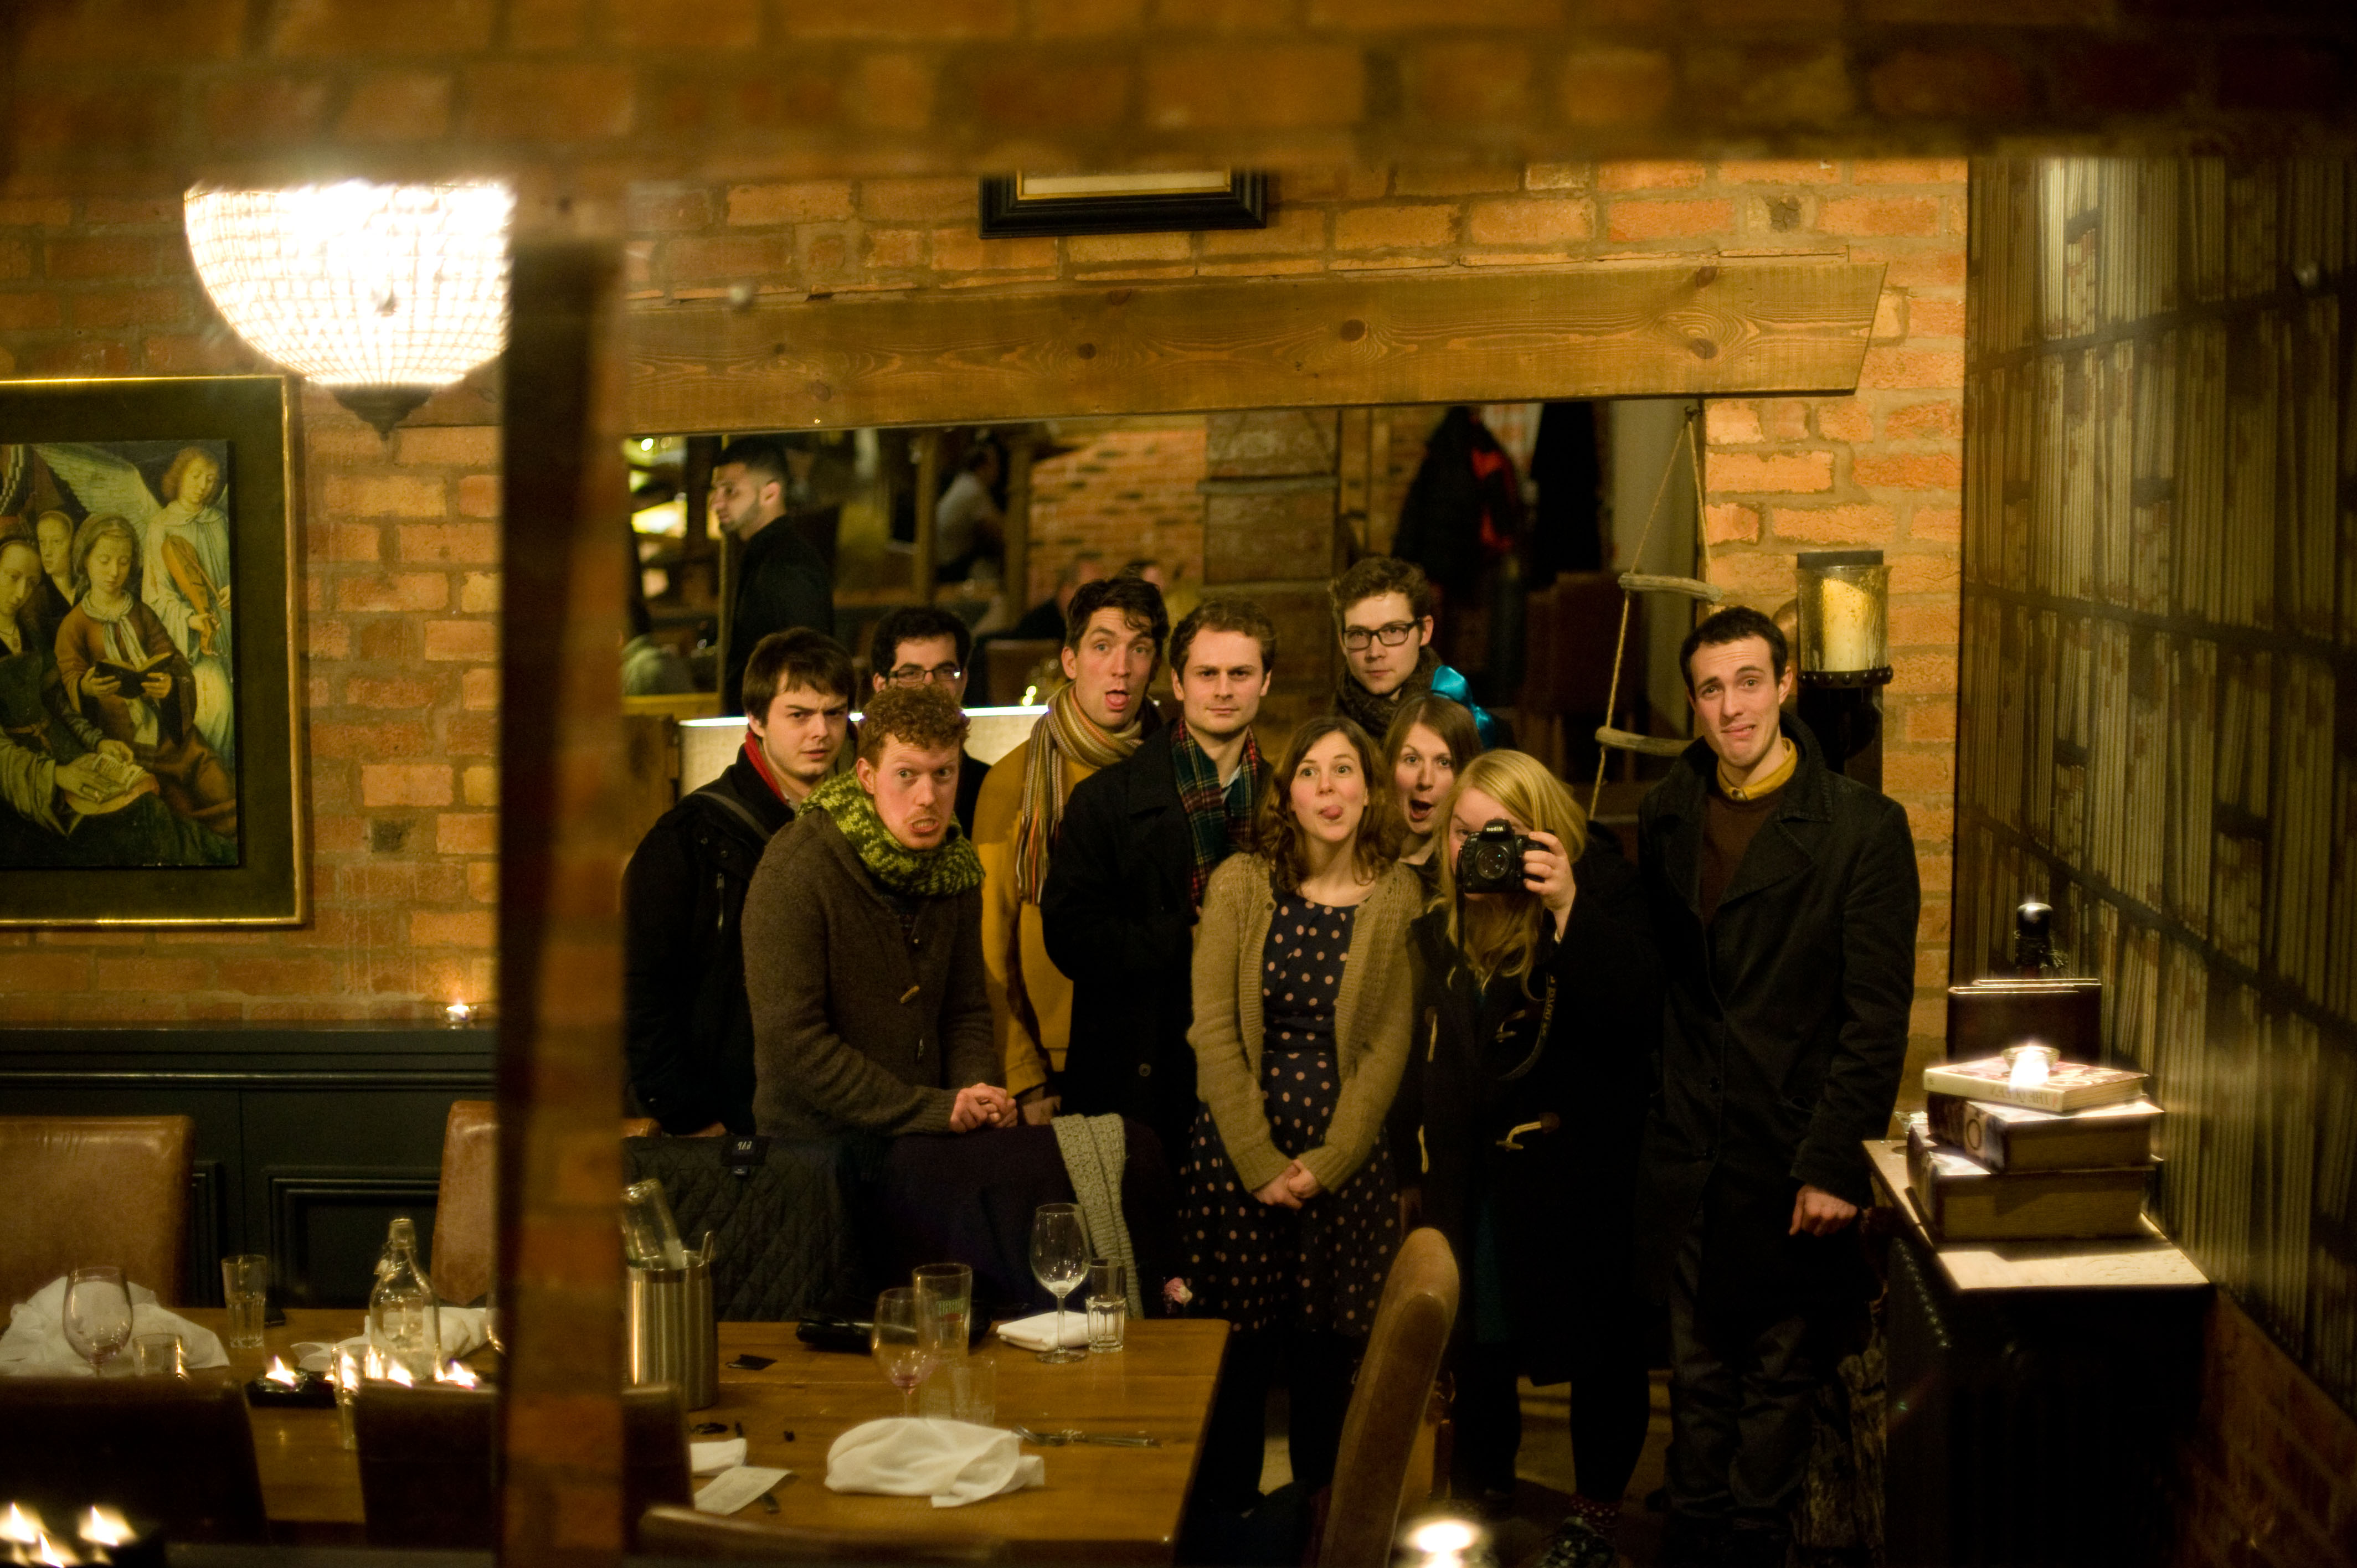
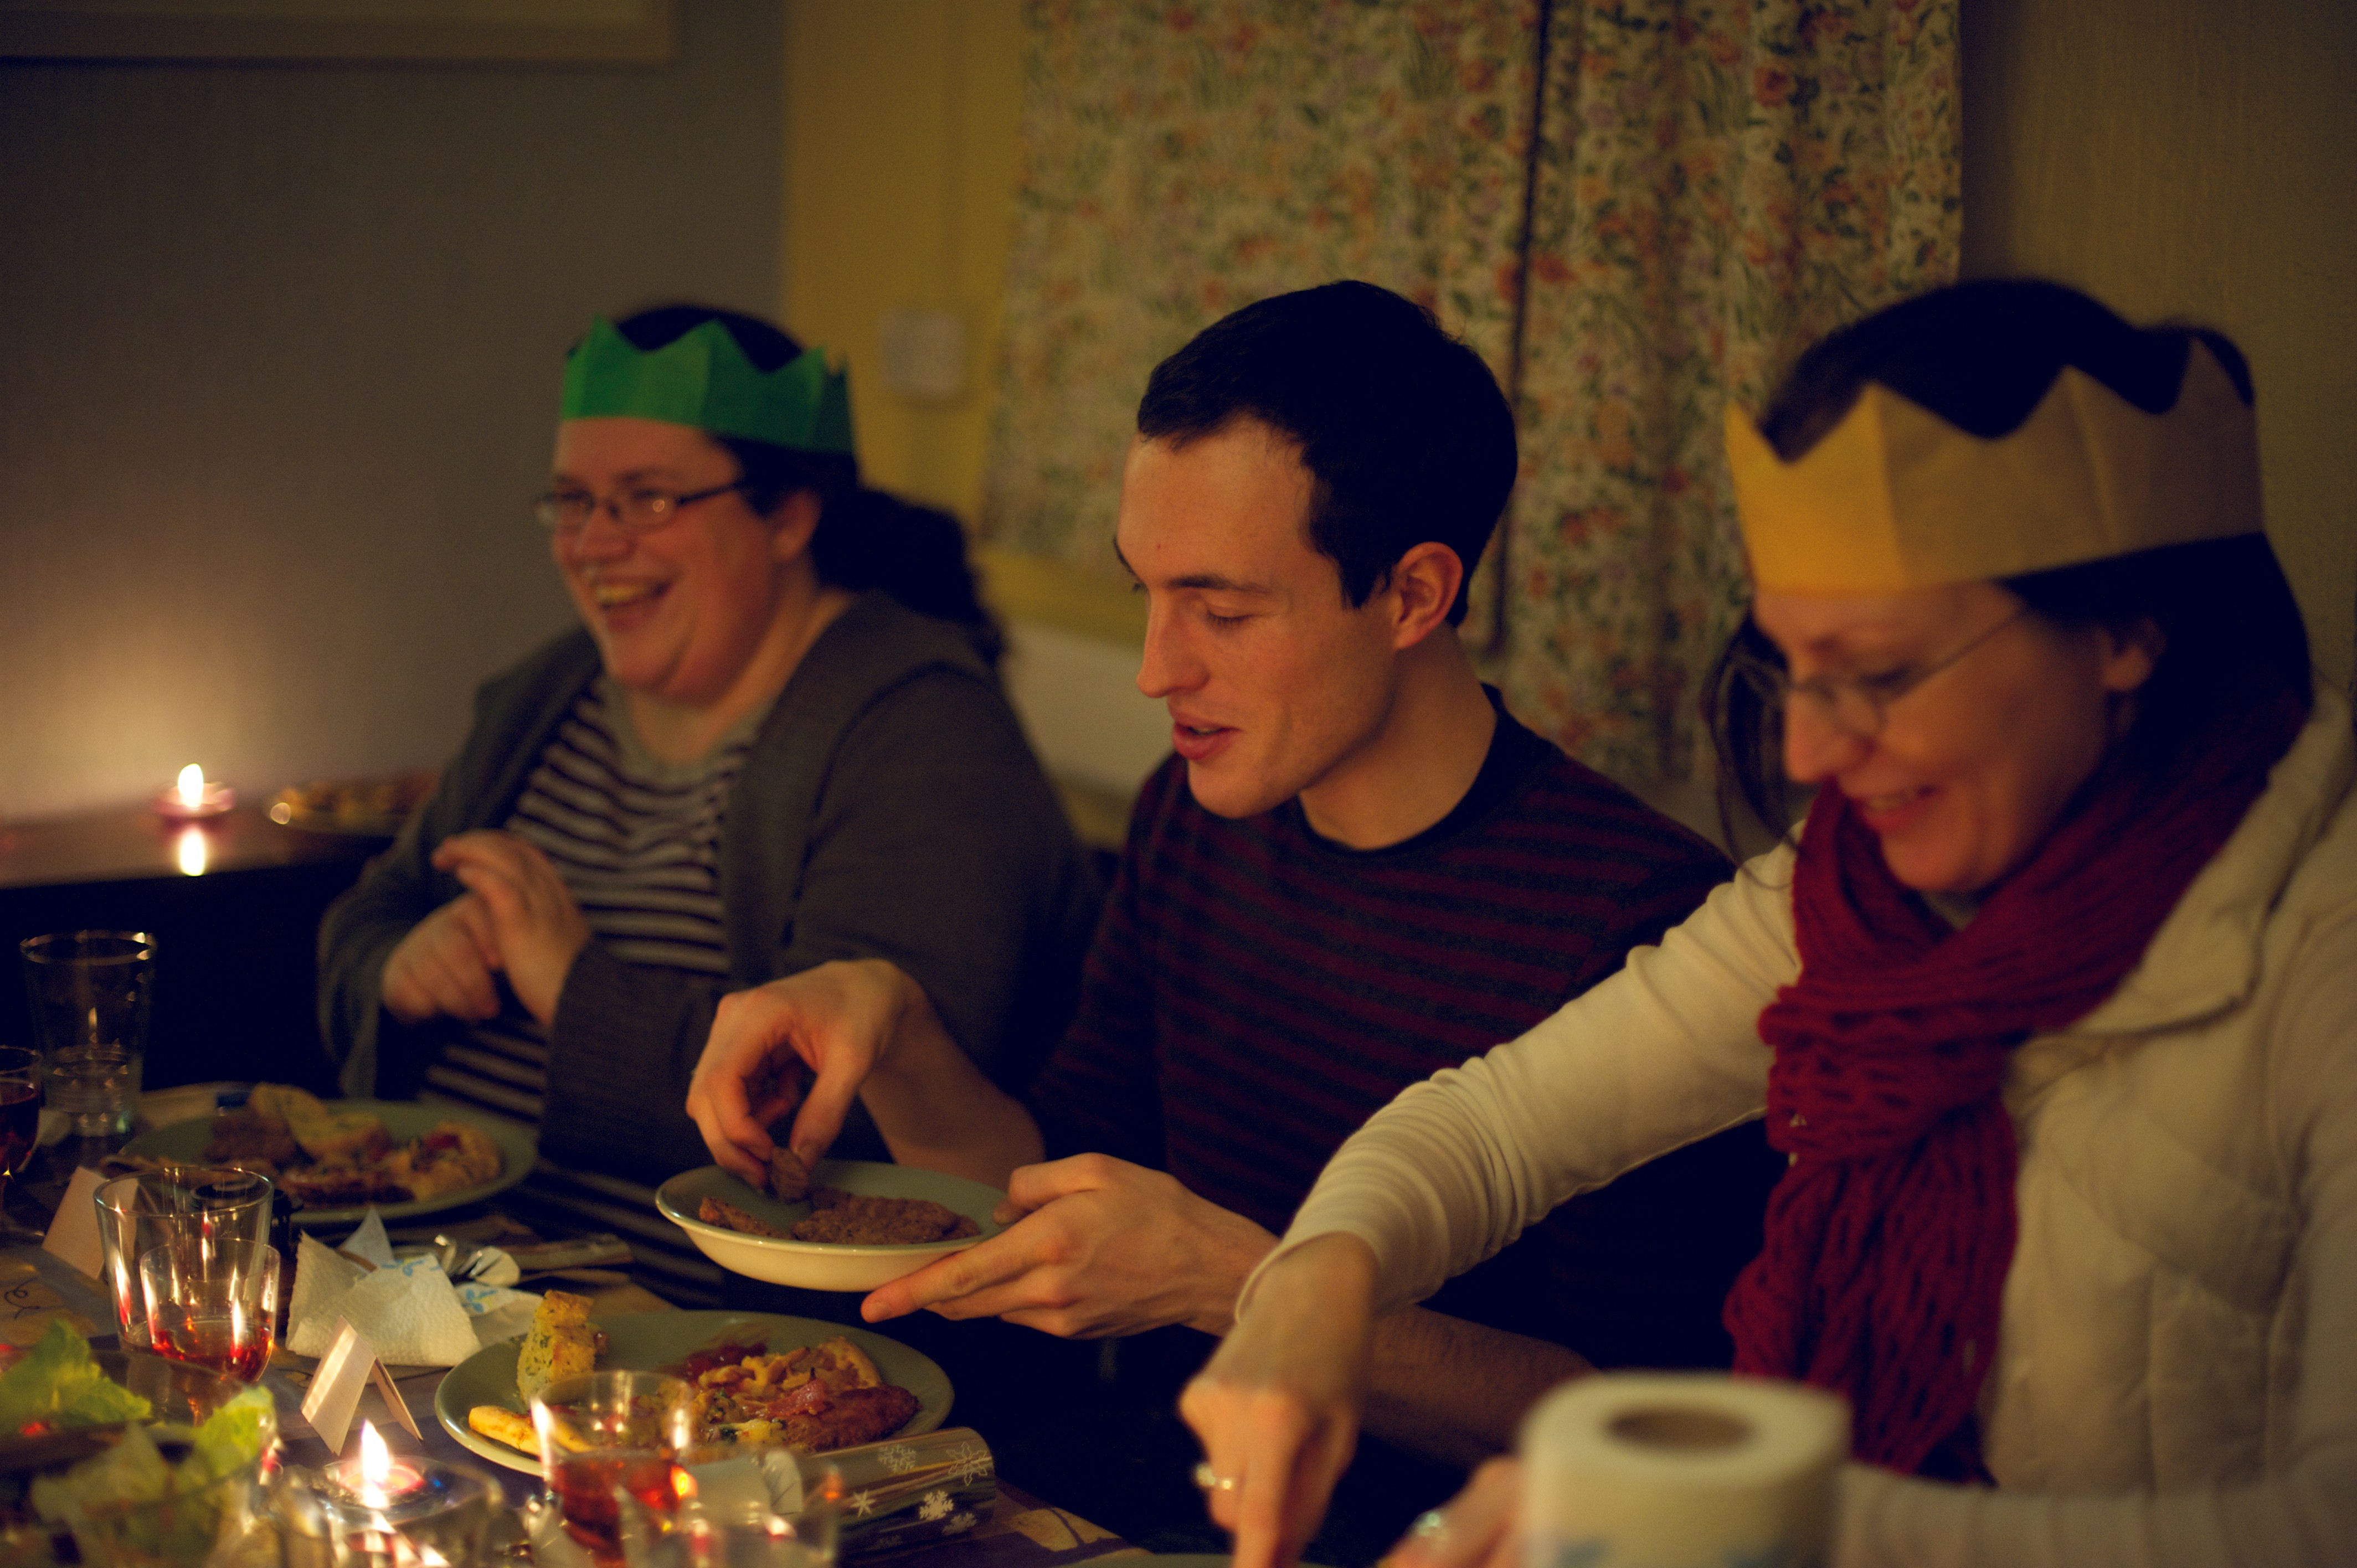
One of the most enjoyable aspects of our wedding was having all the people we loved gathering together in one place. That's where this tip comes from. Often loads of your favourite people will travel miles to be with you on a day when you'll largely be quite busy trying to see so many people that you don't get to properly hang out with any of them.
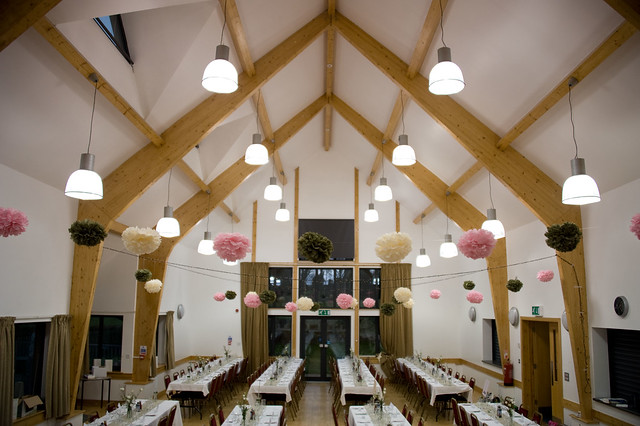
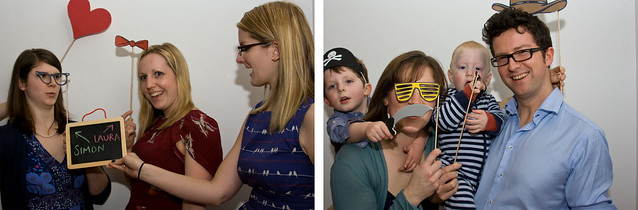
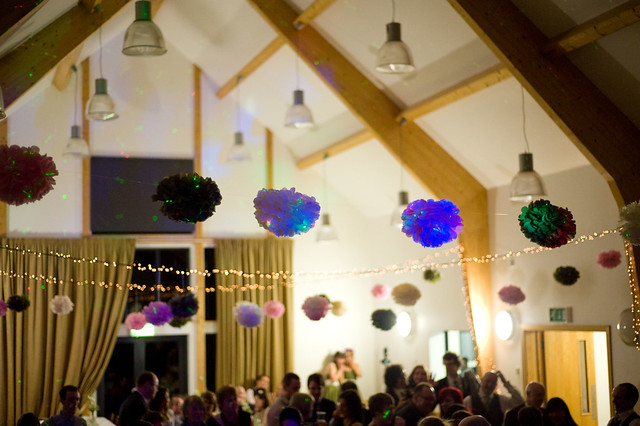
So I'd say try and plan in times to hang out in the days around the wedding. Get people together to help do any last minute Order of Service folding, or setting up decorations at the reception. They'll love being involved
It might take some planning to be ready enough to be able to stop for the evening before the wedding, but a rehearsal meal type gathering is a good time to enjoy the company of great friends instead of rushing around stressing. Let them tell you how excited they are.
And the morning after the wedding getting together for a late breakfast is great fun. Inspect each others dancing blisters and share the stories from the day before.
Jasmin & Owen's Wedding Preview [Aberystwyth]
warm welcome
Simon & Laura
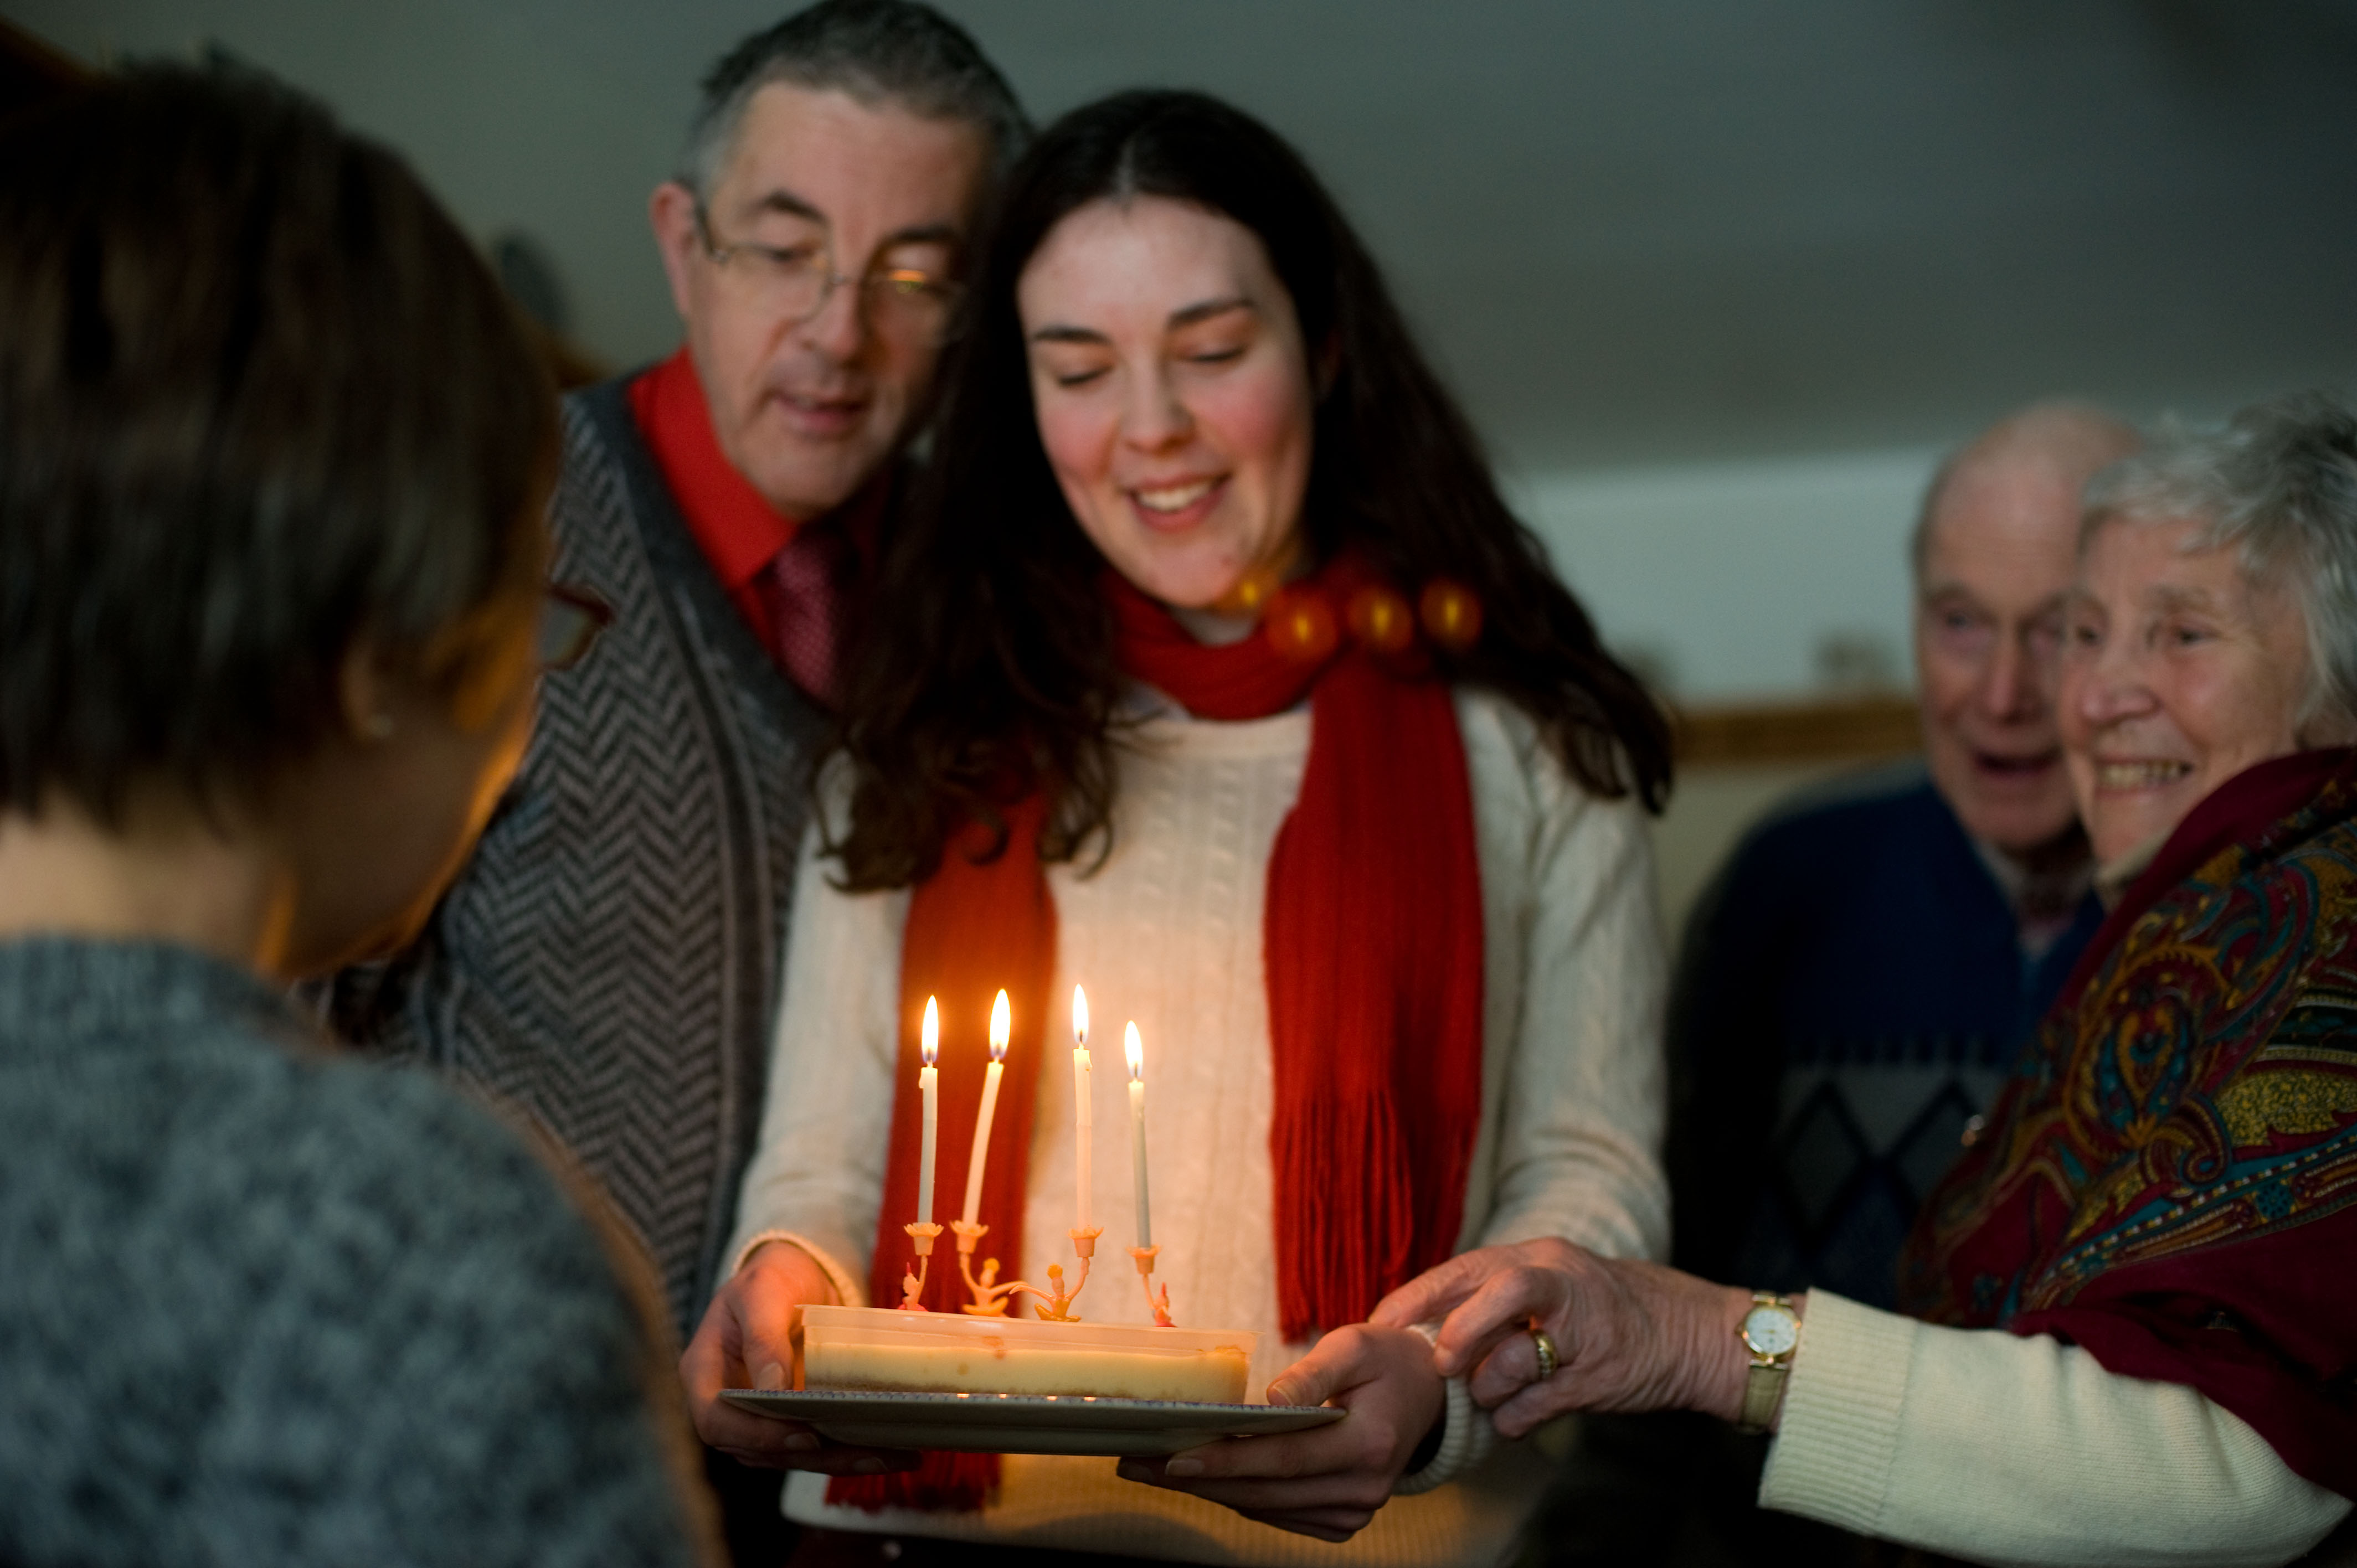
Malc's Birthday
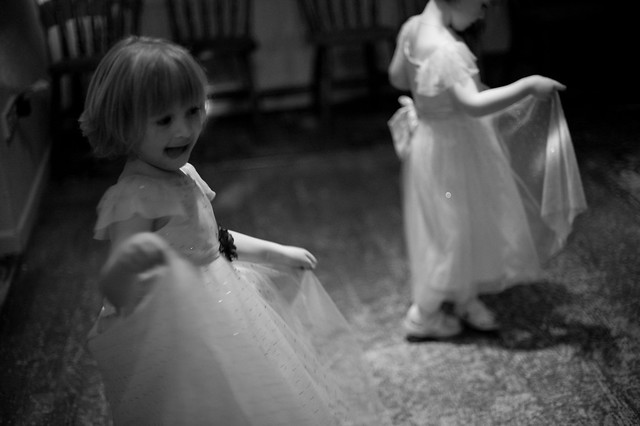
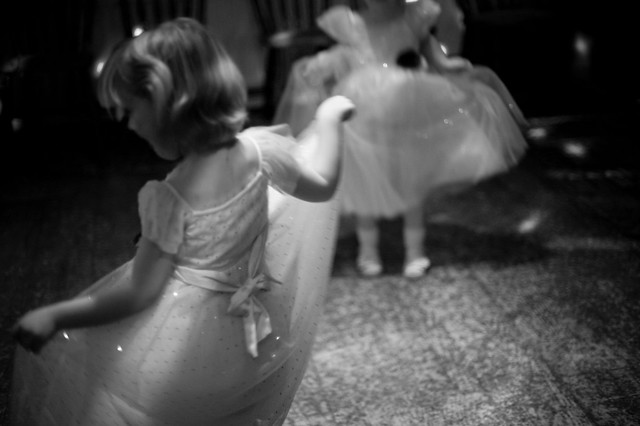
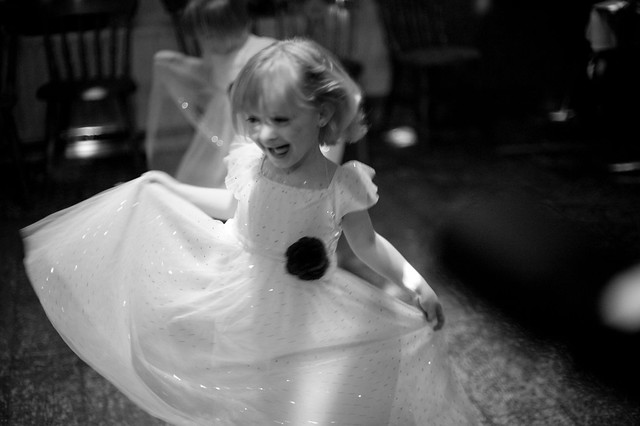
Little Girls in Pretty Dresses
#12: Change things
Even the cake was in tiers is our series tips for weddings. The title comes from an overused and not so funny wedding speech joke, "It's been an emotional day...". What advice did you wish someone had told you before your wedding? We're collating all the etiquette and expertise here.
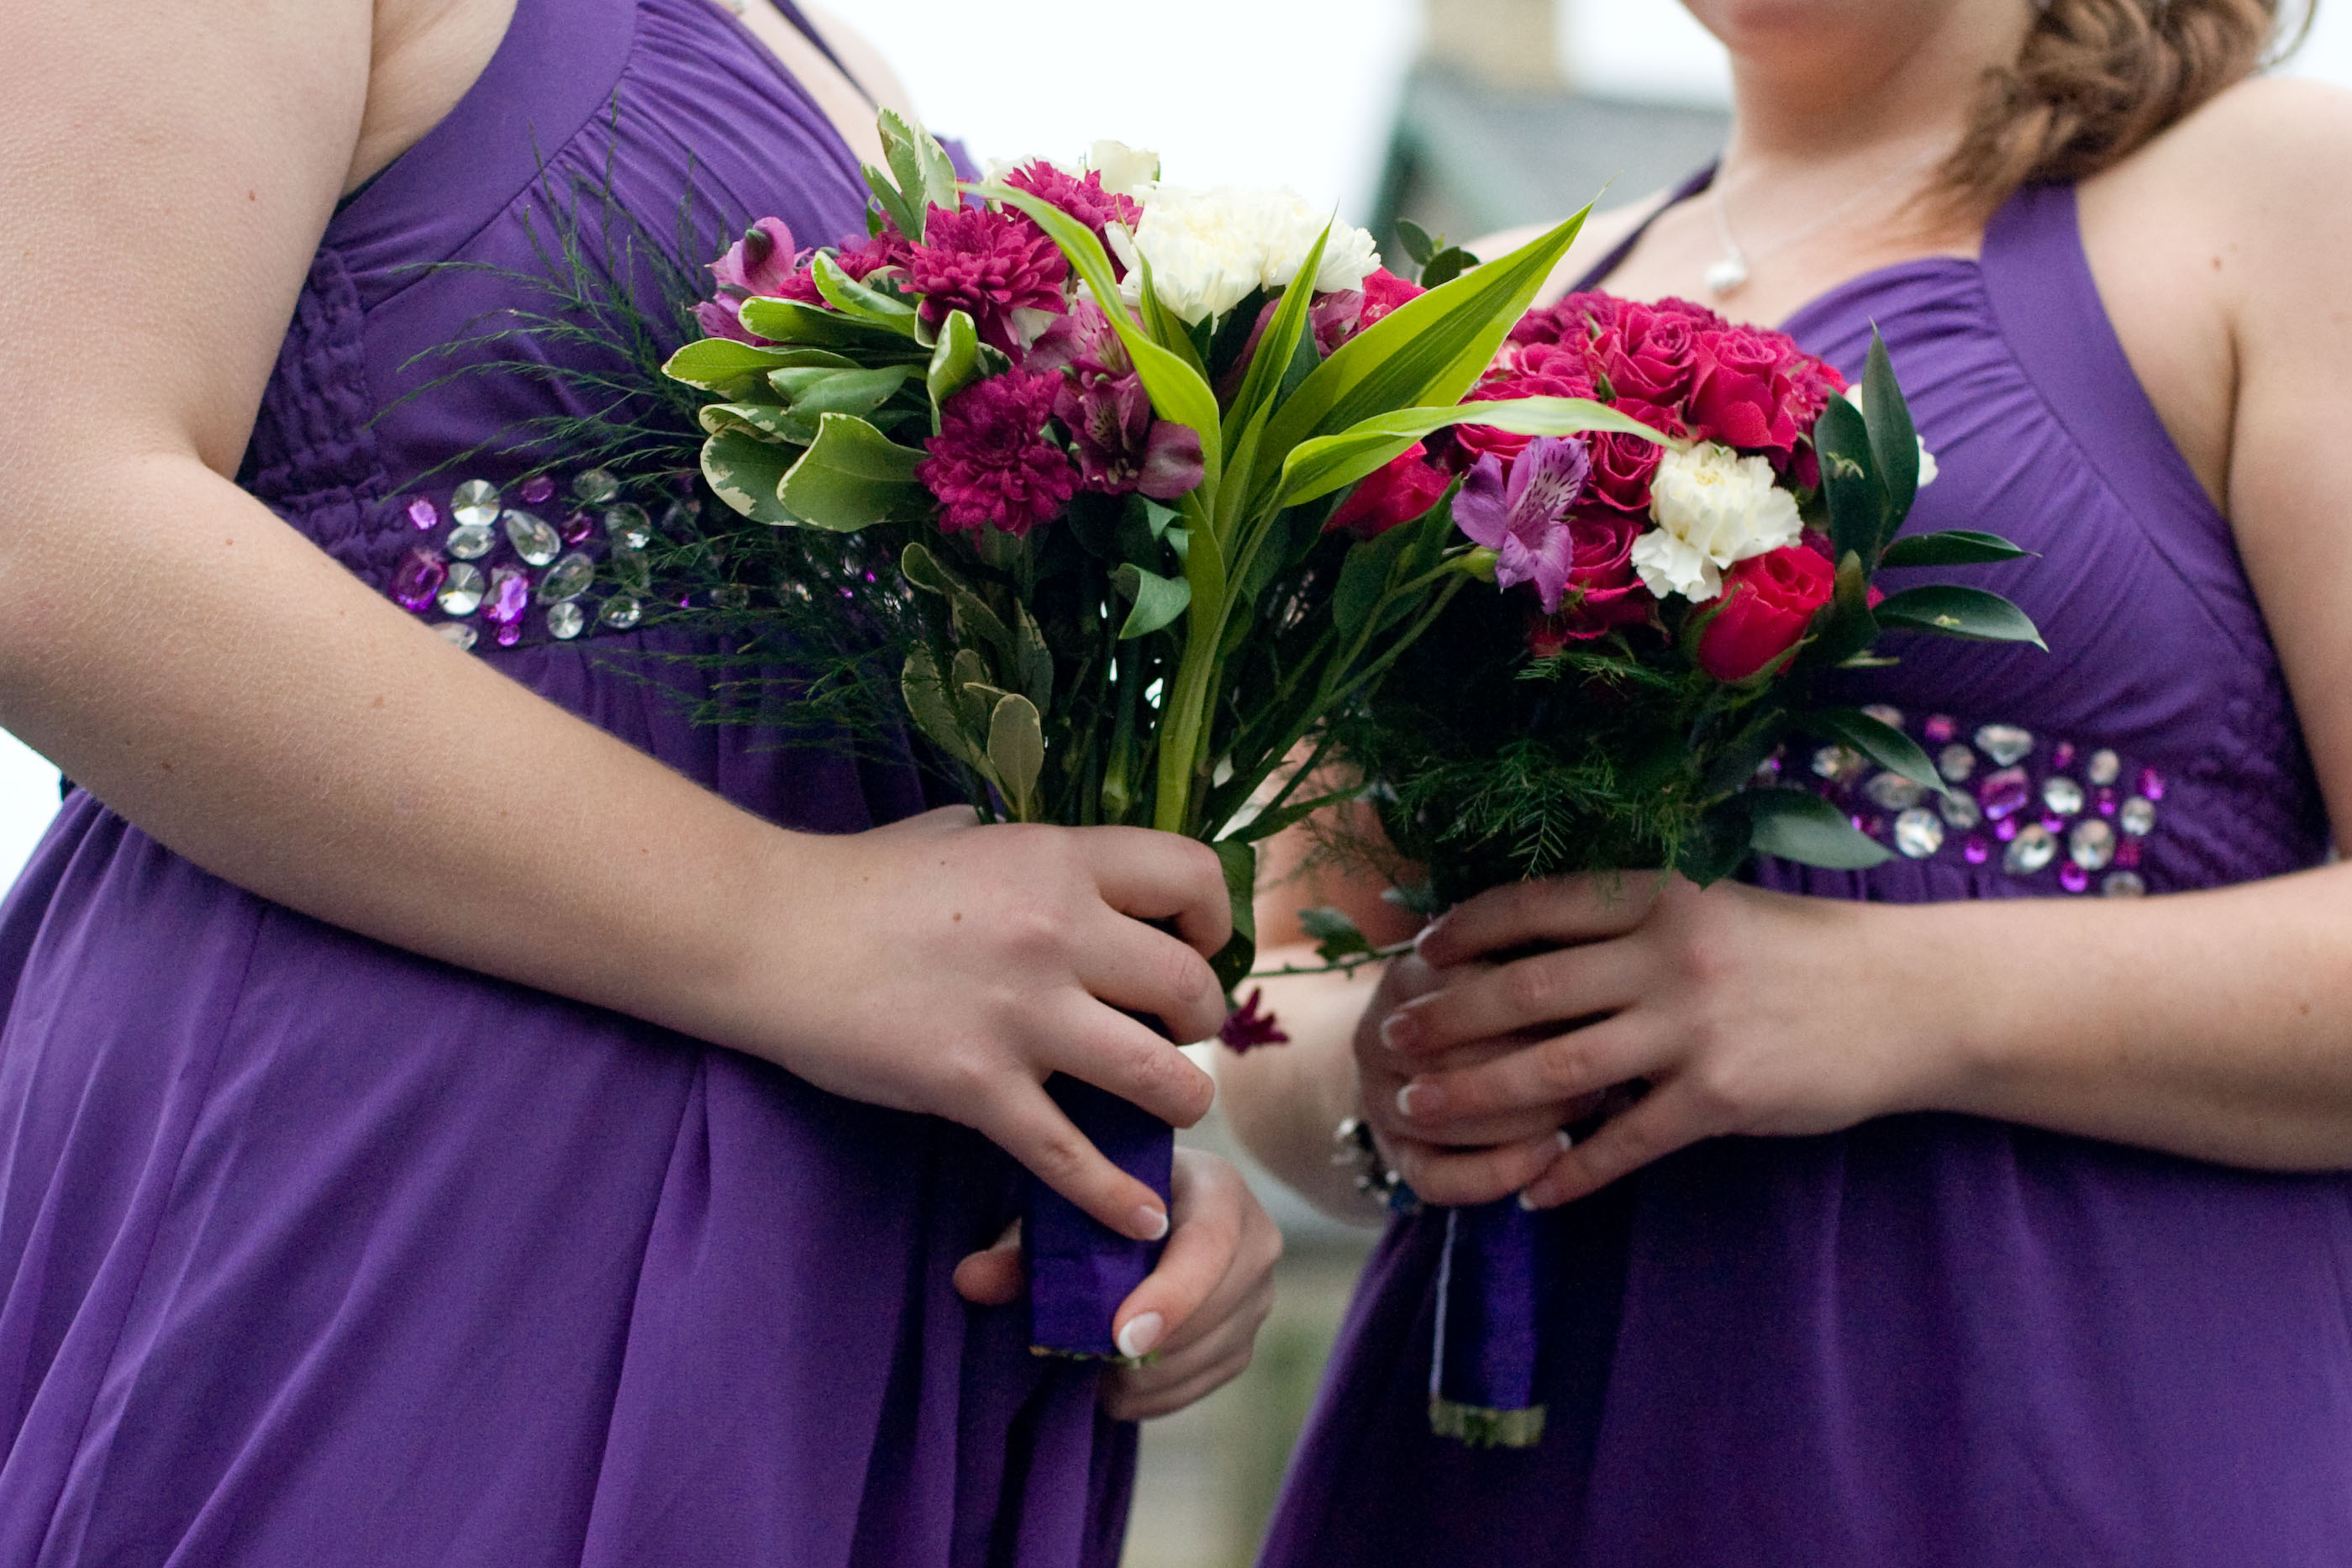
Recently a Bride (who I wont name here- so she can 'fess up to her mum herself!) wasn't quite happy with how her bouquet had turned out from the florist. There was some foliage she hadn't planned on including- so we got some scissors and chopped a few sprigs out. Didn't make a huge difference, I dont think anyone noticed... but you bet she'd have been bugged by it looking back at her photos for years to come.
In the same ilk if something isn't how you wanted it then ask to have it changed. Bare in mind though how much effort it will take to change it, and how much time is available- no bridezillaing needed!
CAKE
MORE.SNOW
#11: Say "Goodbye!"
Even the cake was in tiers is our series tips for weddings. The title comes from an overused and not so funny wedding speech joke, "It's been an emotional day...". What advice did you wish someone had told you before your wedding? We're collating all the etiquette and expertise here.
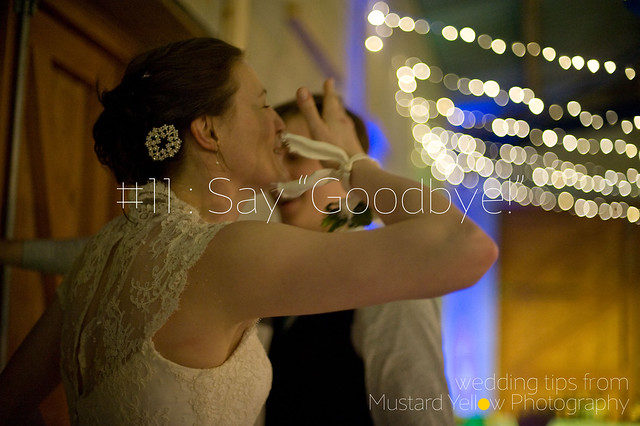
Its been a long emotional day and their baby daughter has just flown the nest. It's no wonder the parents often end up in tears at the end of the night. One thing that really helps: make sure you say a really good goodbye. Take time to talk to both sets of parents before the announcement is made that you're leaving (and you get swamped by other guests).
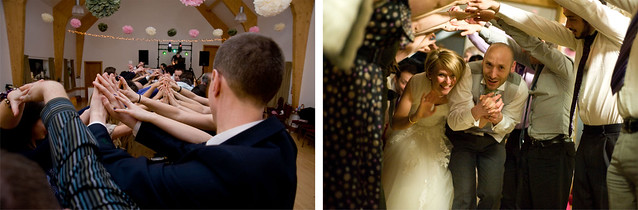
There are loads of other fun ways to say goodbye to everyone, we've seen plenty of tunnels, confetti, sparklers even special dances which allow you to greet each of your guests.
Happy Birthday
The day the Aussies came (and so did the snow)
More weddings uploaded!
#10: Cut your Cake
Even the cake was in tiers is our series tips for weddings. The title comes from an overused and not so funny wedding speech joke, "It's been an emotional day...". What advice did you wish someone had told you before your wedding? We're collating all the etiquette and expertise here.
To add to our tip on flaunting your cake, here are a few notes on how to cut it...
Just do it! Stop worrying about how to line up your hands to hold the knife perfectly and just get on with it. Put an arm round each other, that will leave less hands to find knife space for.
Cut the cake at an angle to your audience: not as far round as being side on, but not hiding behind it either.
Move any nearby candles. We learnt this at our own wedding- the surrounding tea lights were pretty hot.
Eat a slice, feed each other a slice or hand some out to your guests. It doesn't matter what you do but don't just stand there looking a bit lost or leave the knife in the cake- it just looks a bit sinister!
Enjoy! (and share some with Nom, she's addicted to the icing)
#9: Flaunt your Cake
Even the cake was in tiers is our series tips for weddings. The title comes from an overused and not so funny wedding speech joke, "It's been an emotional day...". What advice did you wish someone had told you before your wedding? We're collating all the etiquette and expertise here.
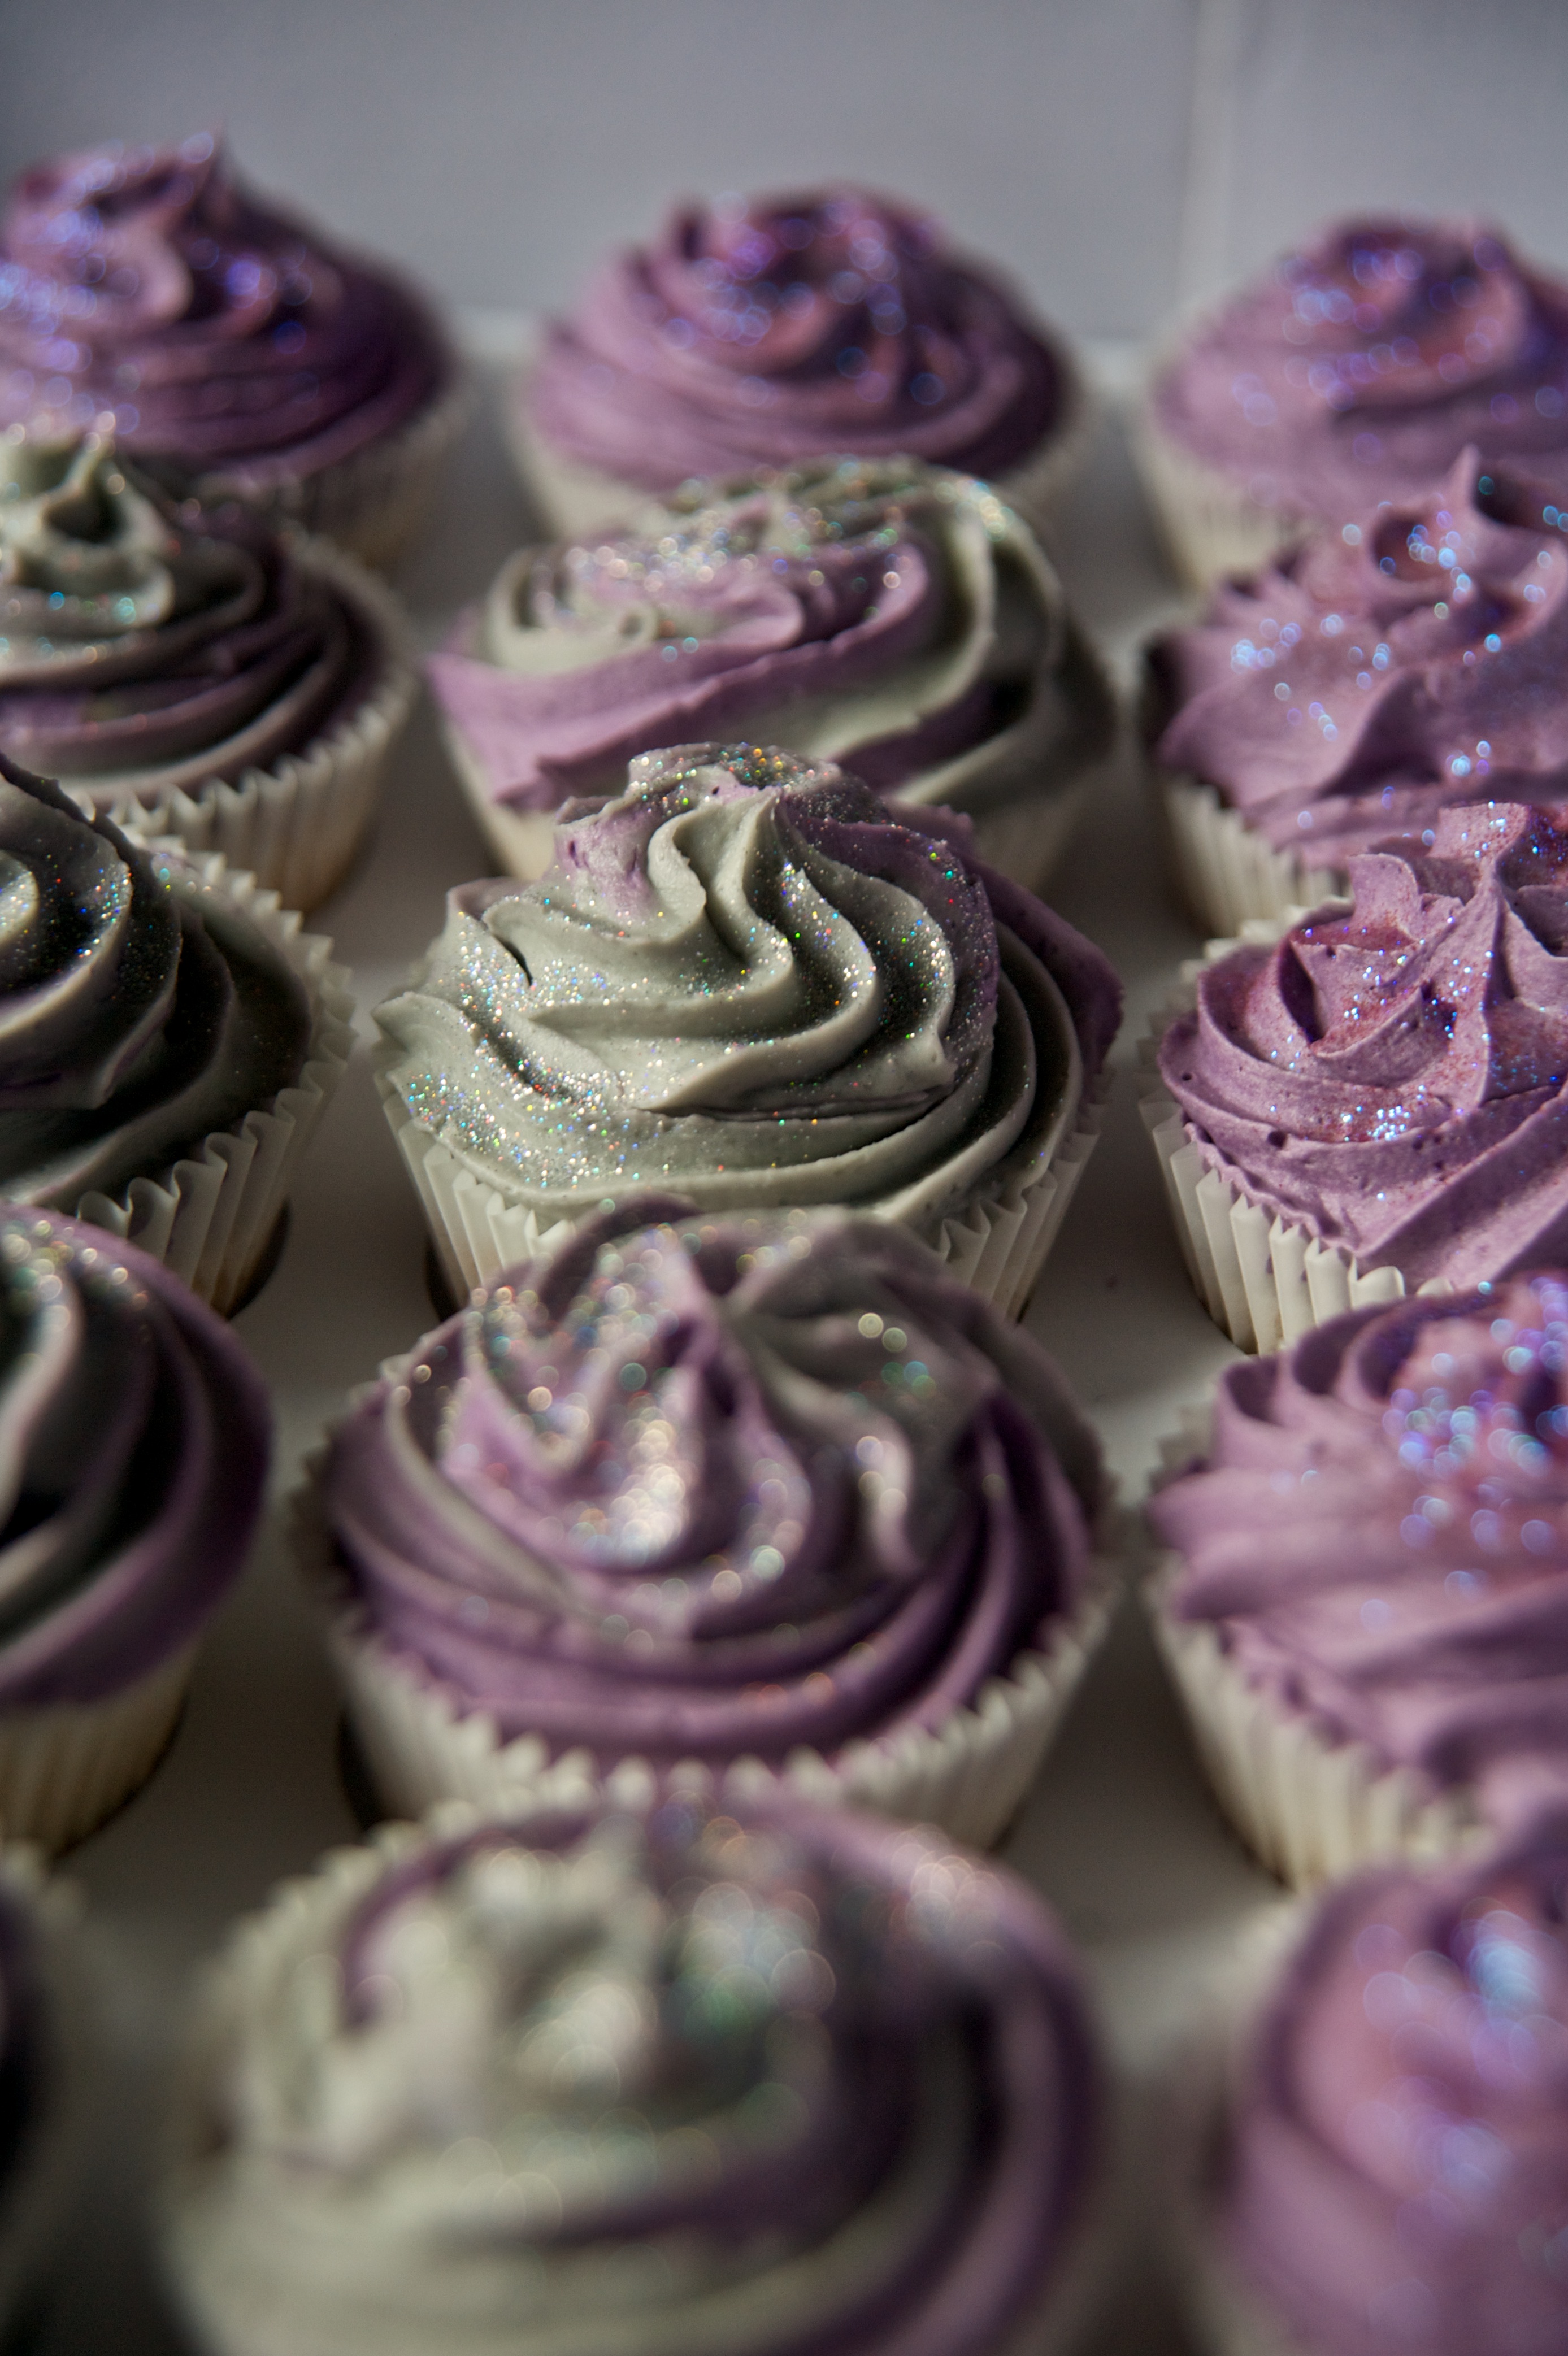
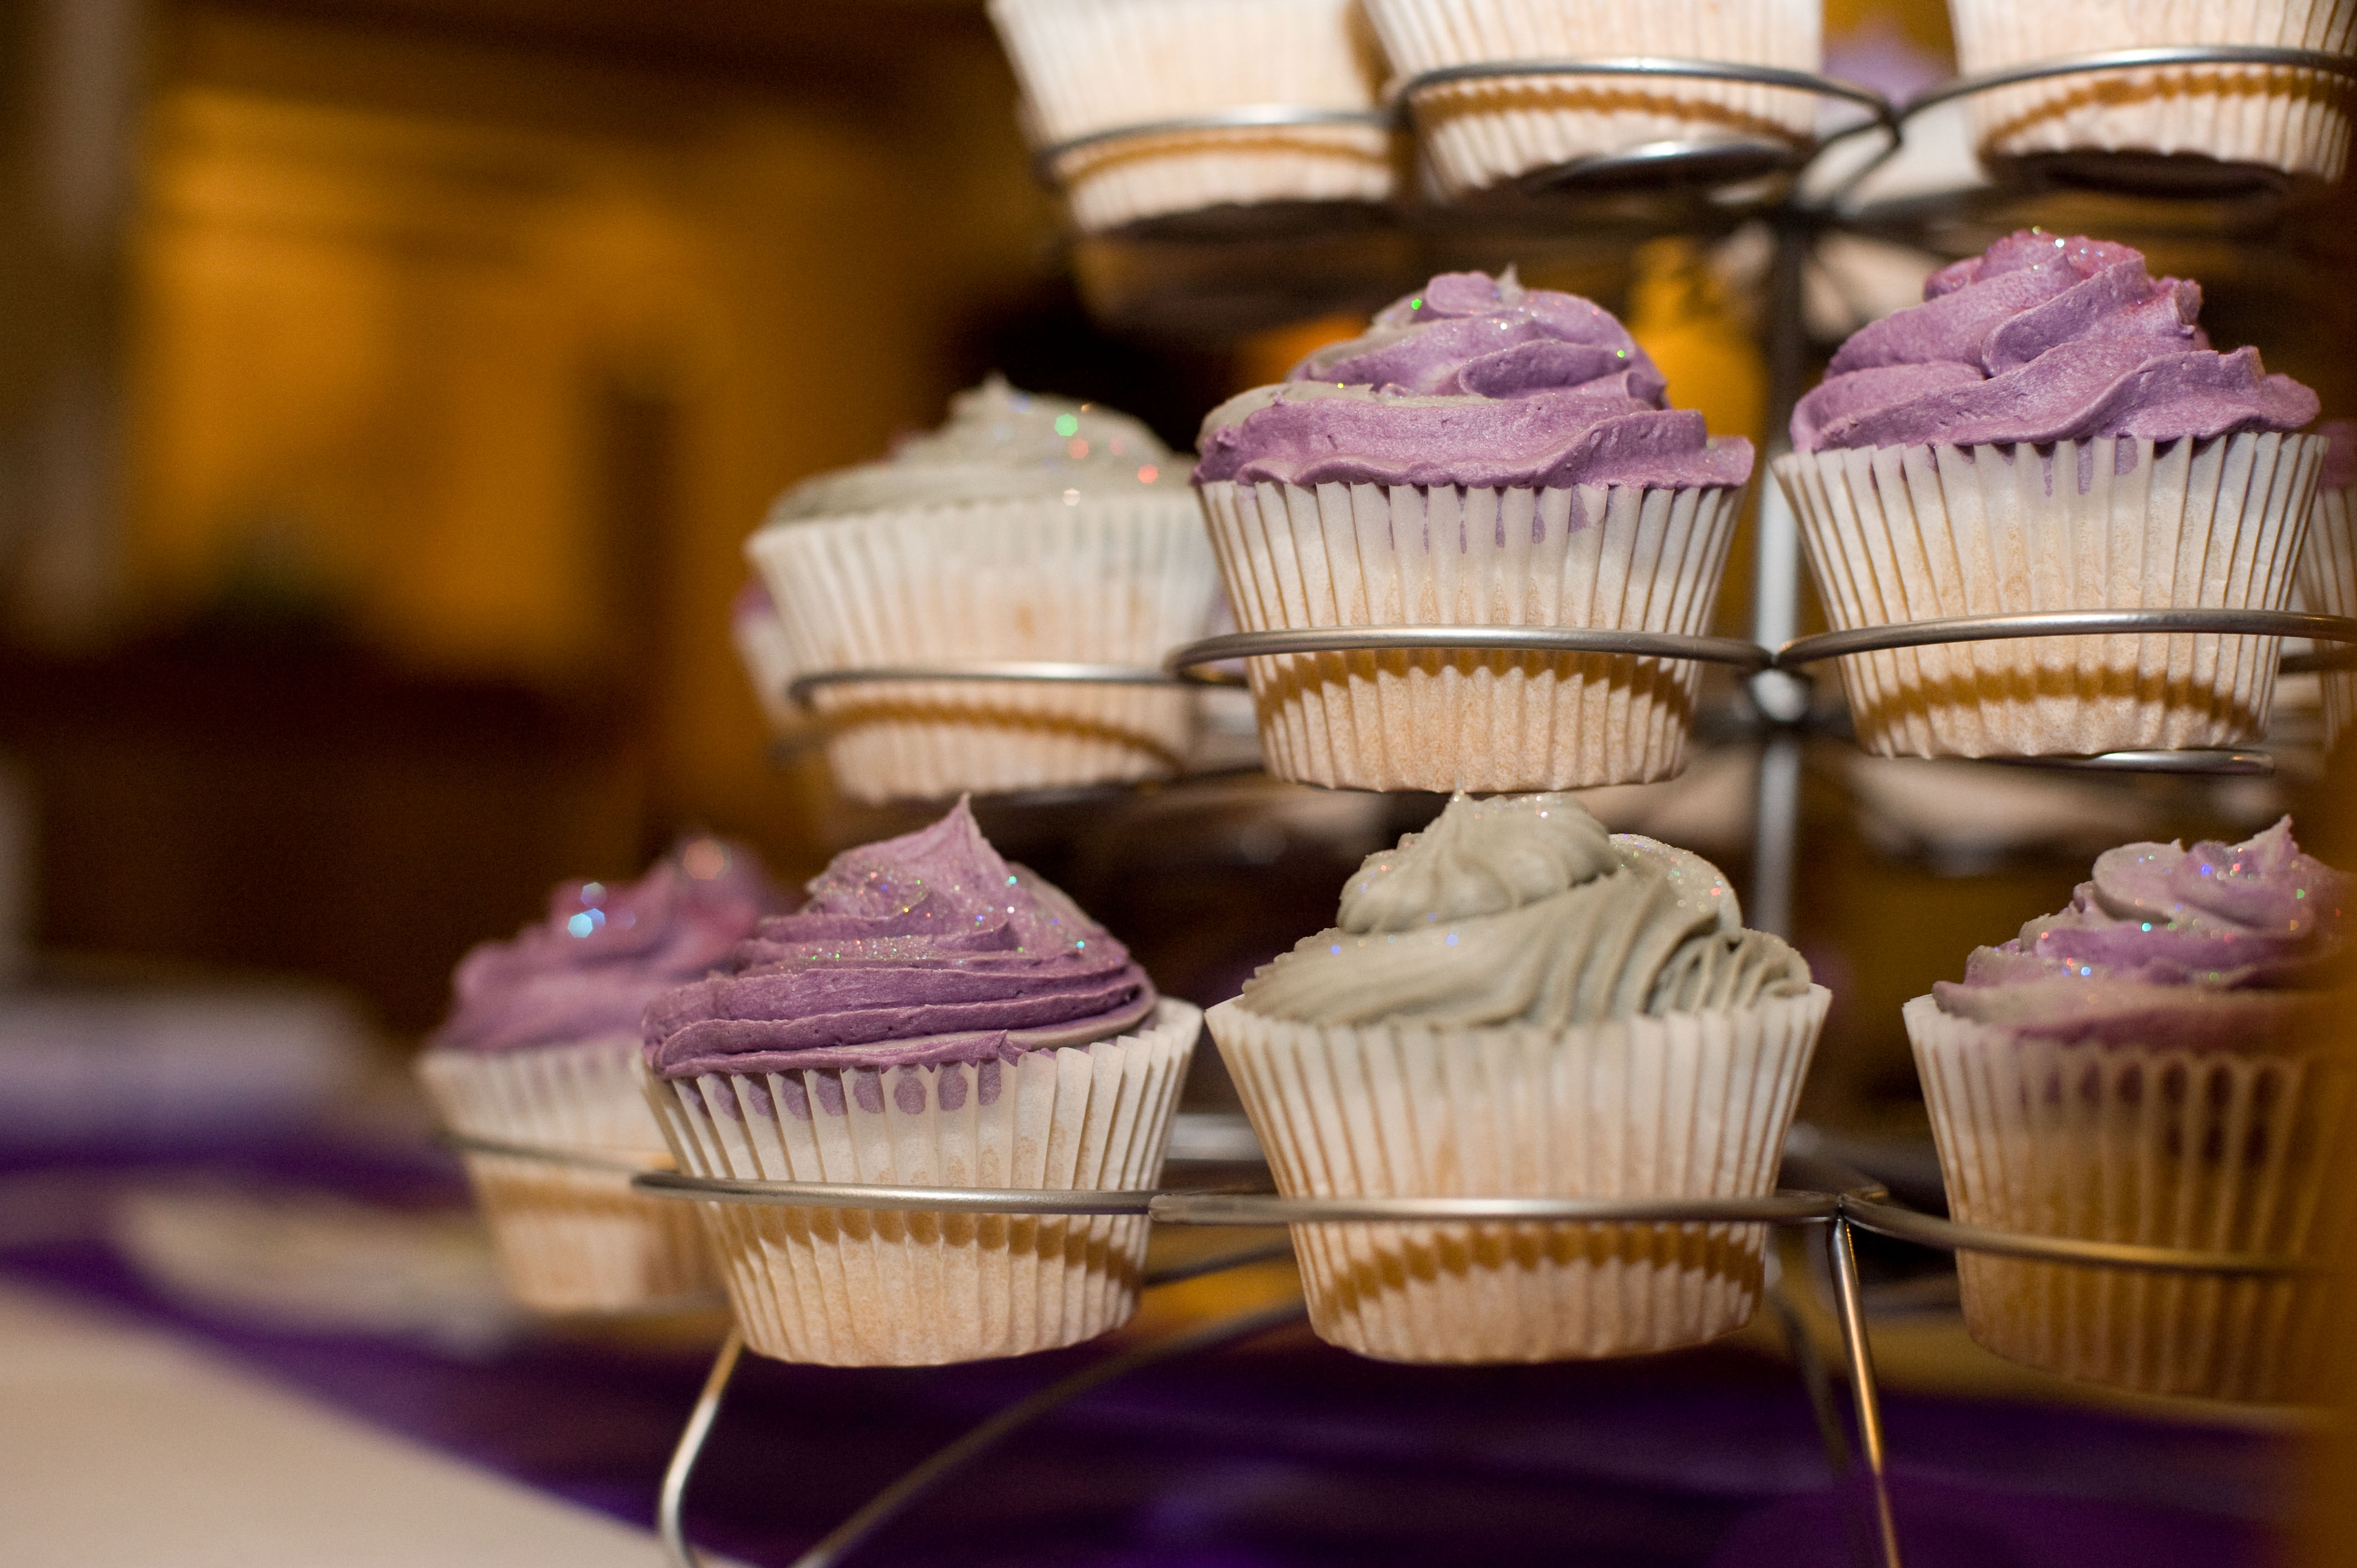
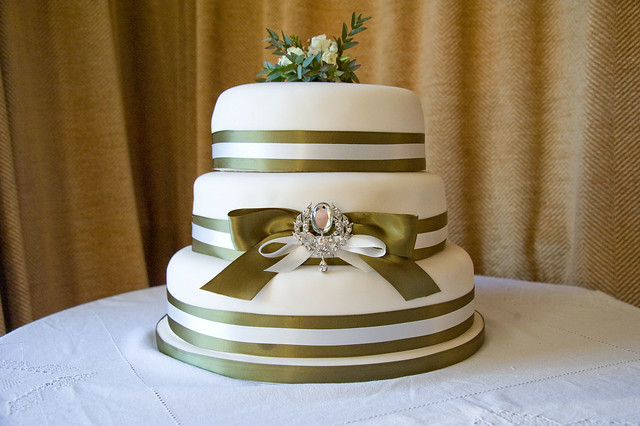
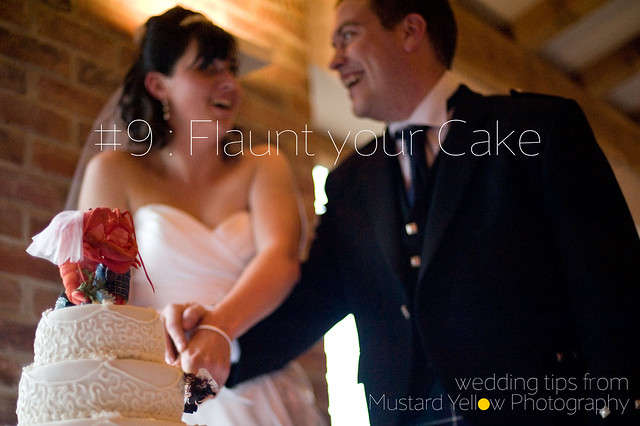
Give your cake pride of place. Displaying it during the afternoon while you're eating your wedding breakfast will not only give everyone to have a good look and get their mouths watering, it will also mean its in a good position when it comes to cutting it later.
If you asked the person who crafted your cake they usually say they cake should be away from the window and out of a draught. The photographer will want it in a well light area, free from signs in the background. Its good to have plenty of space for all your friends to get round you and take their own pictures too!
As far as Malc's concerned, cutting the cake is a bit of a bizarre thing to do. Why do we get everyone to gather round as we pretend to cut a cake? Why do we try to do it together and pause to kiss for the cameras? He reckons if you're going to do it you should go right on and cut the whole thing up in to pieces for your guests to eat!
Where does the tradition come from? Apparently Roman grooms used to smash the cake over the bride's head to symbolise her virginity. But the idea of sharing out bits of the cake goes back to a tradition of passing crumbs of cake through the bride's wedding ring as a symbolic gift of fertility. Well... now you know.
Shooting around
Christmas & New Year (take 2)
#8: Throw Confetti
Even the cake was in tiers is our series tips for weddings. The title comes from an overused and not so funny wedding speech joke, "It's been an emotional day...". What advice did you wish someone had told you before your wedding? We're collating all the etiquette and expertise here.
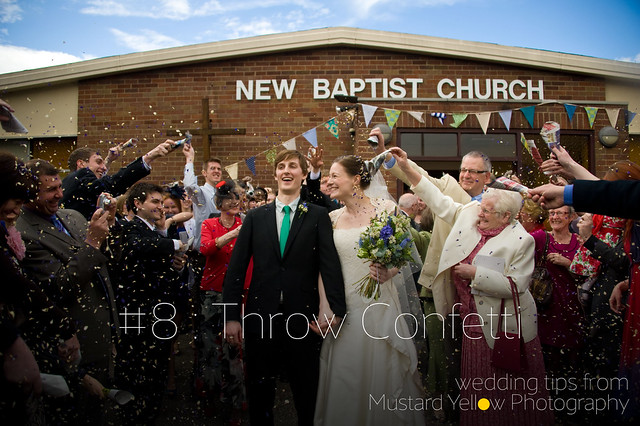
It's the only day in your life you can get away with being showered with love in the form of confetti- so get on with it. Get everyone involved, especially the aunties and old ladies they're always the most keen.
Other things you can only really get away with on your wedding day:
-the big white dress
-choosing who's in your team (your bridesmaids and ushers, and your other supporters and suppliers)
-choosing a guest list of everyone you want
-the menu
January's [DEVELOP] Challenge
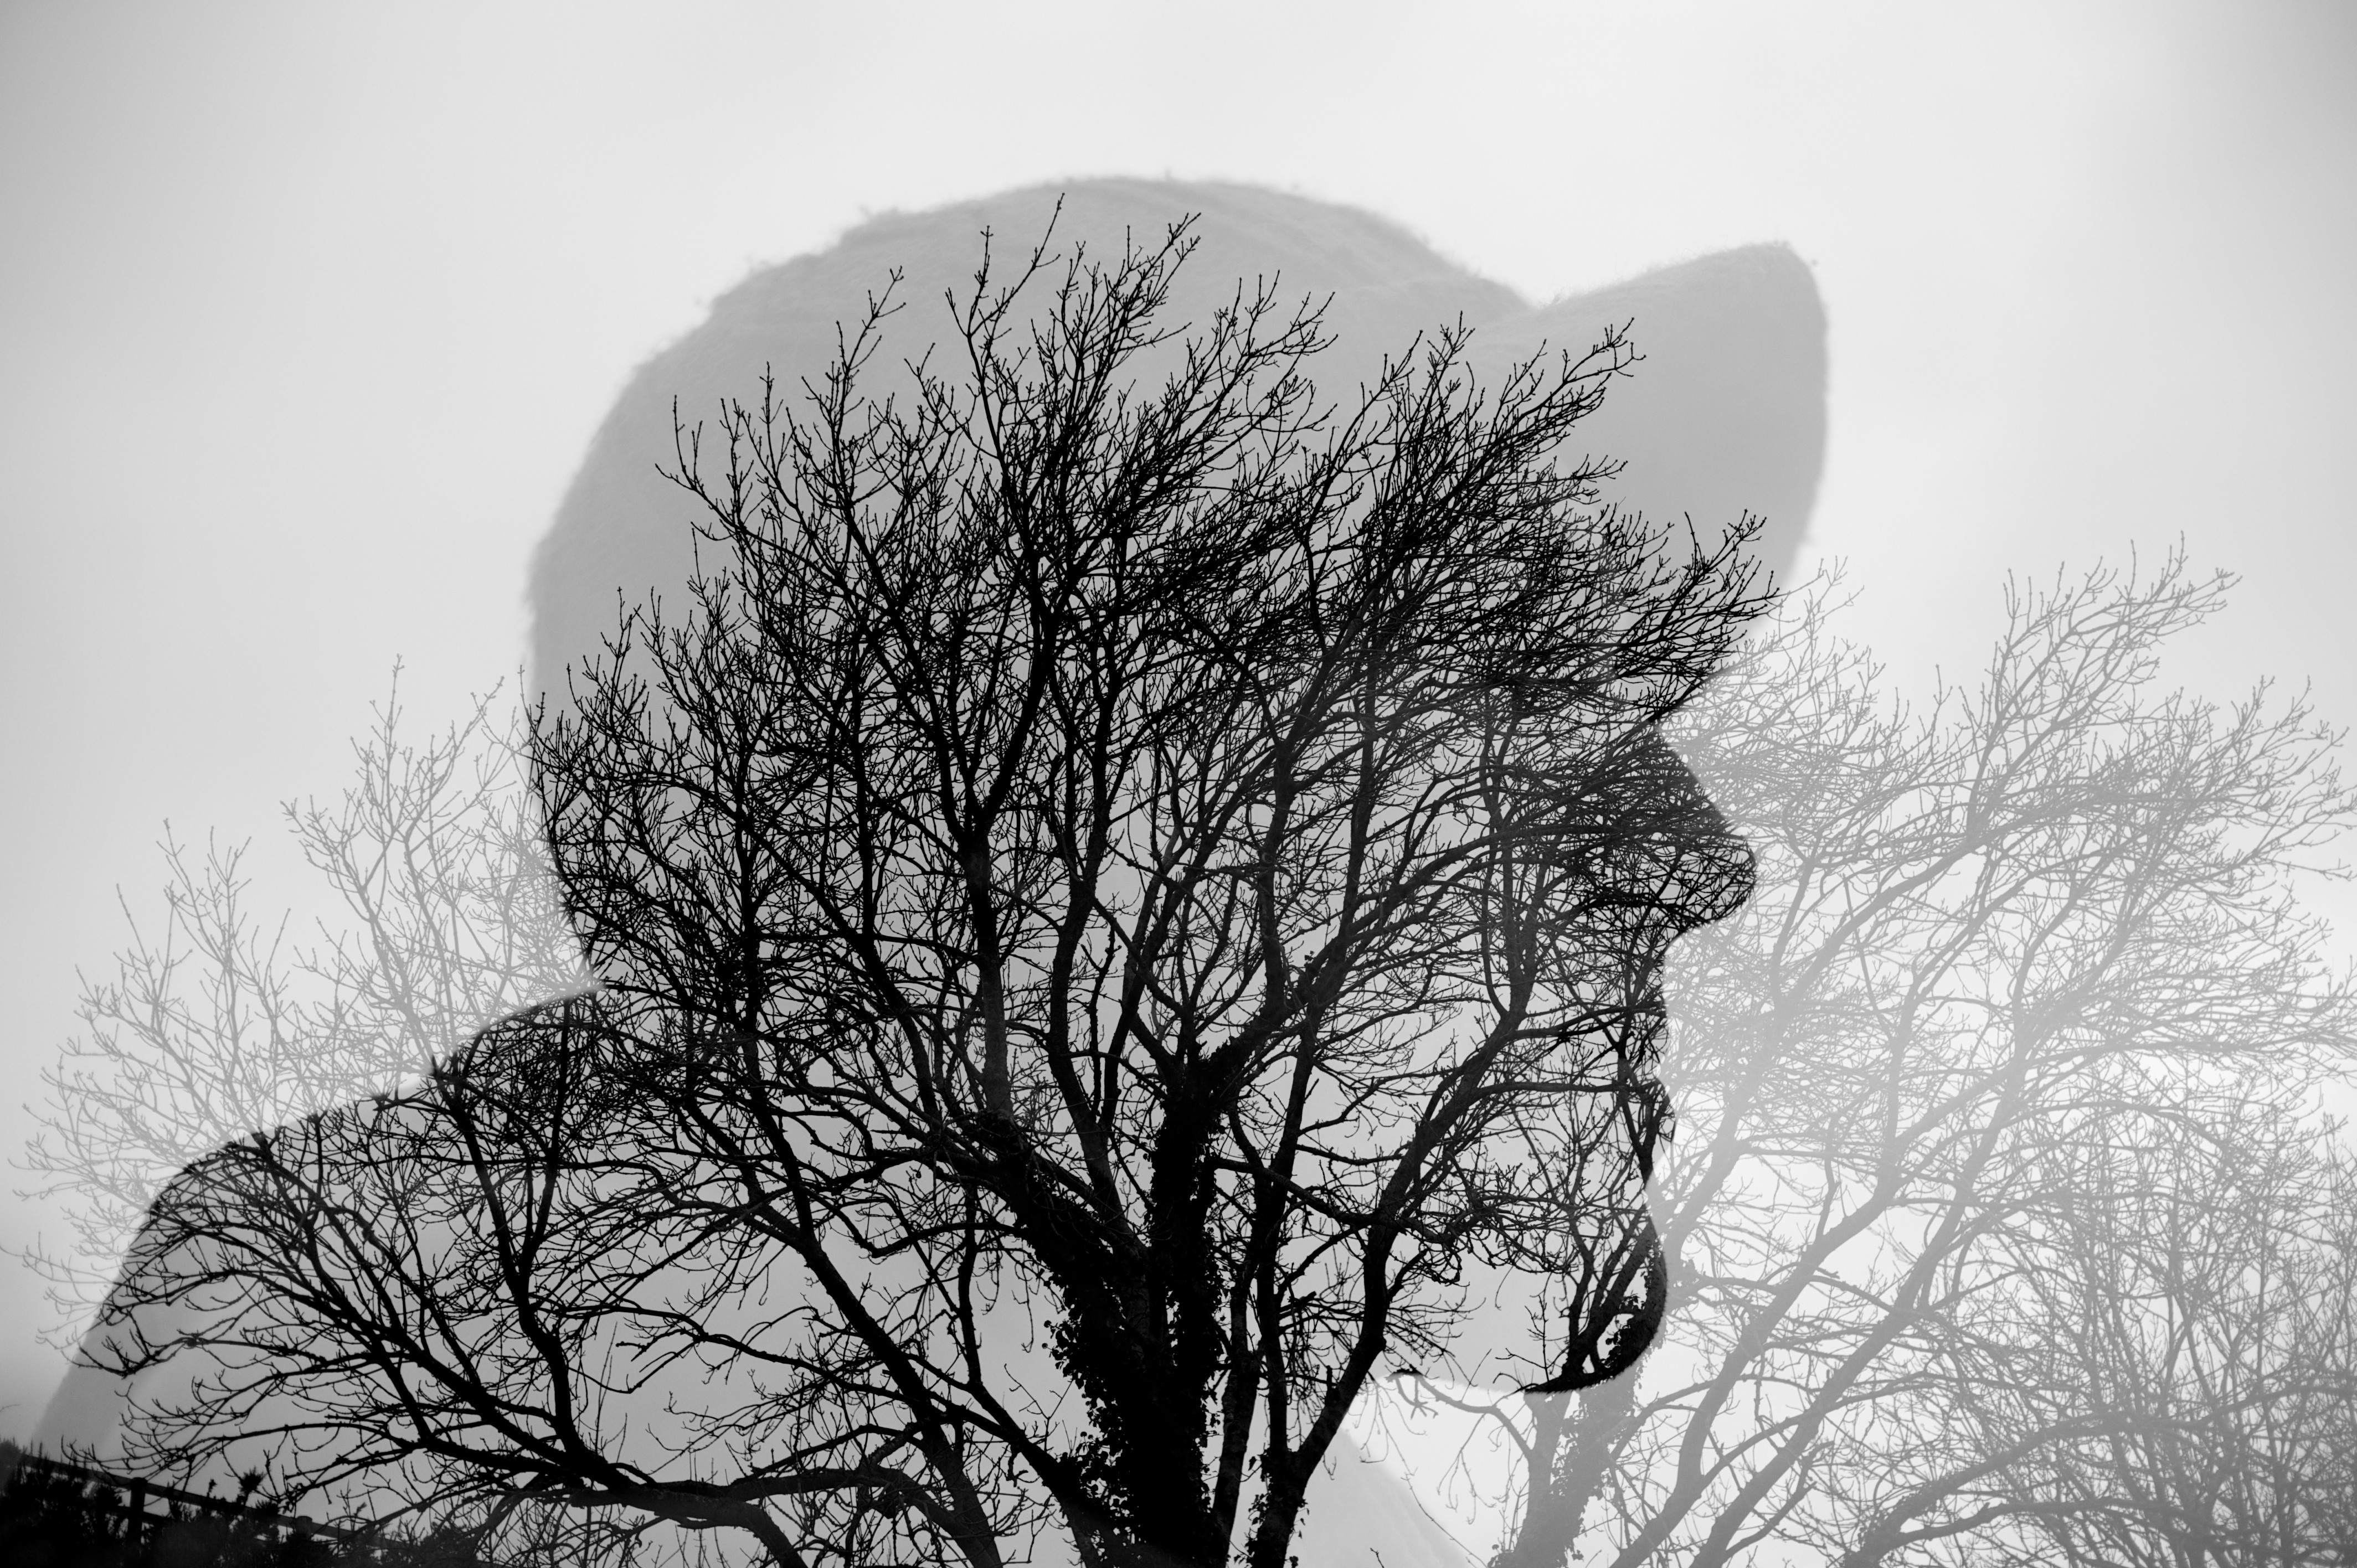
And now for the first of our [DEVELOP] photography challenges for 2013! For our first month we've picked out four challenges based around combining multiple exposures. (Read the introduction to the project here).
-Multiple Exposure
![]() |
| 1940s Multiple Exposure American Ballet Theater ballerina Alicia Alonso executing a pas de bourree. Photo taken by Gjon Mili, 1944. Source here. |
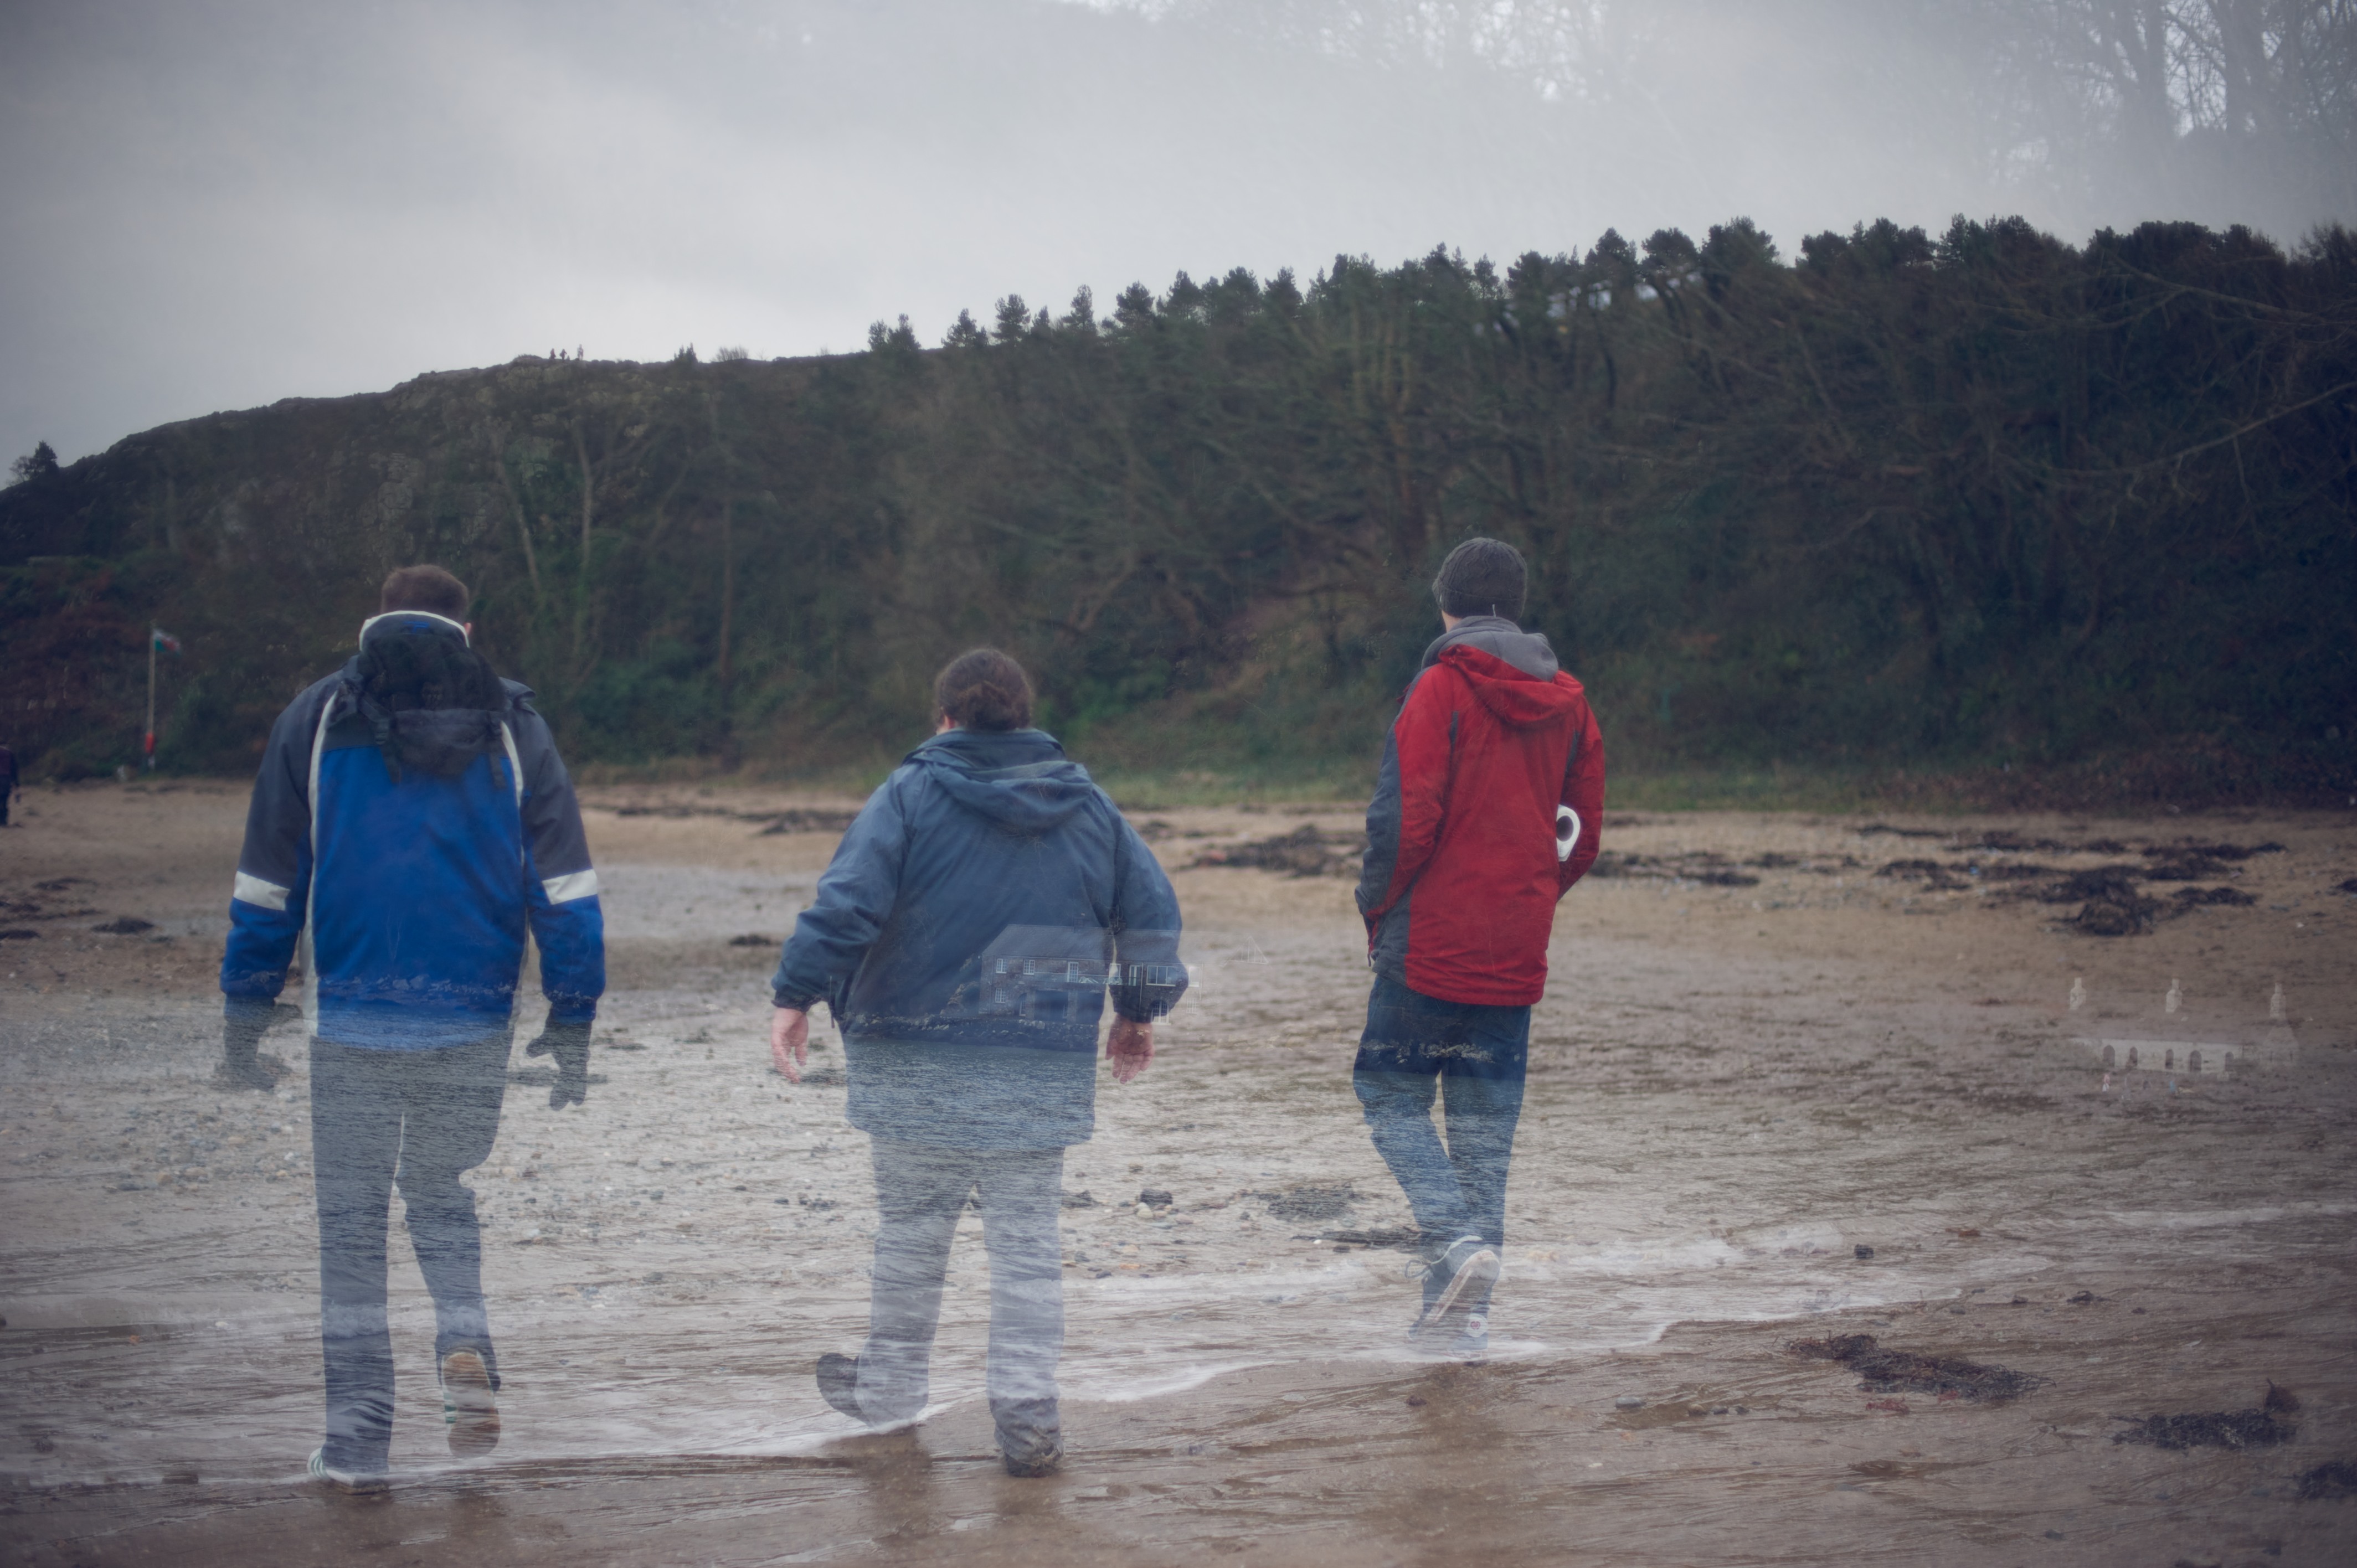
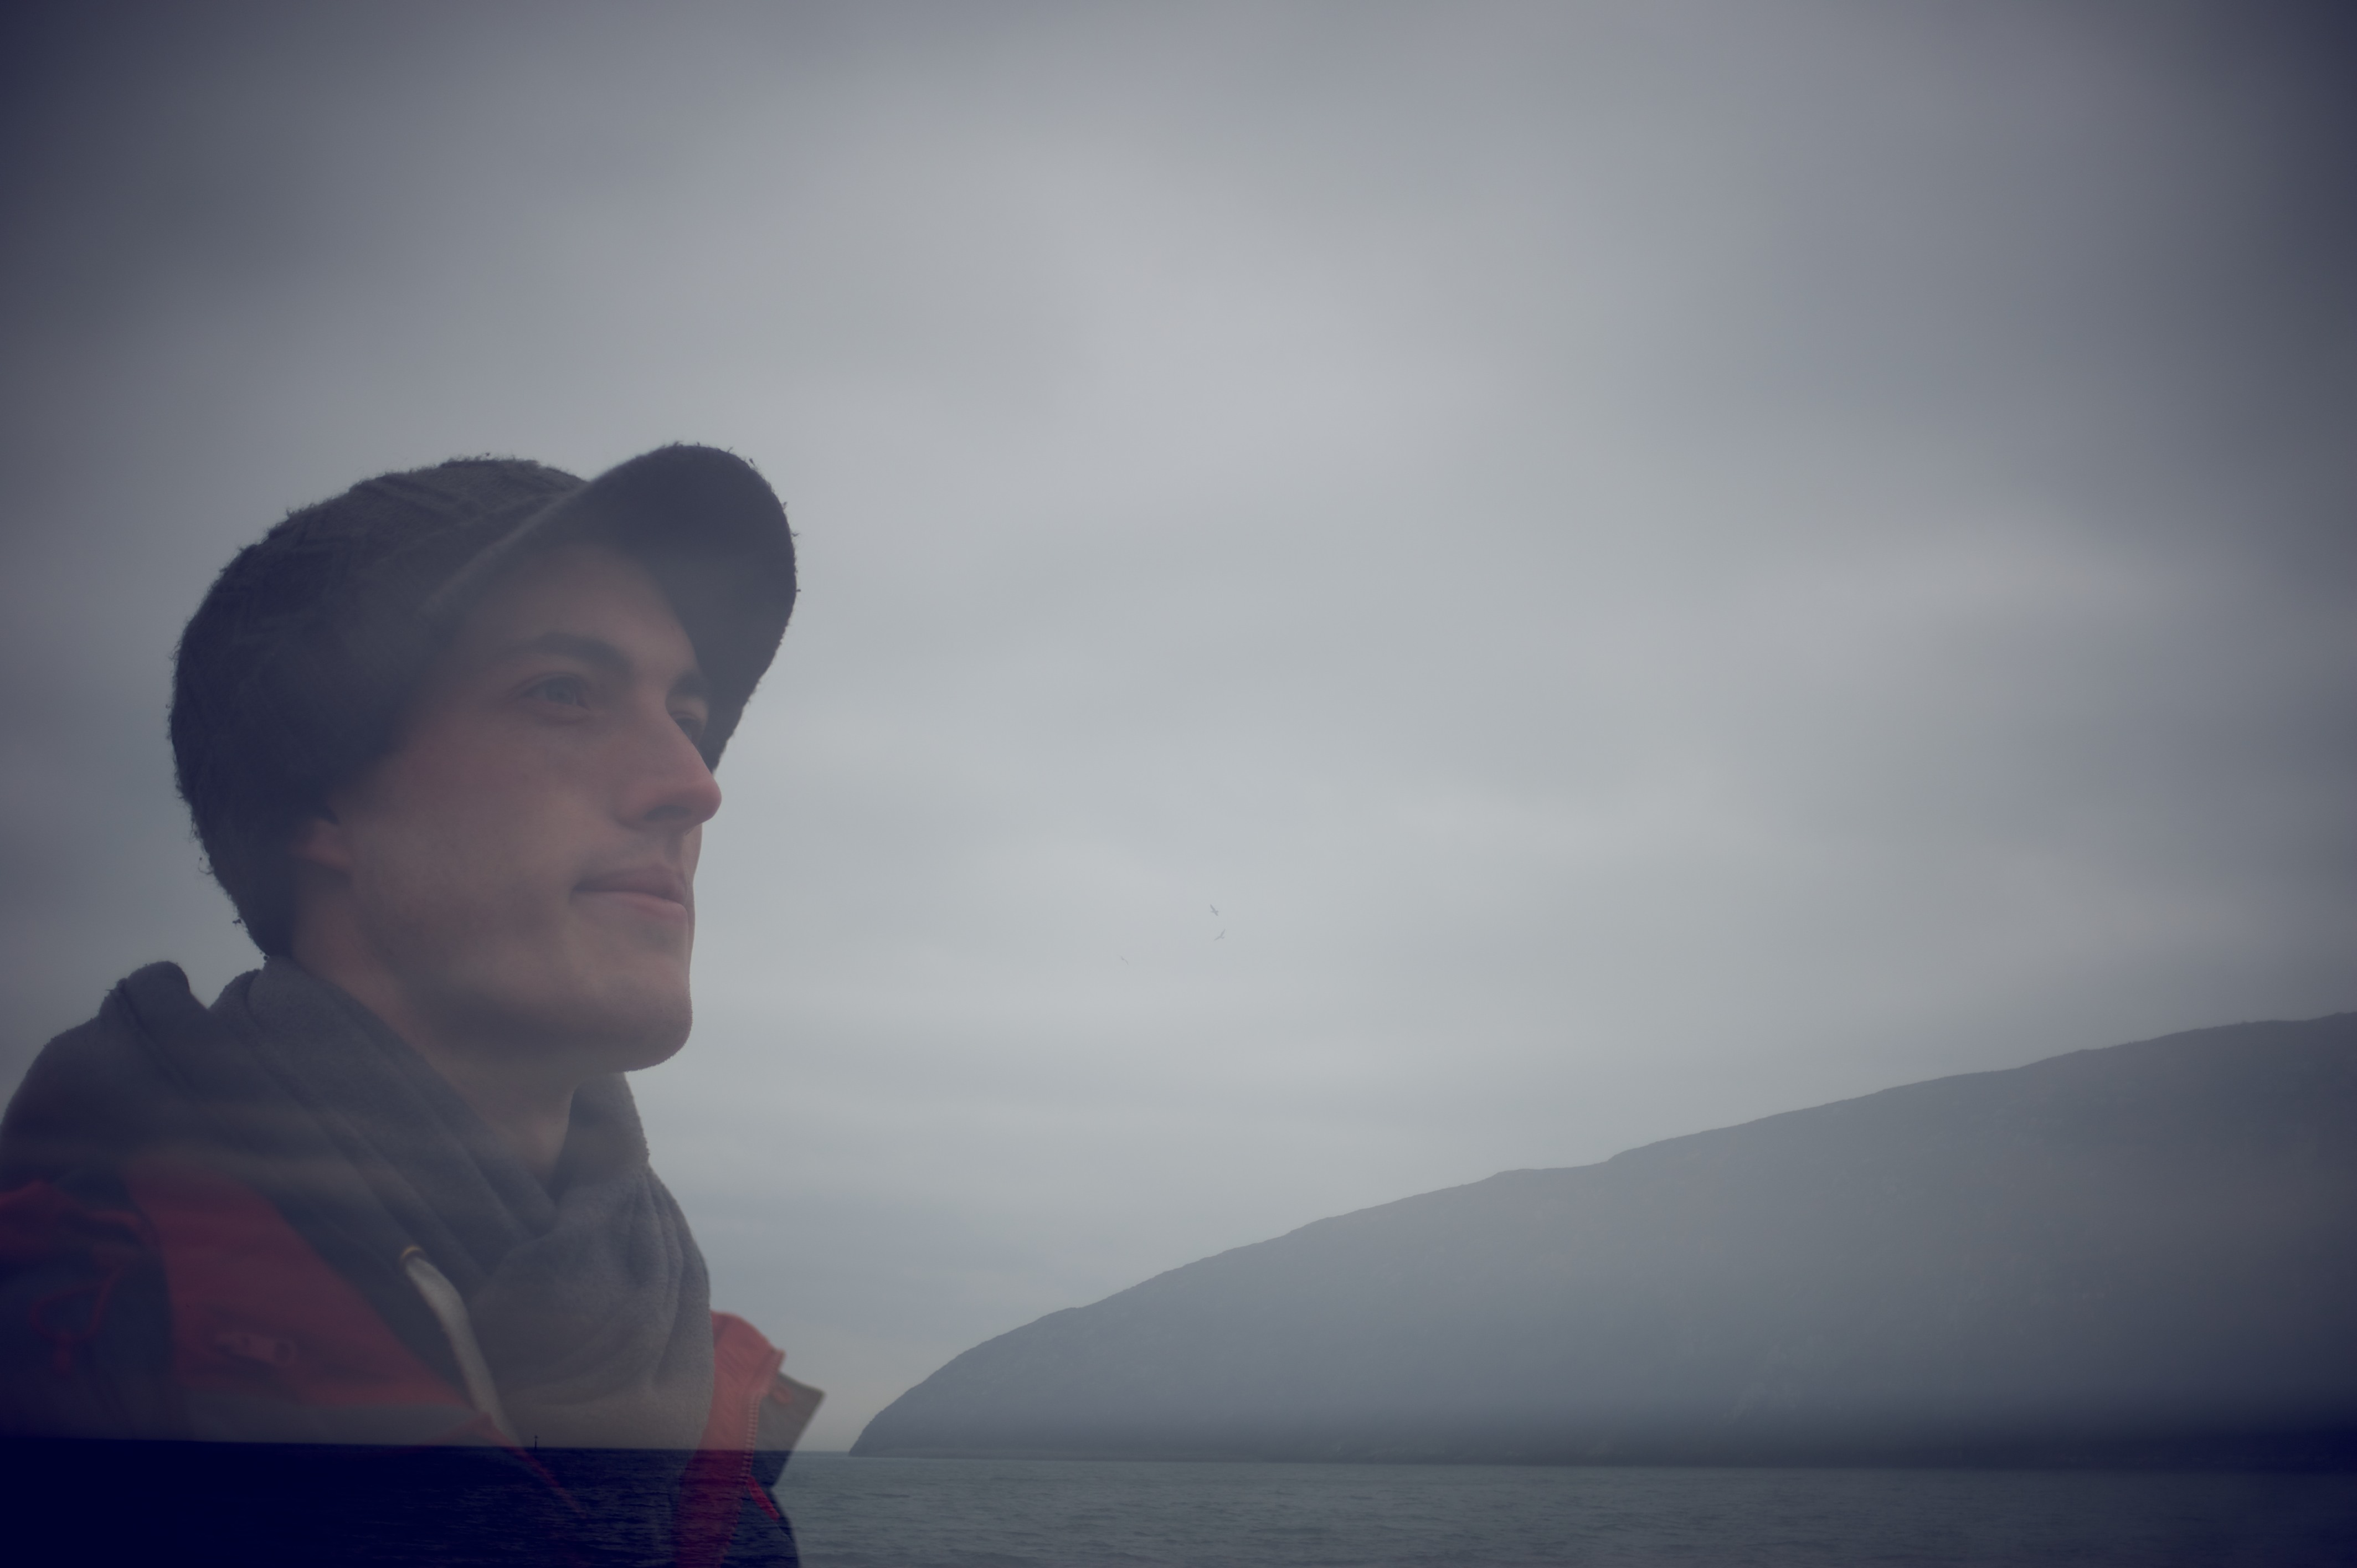
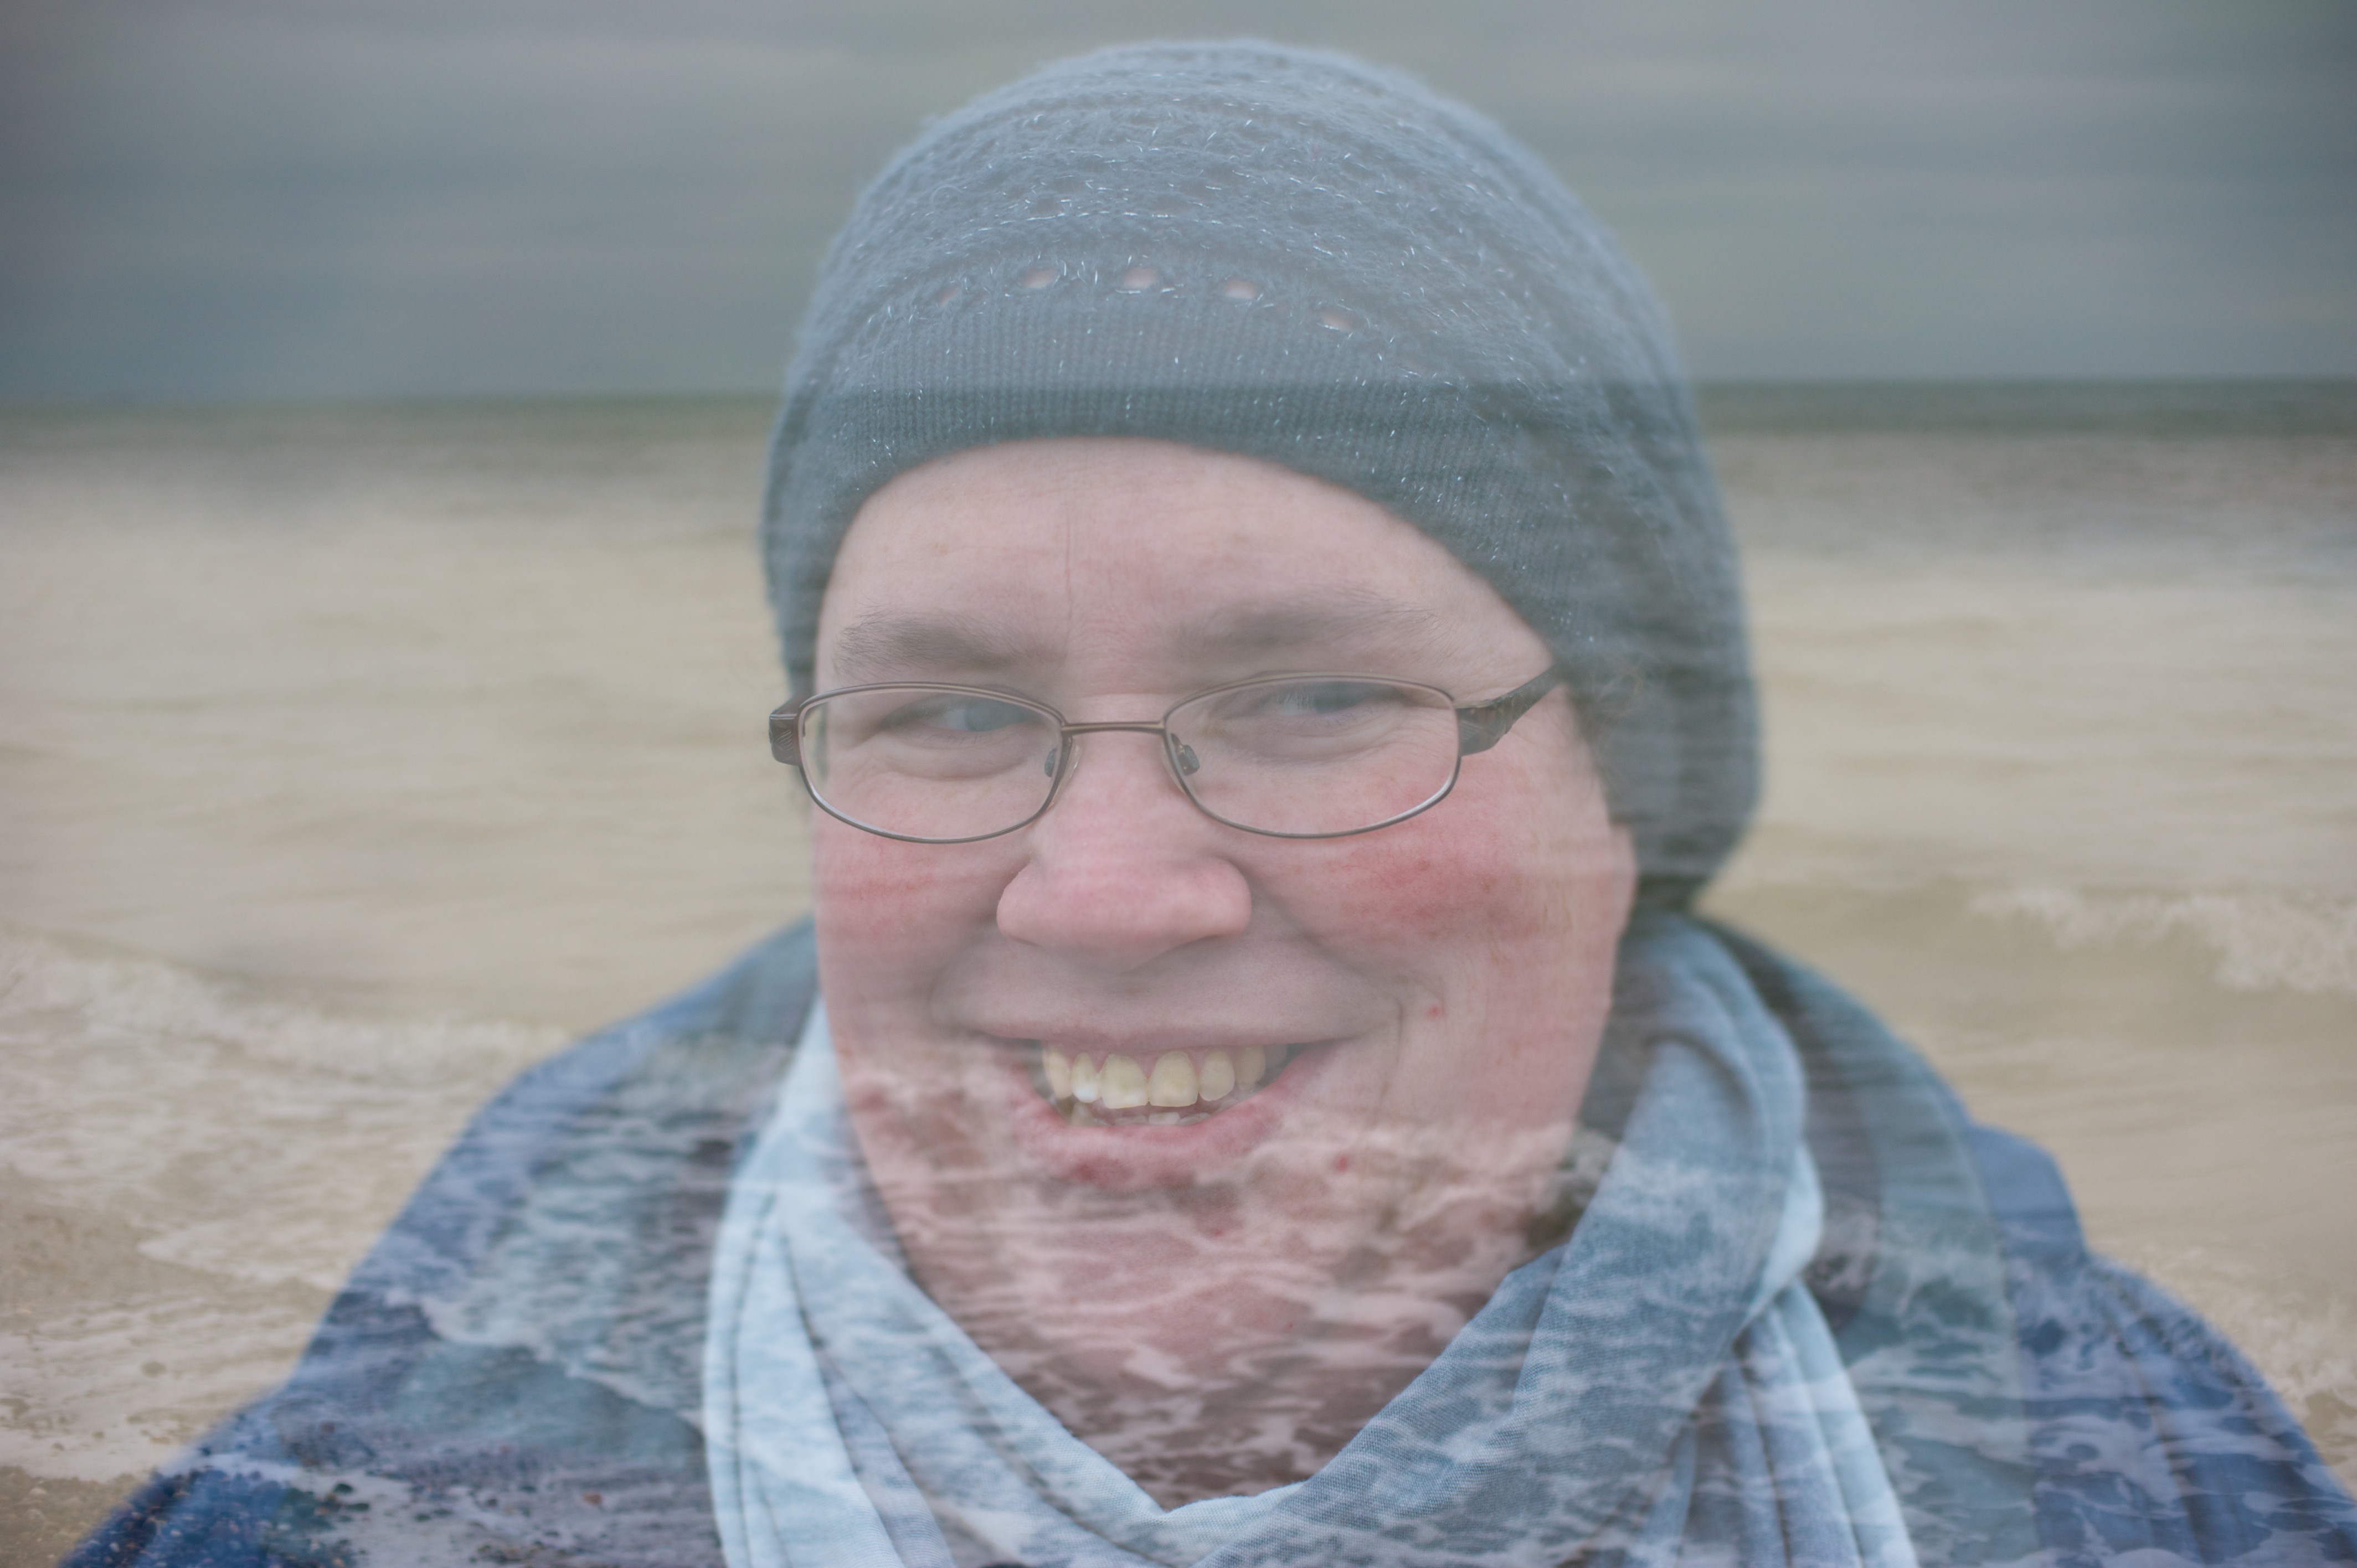
Digitally this result can be achieved either in camera (check your manual to see if you can do it) or in post processing by layering multiple images on top of each other.
-Pattern Layer
![]() |
| I love these double exposures done in camera by Christoffer Relander. Source here. |
-Harris Shutter
![]() |
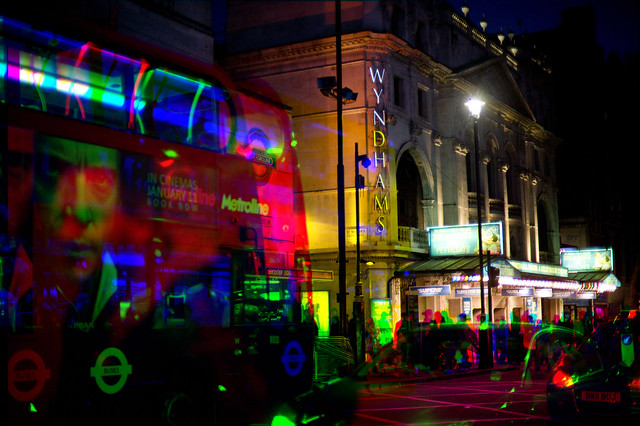
| A photo we captured on New Year's Day near Leicester Square |
Harris Shutter is like a colour split version of multiple exposure. In it three photos are combined each with a different colour. The result is that moving objects are seen in one colour and stationary areas of the photo show up in full colour.
To do this you'll need to shoot a string of three photos (moving the camera as little as possible between shots). To create the colours you can use colour filters on your lens if you have them. Or follow our instructions below to get the effect digitally:
Open your three images in photoshop (or another program- Malc's got a post coming up on free software option).
Pick your first image, select the channels window and make all the channels invisible except the red channel. Your picture will now be black and white. On the layers window click the half moon icon at the bottom to create a new adjustment layer and select 'solid colour'. Change the red 'R' value to 255, the 'G' and 'B' values both to 0. With the new red layer selected change the blending mode to 'Multiply' from the drop down list at the top of the window. Now flatten the image.
Choose your second image and repeat the above steps, this time isolating the green channel and setting 'G' to 255.
Next repeat on your third image but this time set blue.
Paste all of your images into the same file as separate layers. Change the blending option on the top two layers to 'multiply'. Ensure the contents of all three photos are aligned, then flatten and save!
-A Multi
Fancy working with someone else on this one? Make a friend and pair up your images! A multi person multi exposure.
You could agree a theme each shoot a set number of images and then combine them digitally. If you've not found a friend to work with why not post your image on our Facebook event and see who has a picture to add to yours.
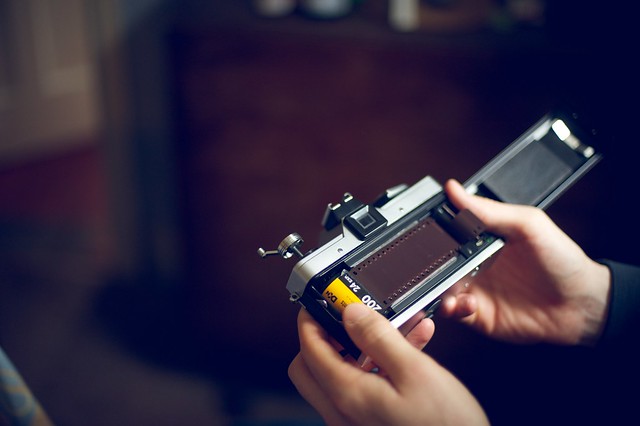
Or if you want to go for a more authentic photographic experience: whip out a 35mm film camera, shoot all the frames in a film and rewind it, leaving the end of the film poking out of the canister. Pass it on to a friend so they can shoot over the same film a second time. Then have it developed (its a good idea to warn the technician that the film is an experimental double exposure so they know what to expect as they develop it).
Make sure you share your results with us!
(By the way, there wont be 4 challenges each month- we're just taking it as it comes so sometimes there'll be lots of projects to try out and other months just one thing to really get stuck into.)